Yesterday I put the finishing touches on it, and fired it up! It took about 6 kicks, but that was to be expected for a brand new engine. It fired up, and I had to adjust the idle a bit (again, to be expected) so that's why you spend 30 seconds staring at my gonch in the video!
Some pics of the last installment of the rebuild!
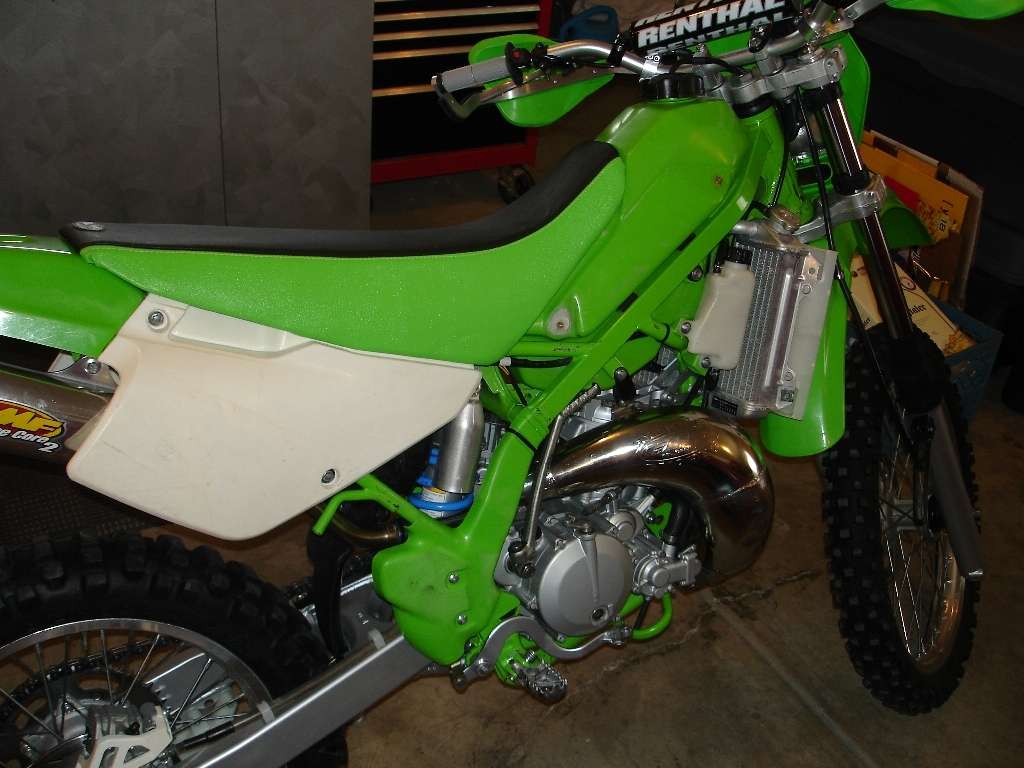
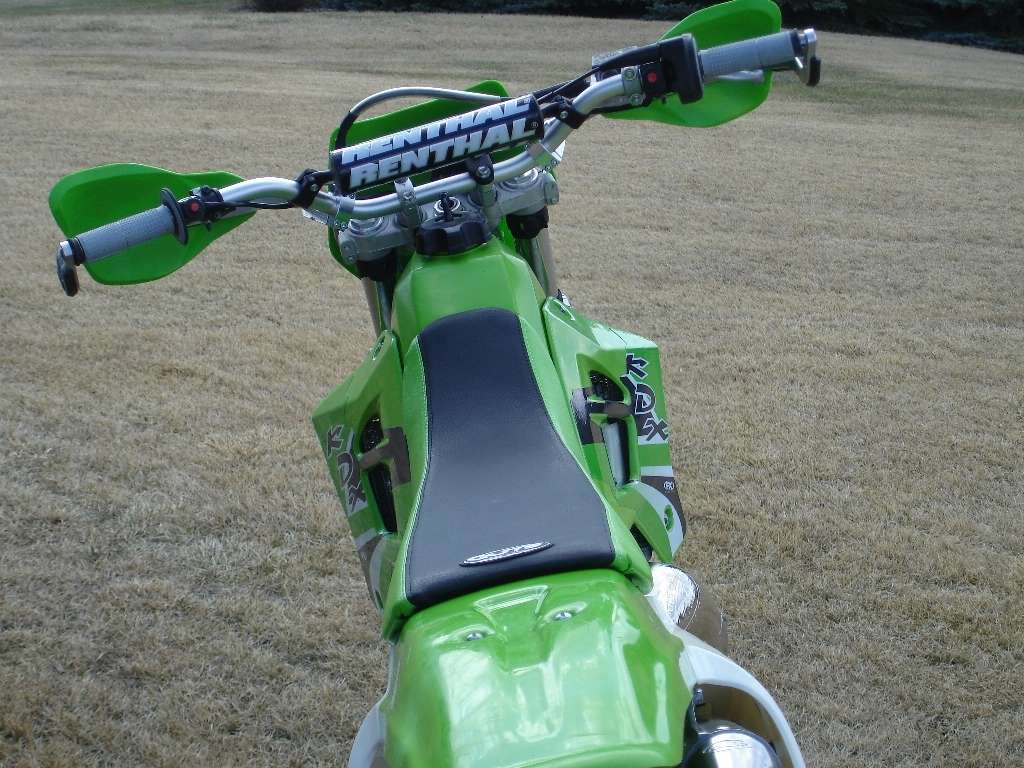
Seat on, everything but side panels are on!
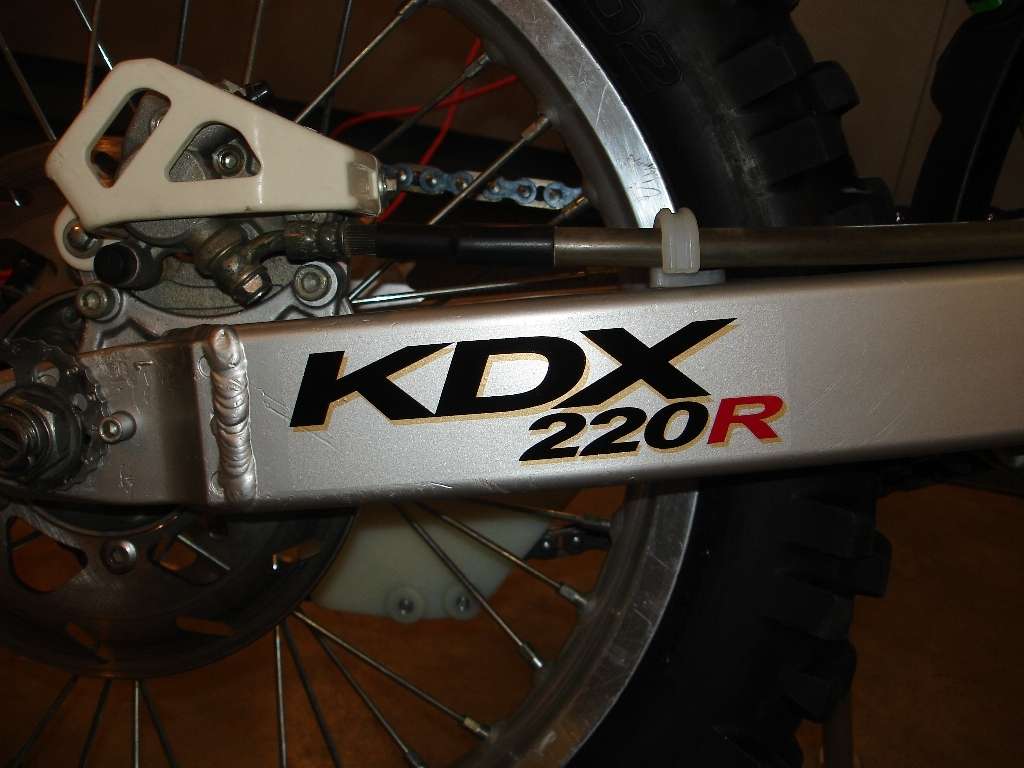
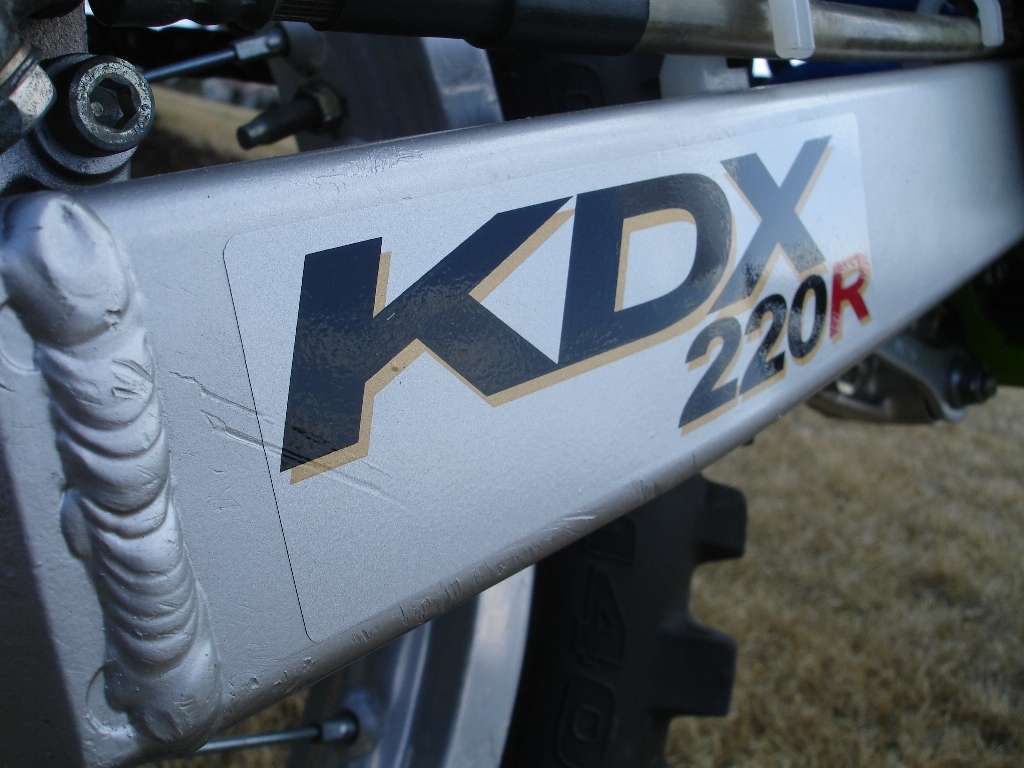
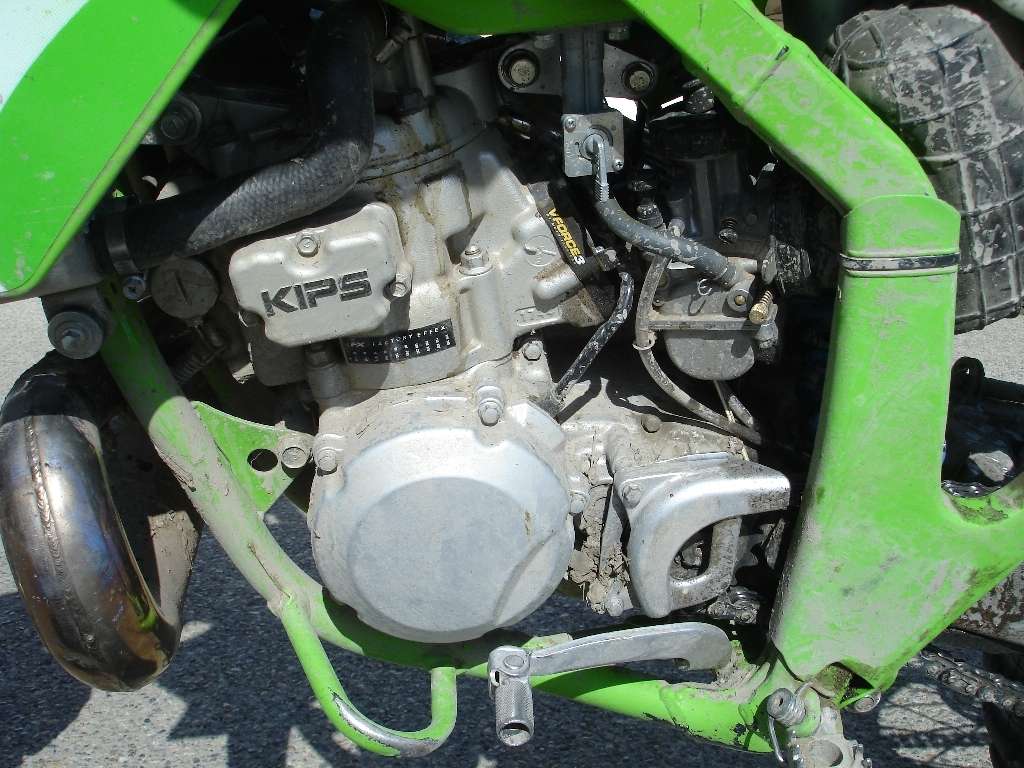
Temp stickers: Another one is on the left side of the jug.
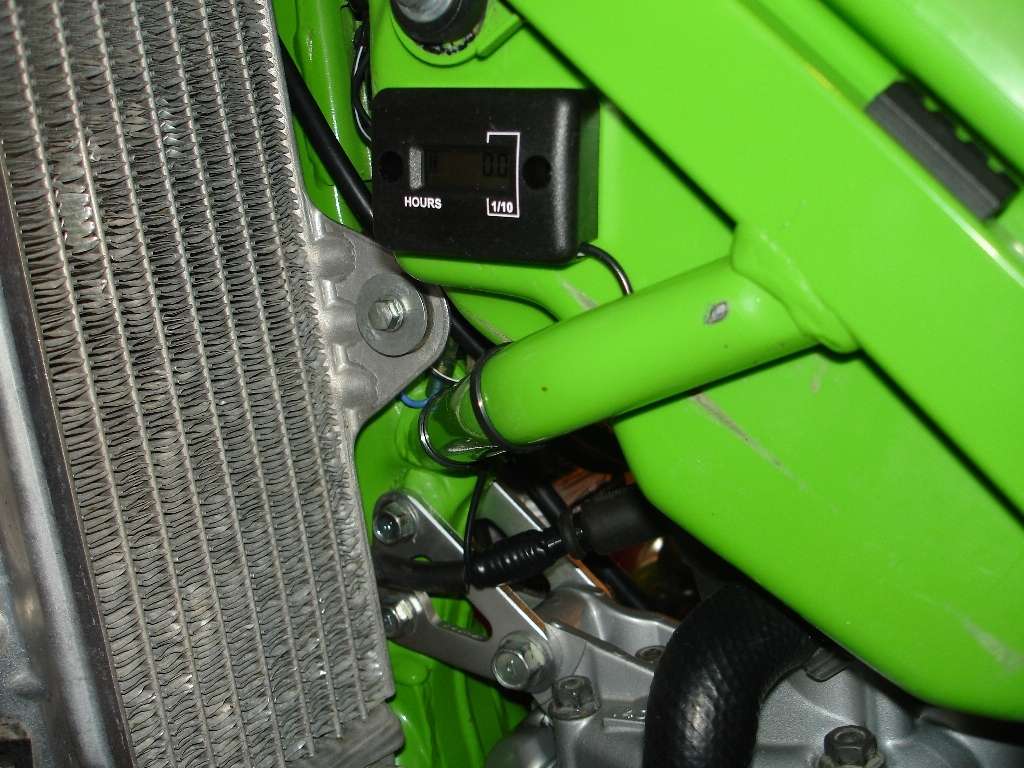
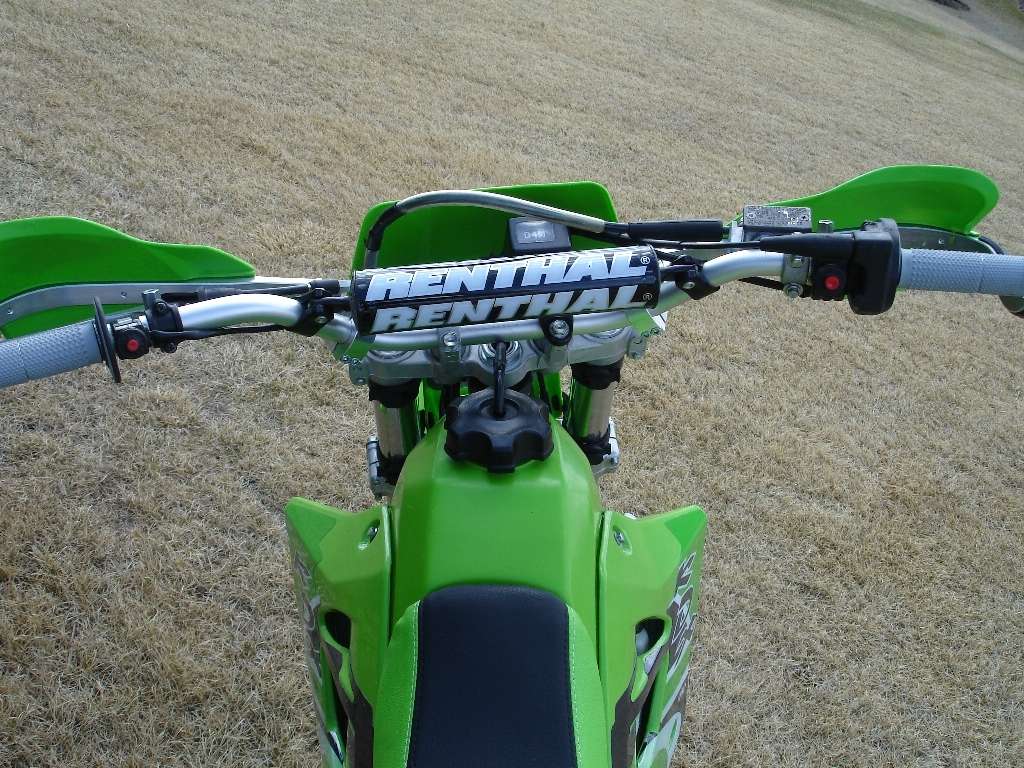
Slick hourmeter install:
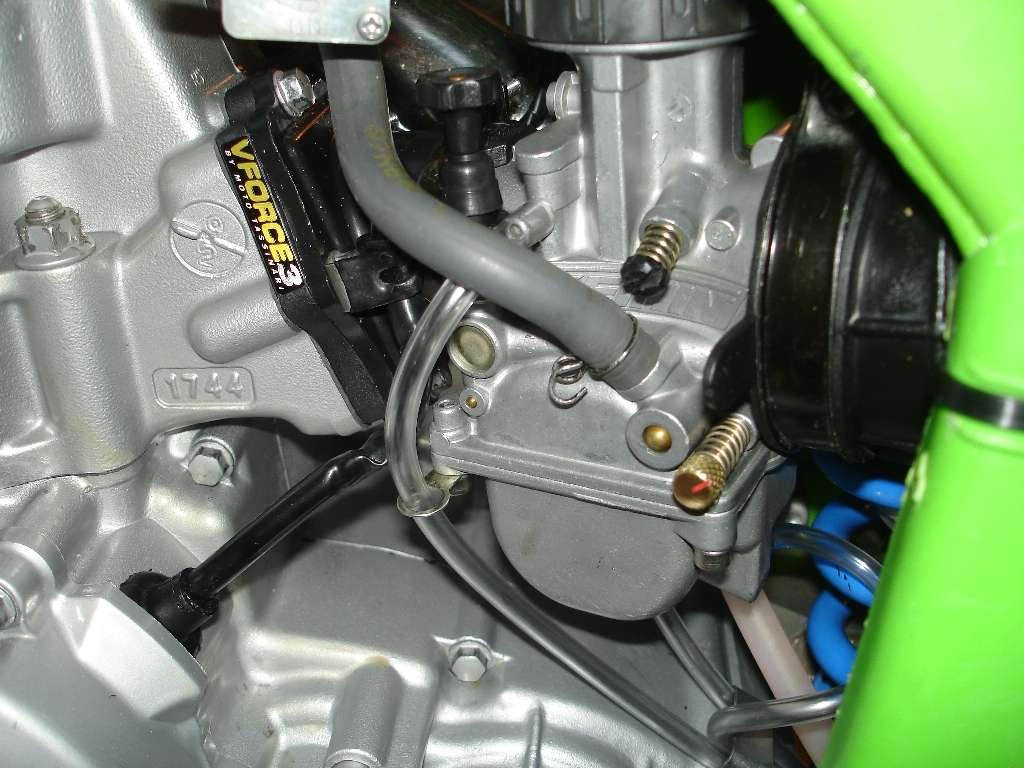
New carb lines:
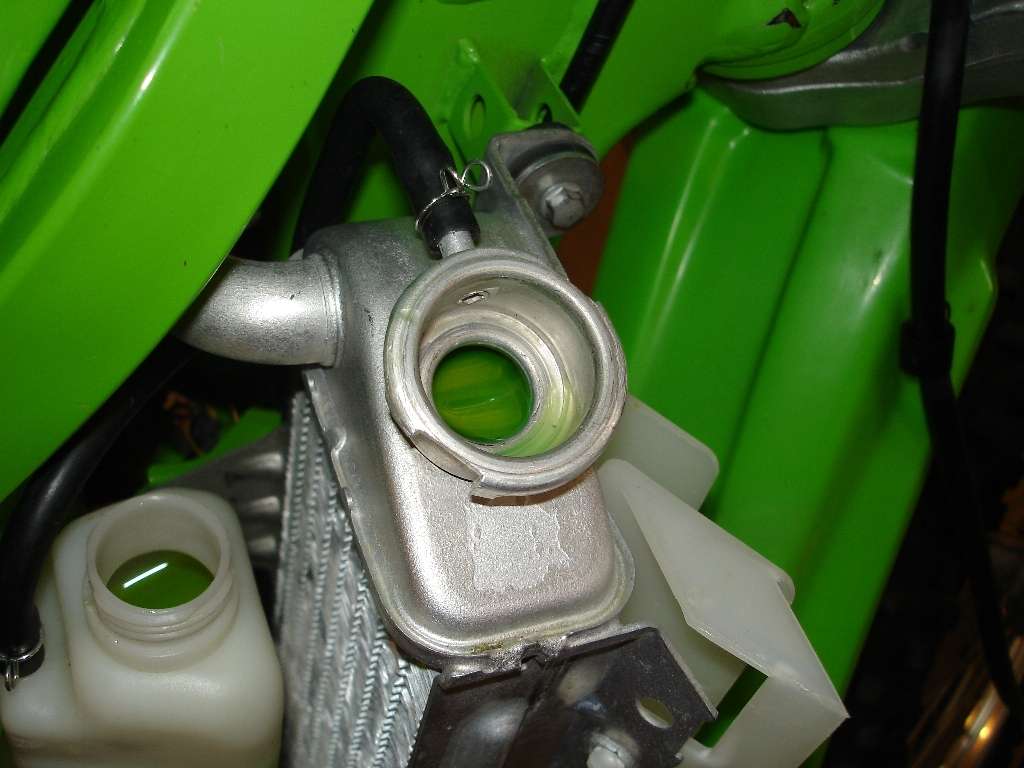
Rads filled, transmission filed:
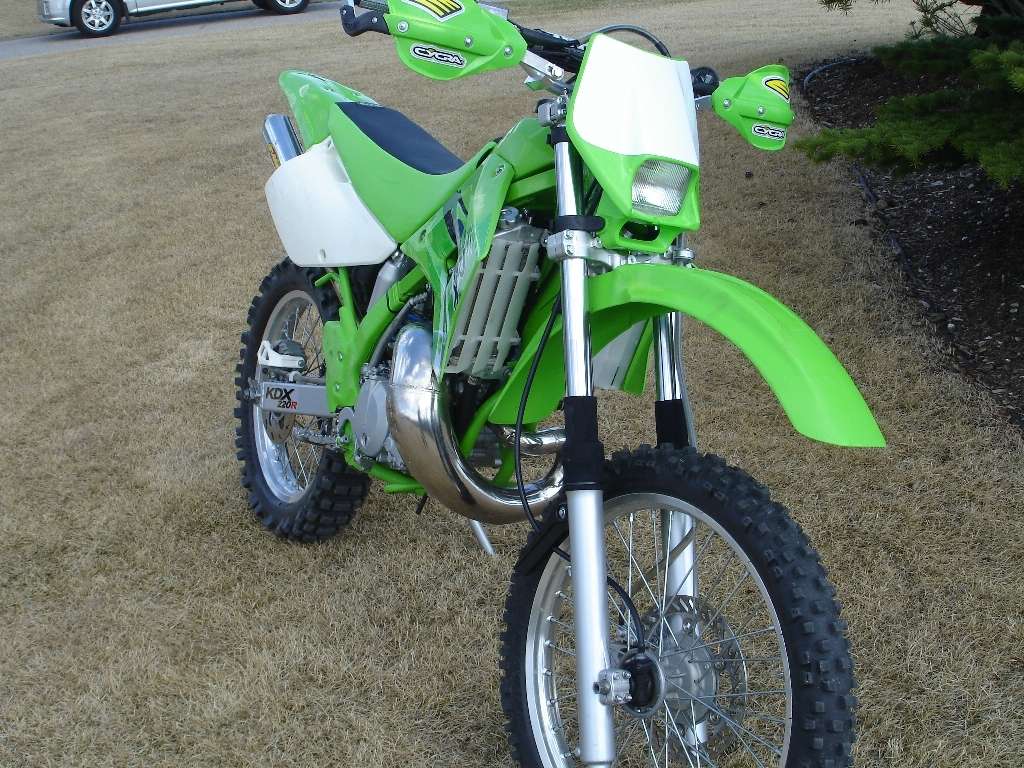
The "final piece" to the bike!
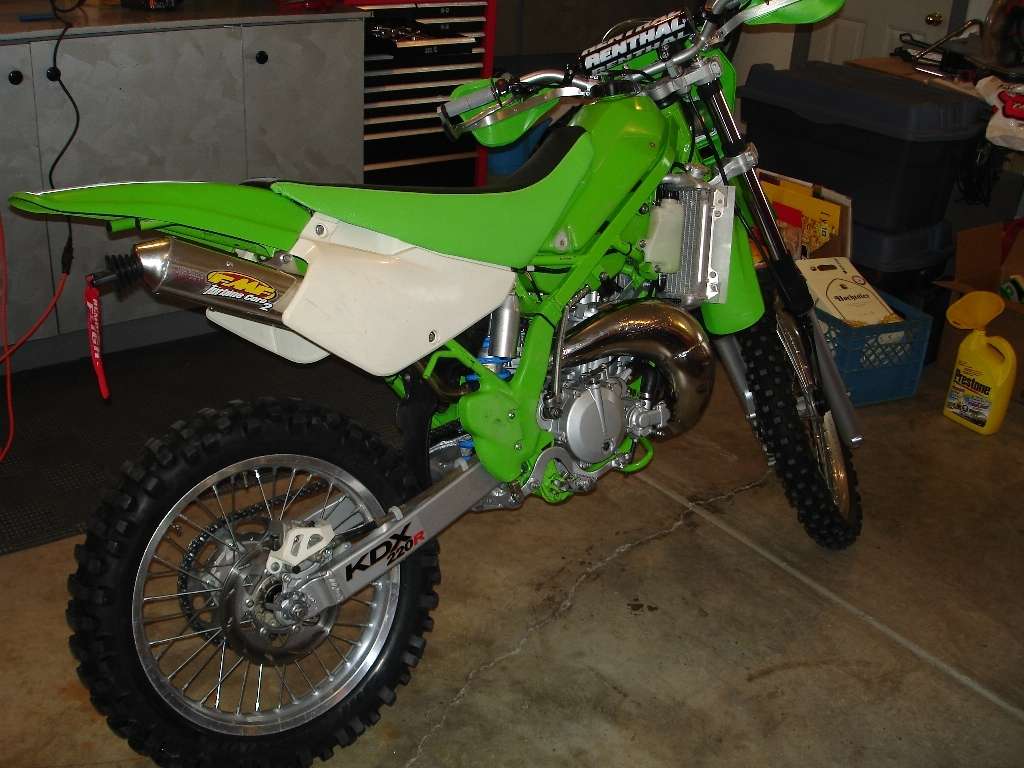
FIRST STARTUP!
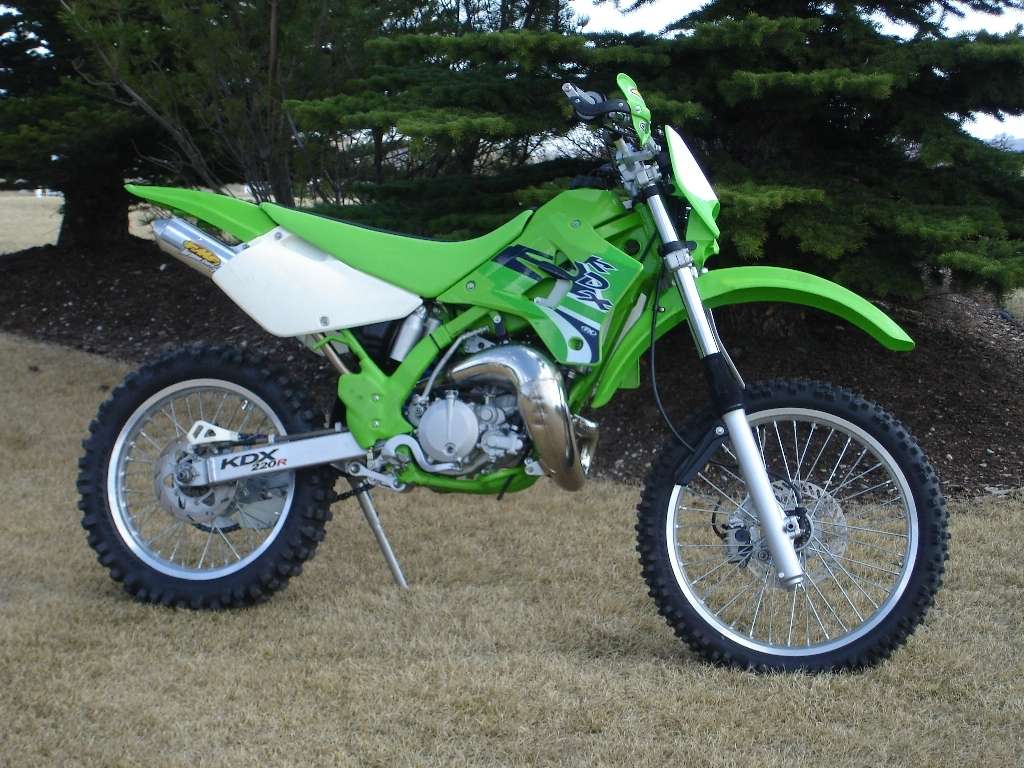
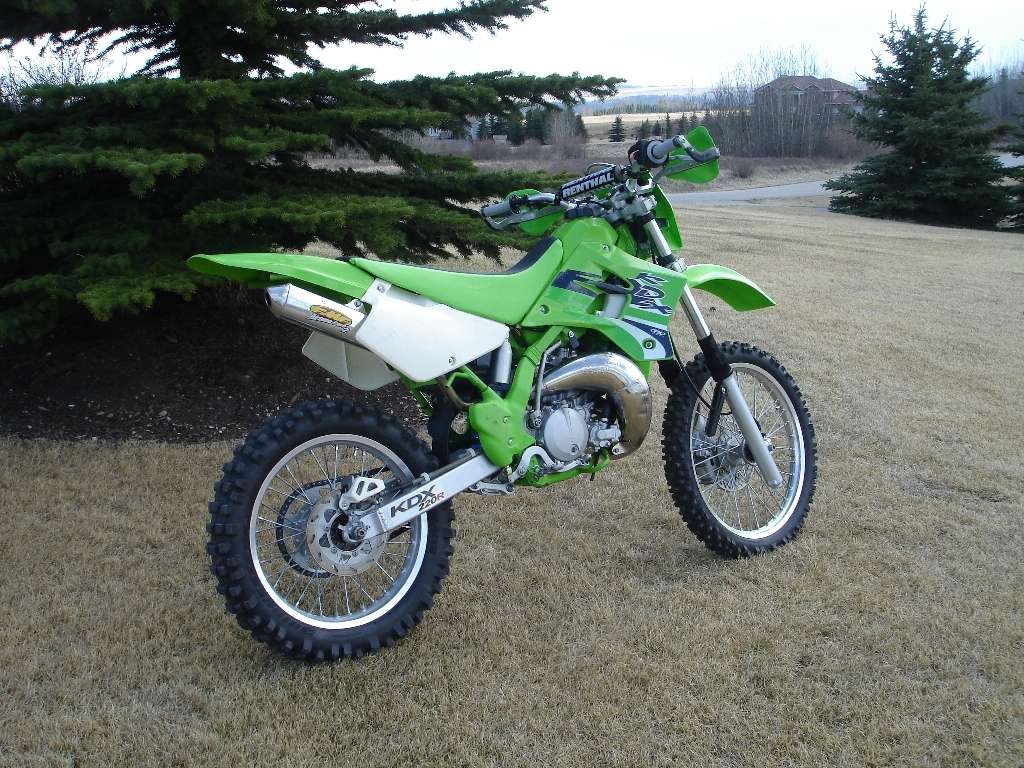
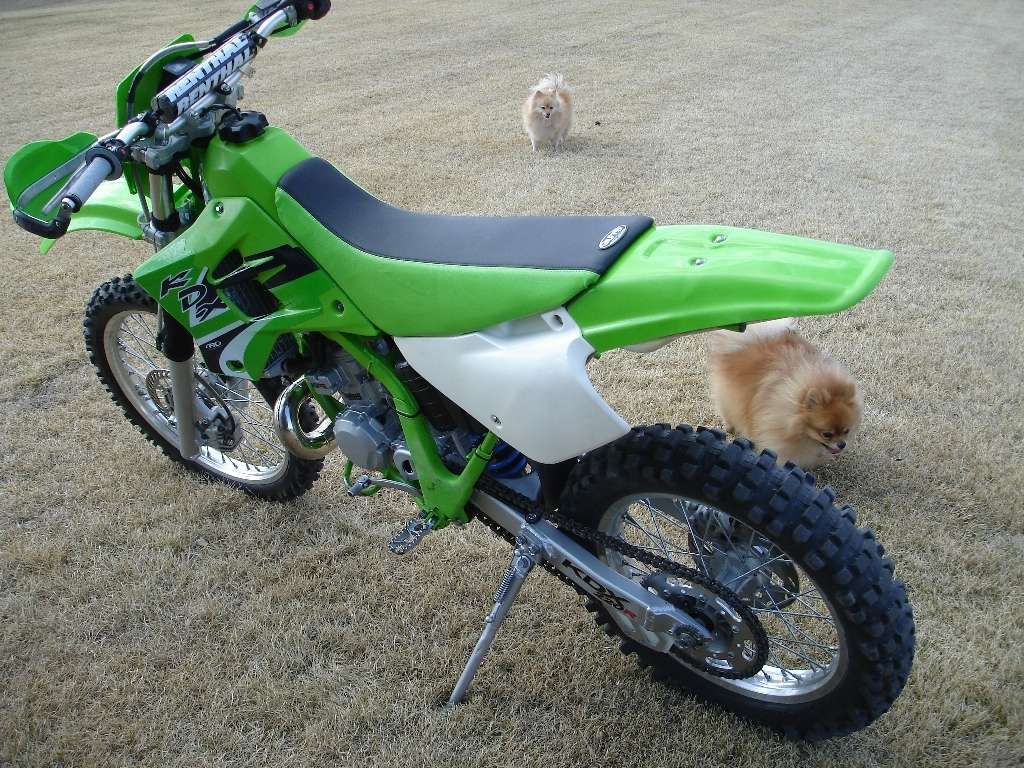
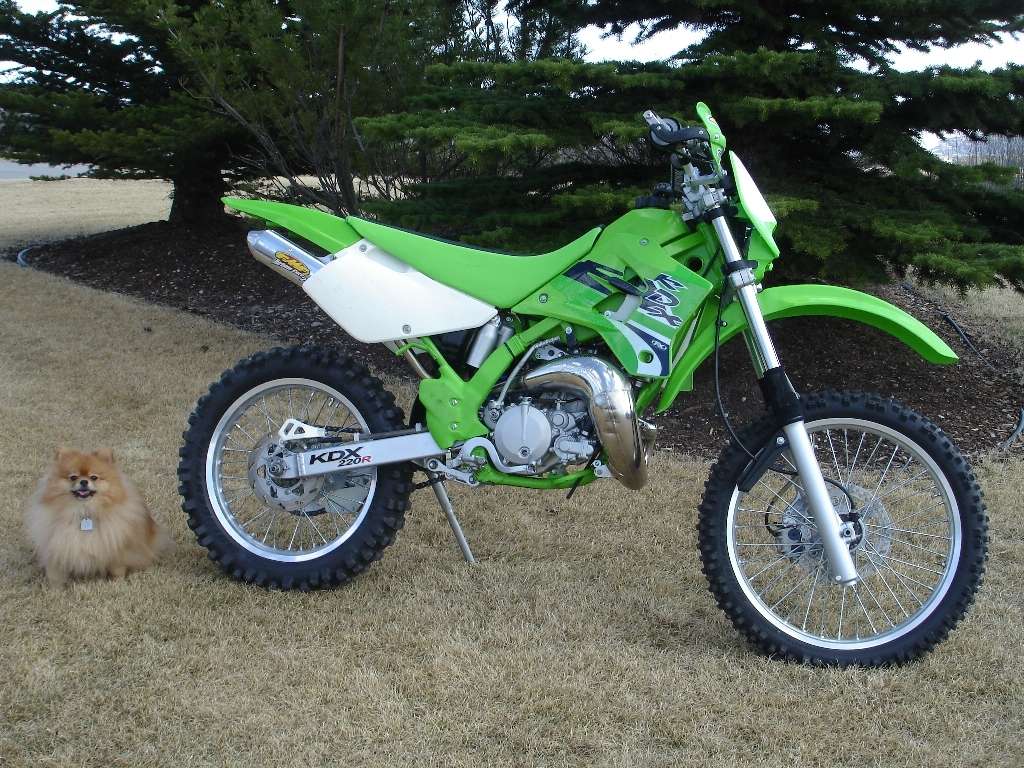
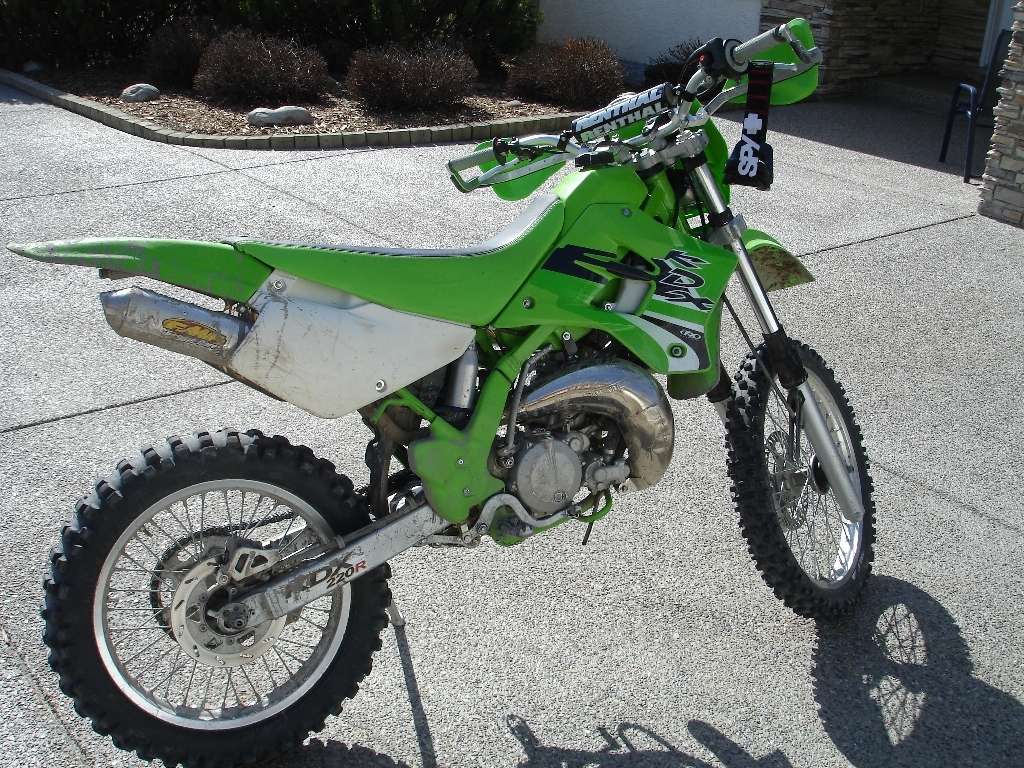
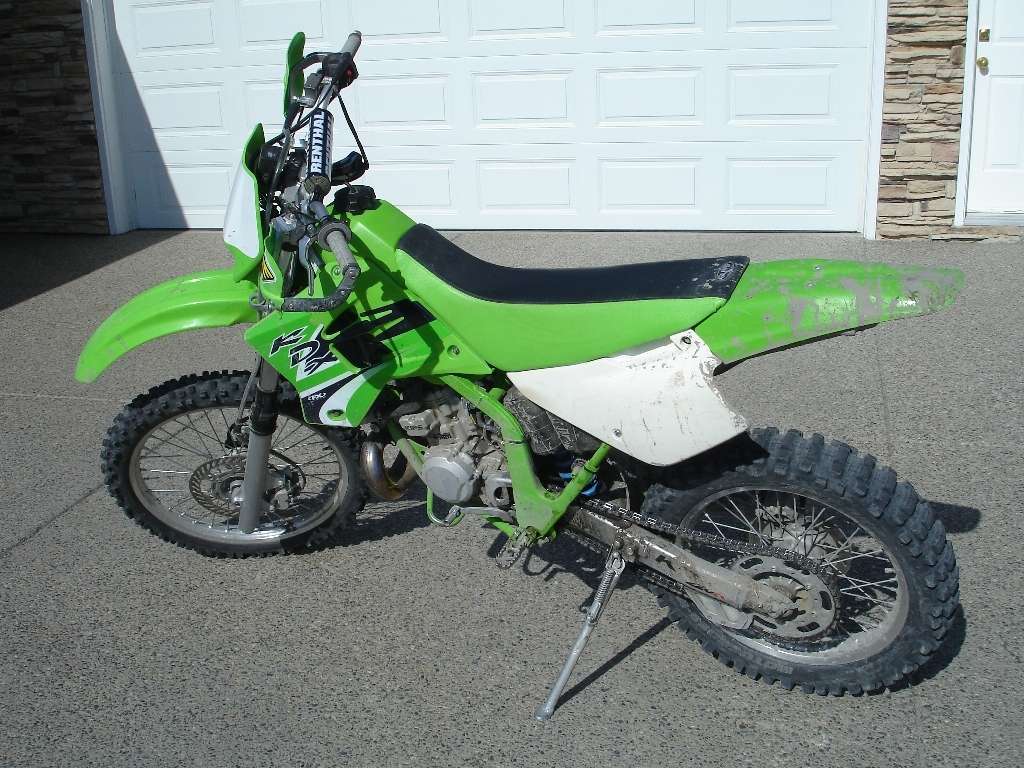
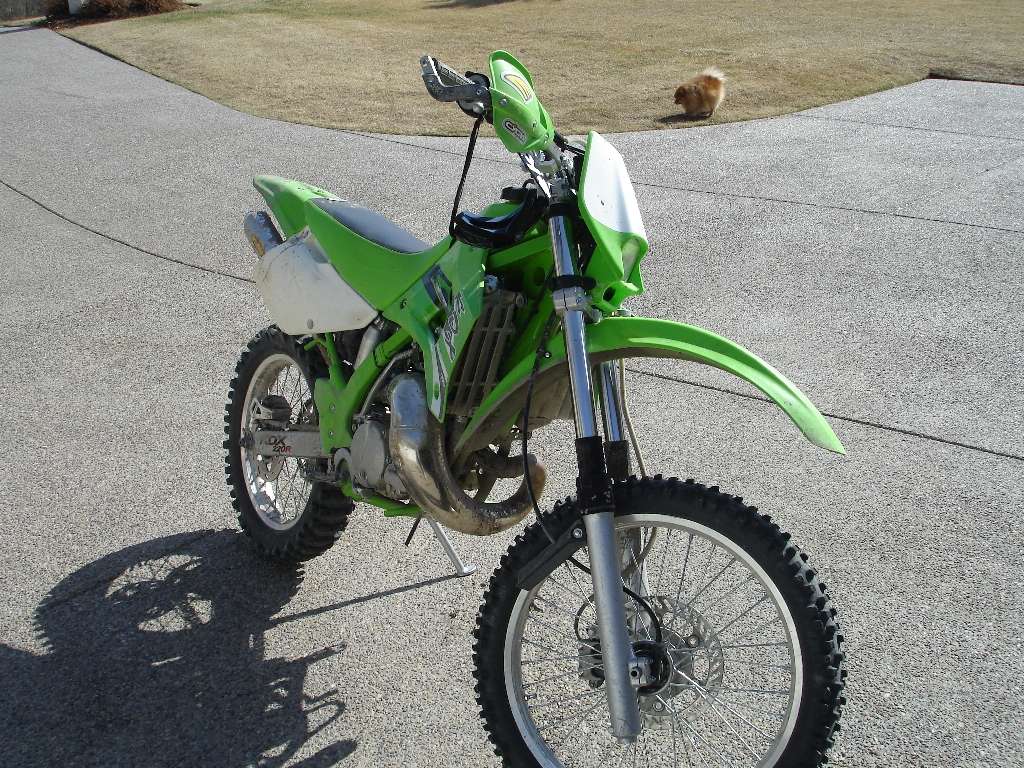
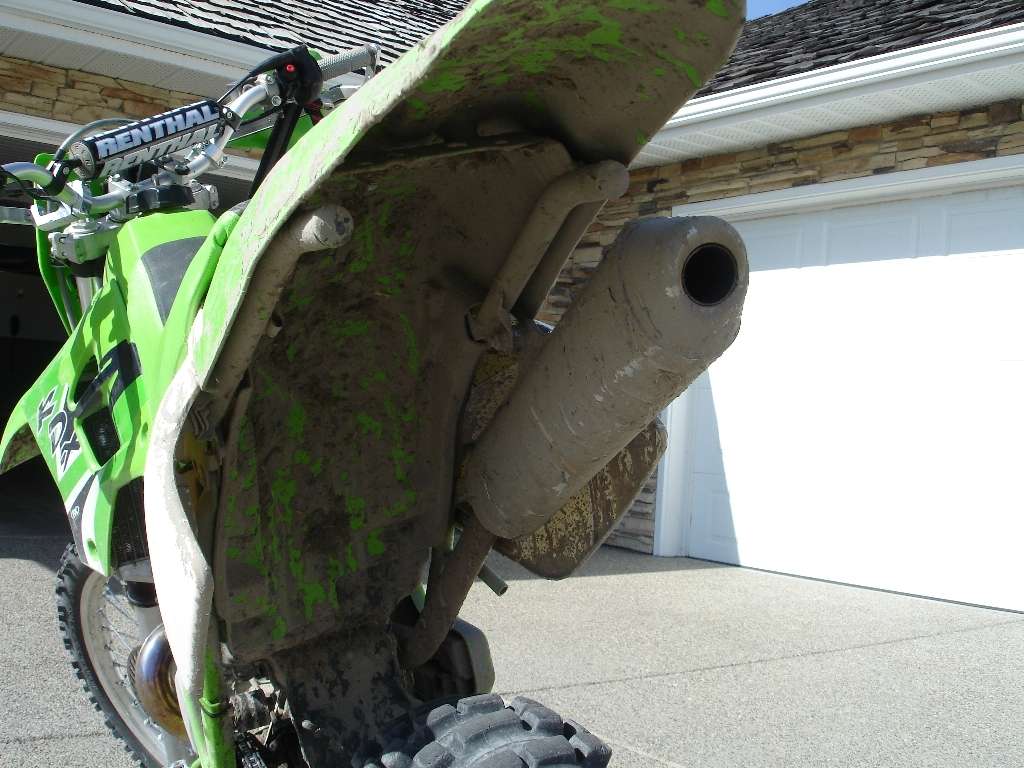
Took it outside for the first startup, then after once around the block parked it to take some pictures.
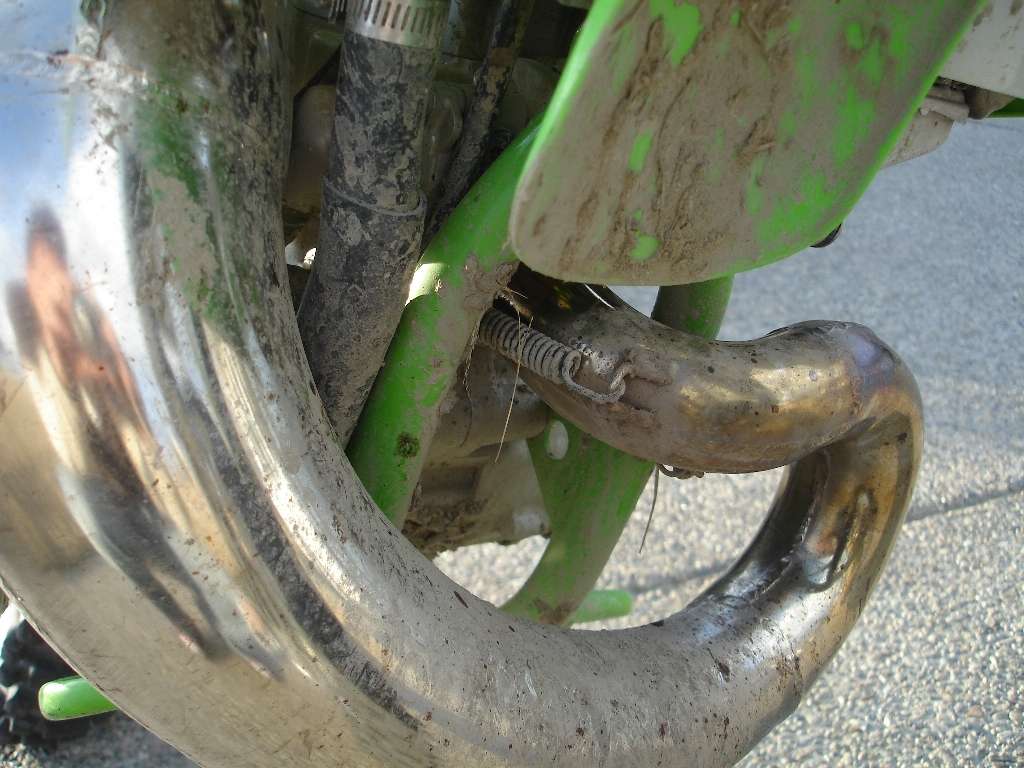
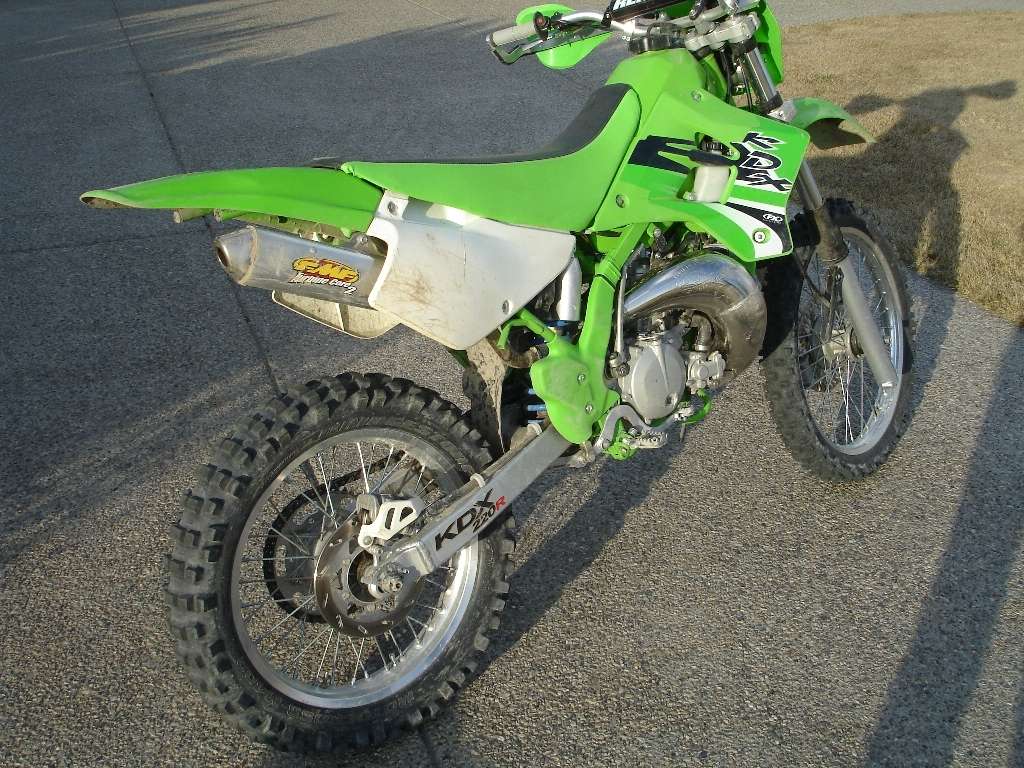
Well, it IS a dirt bike after all, so it couldn't stay clean for long! Went out with fellow TT member Pumpkin450SXF and we tore up some trails. Had a few biffs on the way. I wish I would have gotten it dirtier, but it's pretty dry out here.
Initial impressions are very good. Bike has a TON more bottom end than it did before. I might also retard the timing to give a touch more over rev up top. When I say it has a TON of bottom end, I'm not kidding! I could easily ride a gear higher than I would usually, and going up hills, at even 1/2 throttle, you just hold it there and this whore will tractor right up it! Thanks to RB Designs for his majical carb and head mods that make that possible. I still need to check the jetting (might be a bit fat on the bottom) and fiddle with the airscrew a bit more. That's all to come. In the meantime, I'm glad to say that the build is finally completed, and the bike runs like an absolute champ!
Posted: 03:26 pm Apr 19 2010
by Slick_Nick
I'm taking quite a bit of time to share my rebuild here, and I'm catching flak for not painting the frame and adding a skidplate?
Sorry guys, last time I checked this was my bike and I could build it as I see fit. Please don't knock it because you would have done it differently.
Posted: 03:36 pm Apr 19 2010
by jrnolan
Thank you for letting me in on all of your work. I think the bike is outstanding! Your skill and attention to detail is a very good thing and I learned a lot from your thread. I visit it all the time to pick up more ideas. Great photos as well.Thank you again and have fun!
JR
Posted: 03:39 pm Apr 19 2010
by Indawoods
Nick... we have opinions too.... accept it.... that's how forums work.
It's not that you didn't do it... it's that your reasoning doesn't hold water and I just assumed you were going to go all the way.... I assumed wrong.
I'm glad it runs.
Posted: 03:46 pm Apr 19 2010
by Jupiter2
No way, I was not knocking at all. Quite the opposite. I think you put in a tremendous about of work and I think it came out excellent. And because you put in so much time and effort I was just curious. Plus I'm asking more from a noob perspective. I would love to be able to do the things you have done and hope in time learn how.
Posted: 03:49 pm Apr 19 2010
by Jupiter2
Bottom line. Very nice job and I'm glad you shared it with us.
Posted: 04:38 pm Apr 19 2010
by Sapphire
Yeah, no Knockin from me...thats for sure. This rebuild-along is top notch man. It makes me feel like I could do one...and I dont even own a BIKE yet!!! But am jazzed to get one then rebuild it!!
Nick, what kind of money do you have into the RB mods??
Very nice! Love it!
Posted: 05:03 pm Apr 19 2010
by ihatefalling
Dude....awesome job and thanks for taking the time to post pics and share the journey.
I hated to see you get it dirty
Ive' never been into my KDX's engine but have doe top ends before. I ber you were like me.....when you're kicking it on those first kicks, you're heart has a small fear of "oh no....what if it doesn't start"...........But then she fires right up and WHEW.....YES!
Posted: 05:33 pm Apr 19 2010
by Slick_Nick
Ok guys, no problem. It's wierd, if you look at the video, on the 2nd kick it actually fired for about 5 revolutions, then died. I suspect this was because my throttle was out of adjustment. To be safe, I backed the throttle screw all the way out (I didn't know if RB had set it.) That's why you see me adjusting it right after the bike is running. When it finally did start it was because I had cracked the throttle ever so slightly, had I done that earlier I'm sure it would have fired right away.
Thanks everyone for all the kind comments, it's been one hell of a project, but I'm glad to see it completed!
Posted: 05:35 pm Apr 19 2010
by Julien D
Yes, it's a great build. I'm with Inda in the priorities being a bit off though. Re-use old rusty bearings to save money, and then spend money on graphics, stickers, and power adders. Doesn't add up IMO. I would have replaced all the necessary stuff while it was completely torn down, and spent money on the graphics, stickers, and bolt on power adders later on. Function over form.
Either way, bike looks great. I hope those old bearings hold up for you so you're not tearing it completely down again next fall!
Posted: 05:40 pm Apr 19 2010
by Slick_Nick
On another note, it may just be my ISP, but are the pics working ok for everyone? Imageshack kinda sucks, sometimes they only half-load for me...
Posted: 05:43 pm Apr 19 2010
by Slick_Nick
juliend wrote:Yes, it's a great build. I'm with Inda in the priorities being a bit off though. Re-use old rusty bearings to save money, and then spend money on graphics, stickers, and power adders. Doesn't add up IMO. I would have replaced all the necessary stuff while it was completely torn down, and spent money on the graphics, stickers, and bolt on power adders later on. Function over form.
Either way, bike looks great. I hope those old bearings hold up for you so you're not tearing it completely down again next fall!
The graphics, etc were all given to me when I purchased the bike.
As for the "rusty old bearings" you can see how I cleaned them up, and made them almost as good as new. Upon reassembly none of the bearings experienced any binding or excessive play, hence they were reused. Maybe they looks worse in the pics than in reality, but I can assure you that I am super anal about maintainance and all bearings will get cleaned and re-greased every few months, so should they become worn past their service limit, I will be able to replace them right away.
Posted: 09:41 pm Apr 19 2010
by frankenschwinn
Great job.
Posted: 10:24 pm Apr 19 2010
by Tomm9050
Ditto
Posted: 06:06 am Apr 20 2010
by Julien D
I can see your point on the bearings, but I can't accept it, honestly. If there's rust on a bearing, and you clean the rust off, it stands to reason that there is less metal in that bearing than there was before. Rust is nothing but oxidized metal after all. There's no way around it. Whether you can tell it or not, there IS gonna be some play there. I imagine they will wear out pretty quickly.
Score on the graphics and such then, I didn't realize that. I know you weren't given the VF3 or RB mods though ;). Again, bolt on's that could have been done later to save a few bucks to spend on new bearings during the rebuild!
Don't take it personally, the bike really does look great. I'm just offering up my personal opinion, and hopefully some helpful criticism. I always love to see someone tear a bike down and build it back up. Everybody does things differently, for sure. Congrats on getting her running!
Oh yeah, nice Pom's too!
Posted: 09:13 pm Apr 20 2010
by Slick_Nick
Got it a bit dirtier again today, she's showing 4.3 hours on the hourmeter so far, and I'm going to consider it WELL broken in the way I've been riding it haha. It's bone dry up here, but I did manage to find a few stream crossings that left me a bit muddy.
No problems whatsoever either, I'm still doing some tweaking with the suspension clickers, but other than that, she runs like a champ!
Posted: 07:33 am Apr 21 2010
by Julien D
Looks even better dirty!
Posted: 05:45 pm Aug 30 2010
by engybenjy
Awesome thread mate! Thanks for taking the time to write it all out!!
Re: Project KDX 220R - The Rebuild
Posted: 10:09 am Sep 02 2010
by 99sr220
>|QBB<[/url]
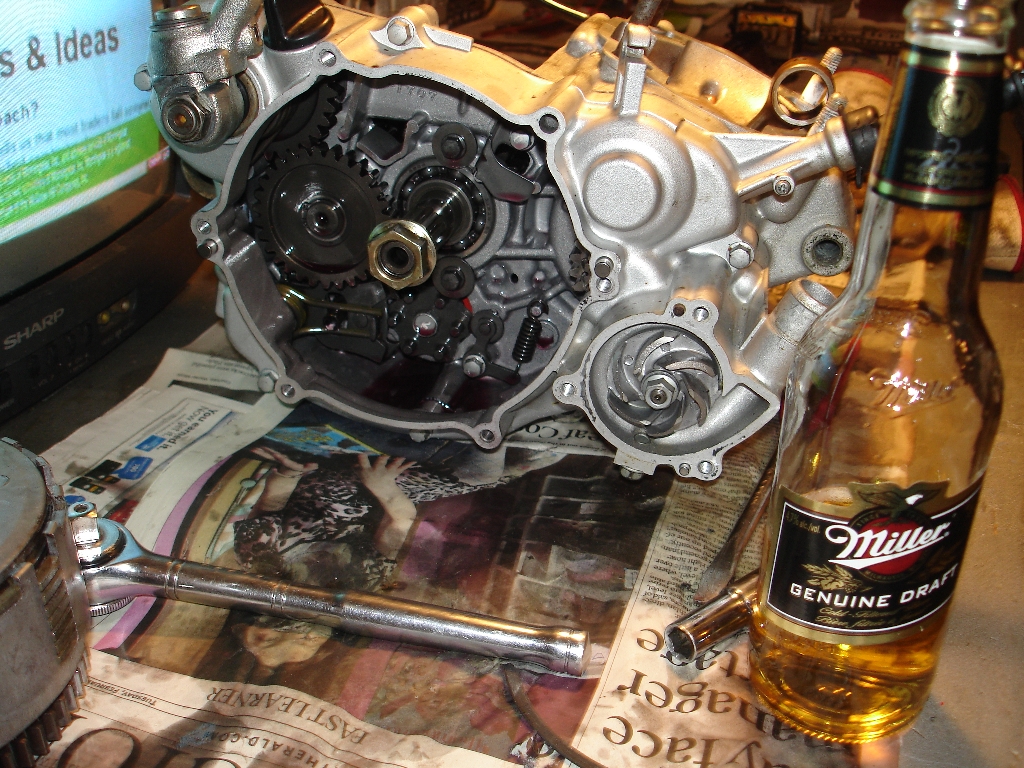
Slick_Nick wrote:
Could someone pls help me by naming cog in the picture above. Mine has a slightly chipped tooth, so I'm looking for another.