Project KDX 220R - The Rebuild
Posted: 01:07 pm Feb 20 2010
I'm in the process of rebuilding my 2000 KDX 220, and I thought I would share it here. Plans for the rebuild are fairly mild.
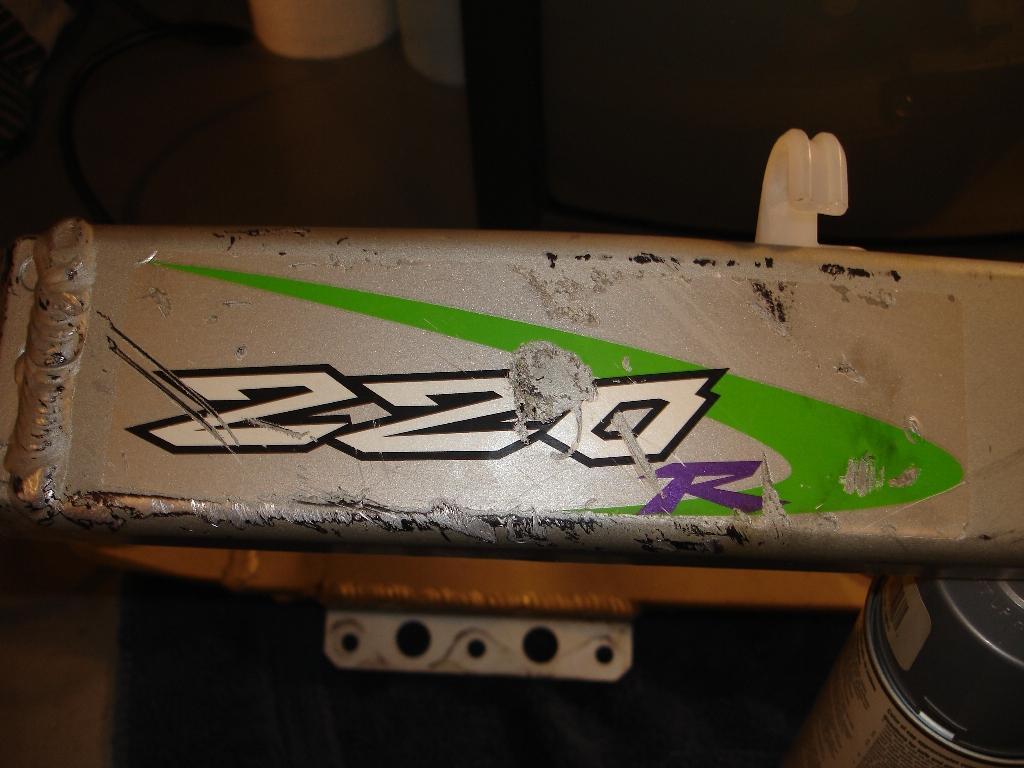
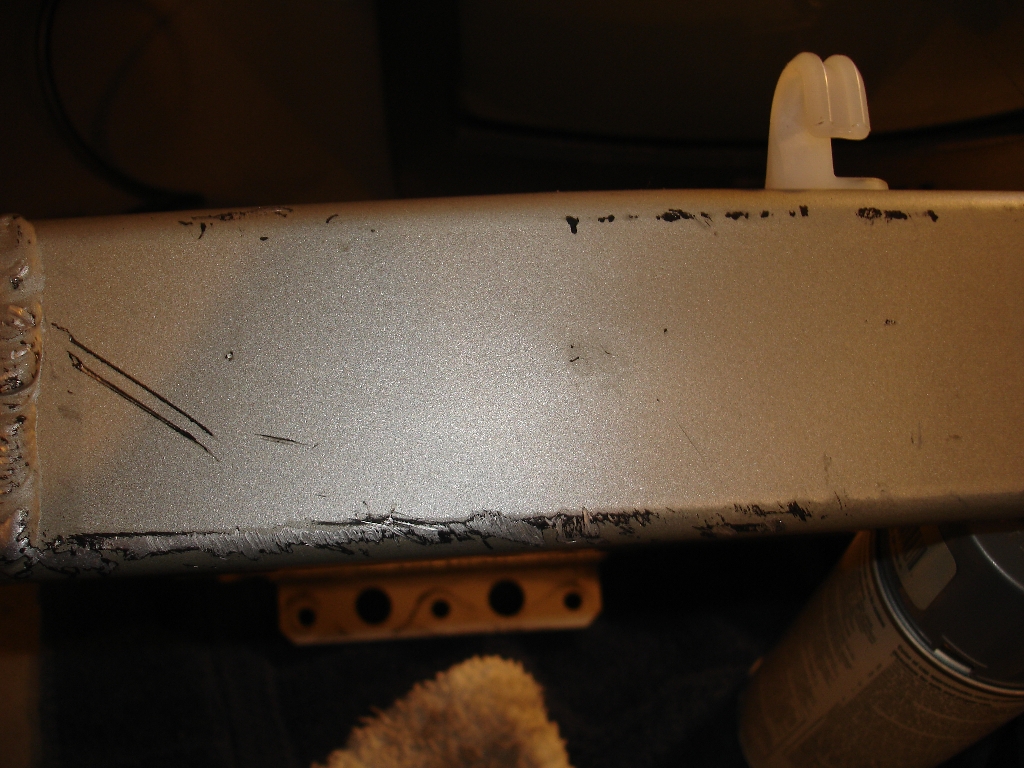
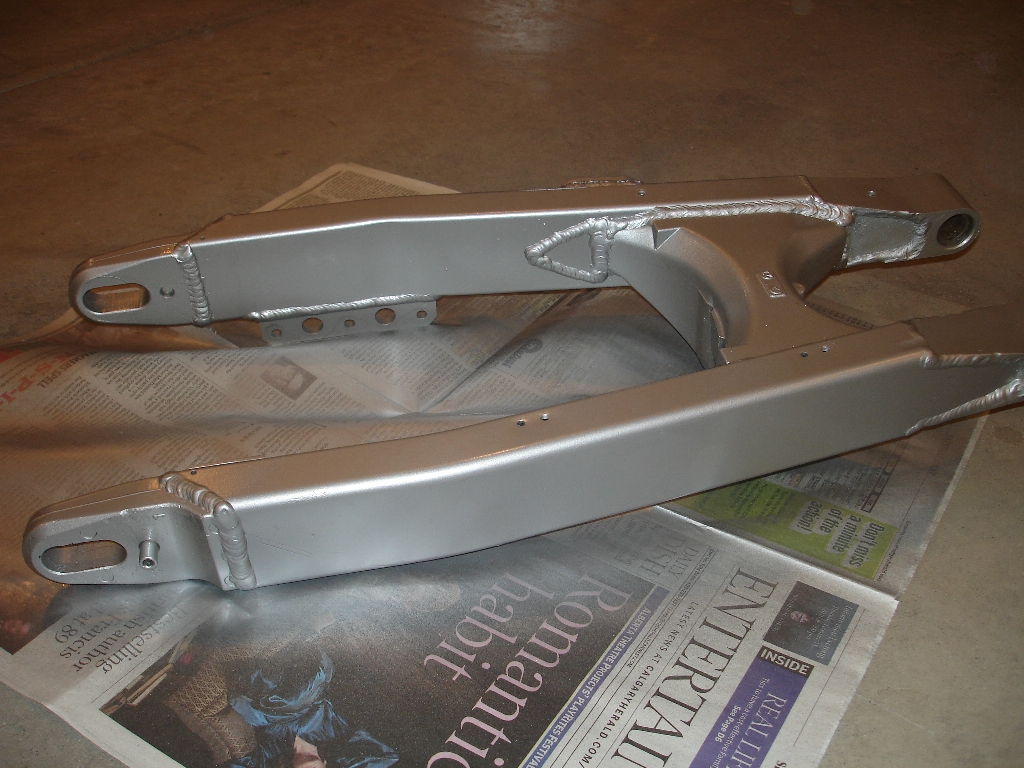
For the chassis, all bearings will be inspected and lubed or replaced, new graphics, seat cover, maybe some fresh paint in areas, everything will be sandblasted to clean it up. Spokes checked, new brake pads, new chain and sprokets, new bars, grips and a new headlight. (Anyone know where I can get a green DHH???)
The engine will recieve a complete rebuild, top and bottom. The countershaft seal is weeping, and the left main seal is leaking a bit too. New rod, main bearings, piston, RB head and carb, and V-Force 3 reed valve to top it all off.
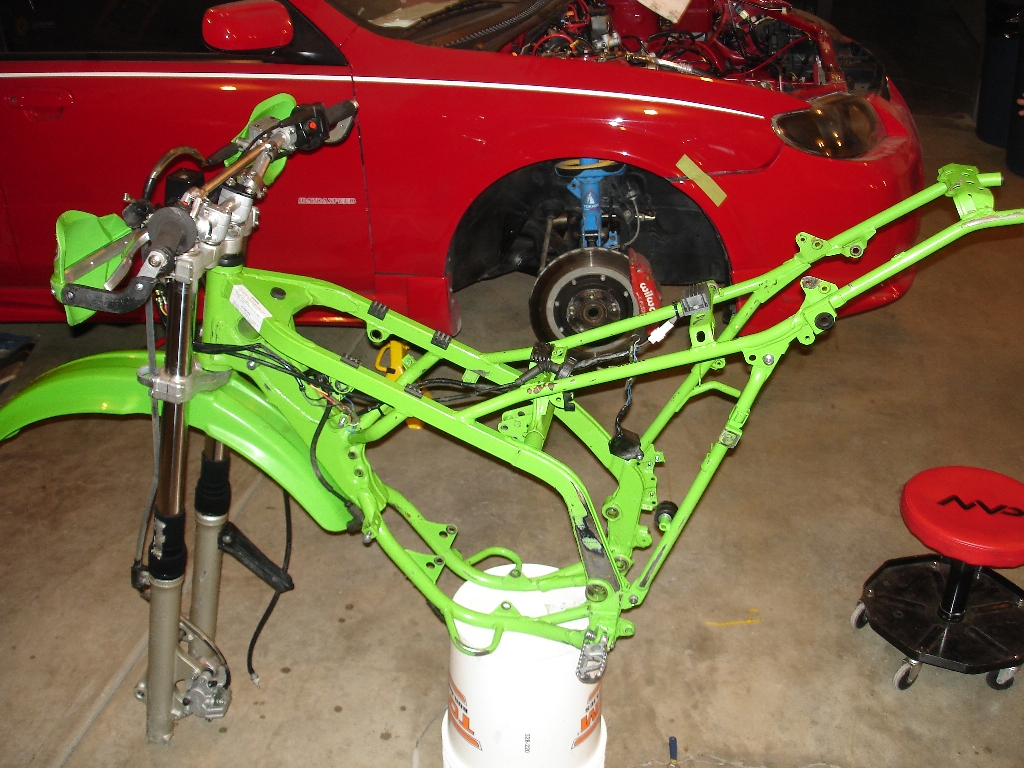
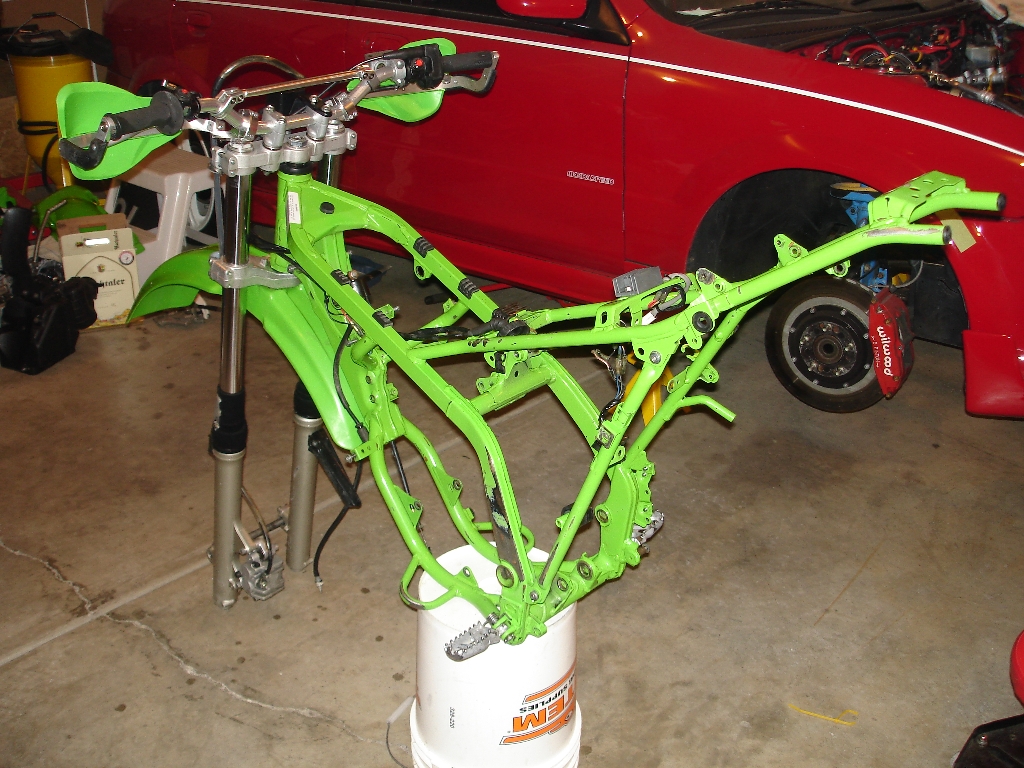
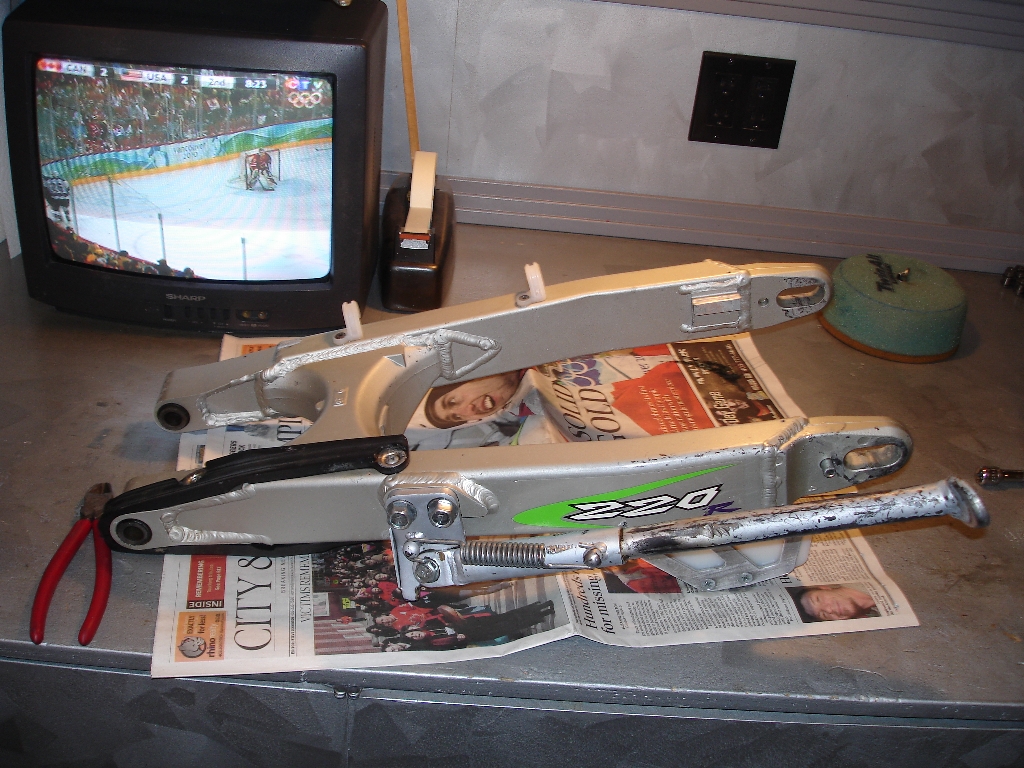
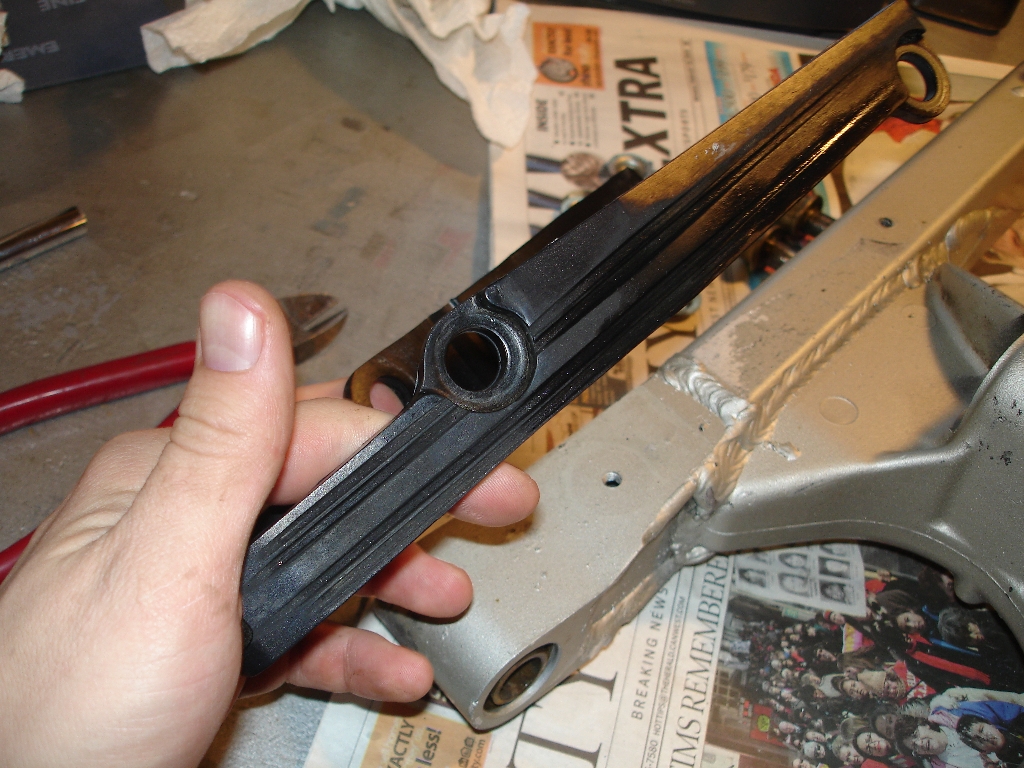
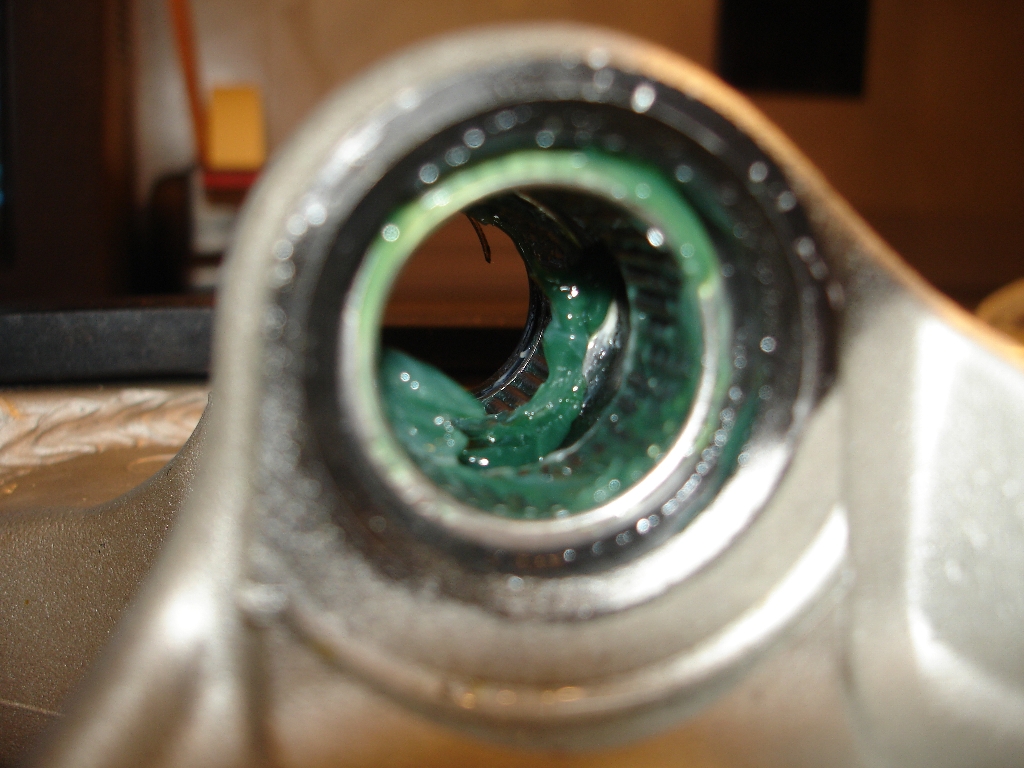
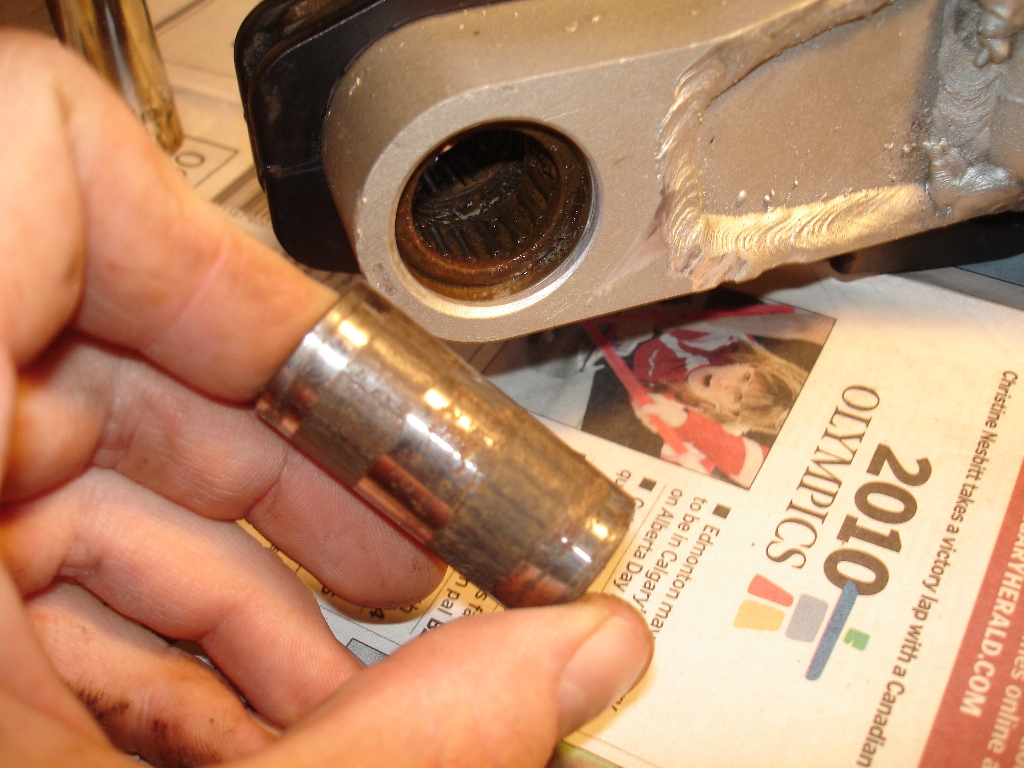
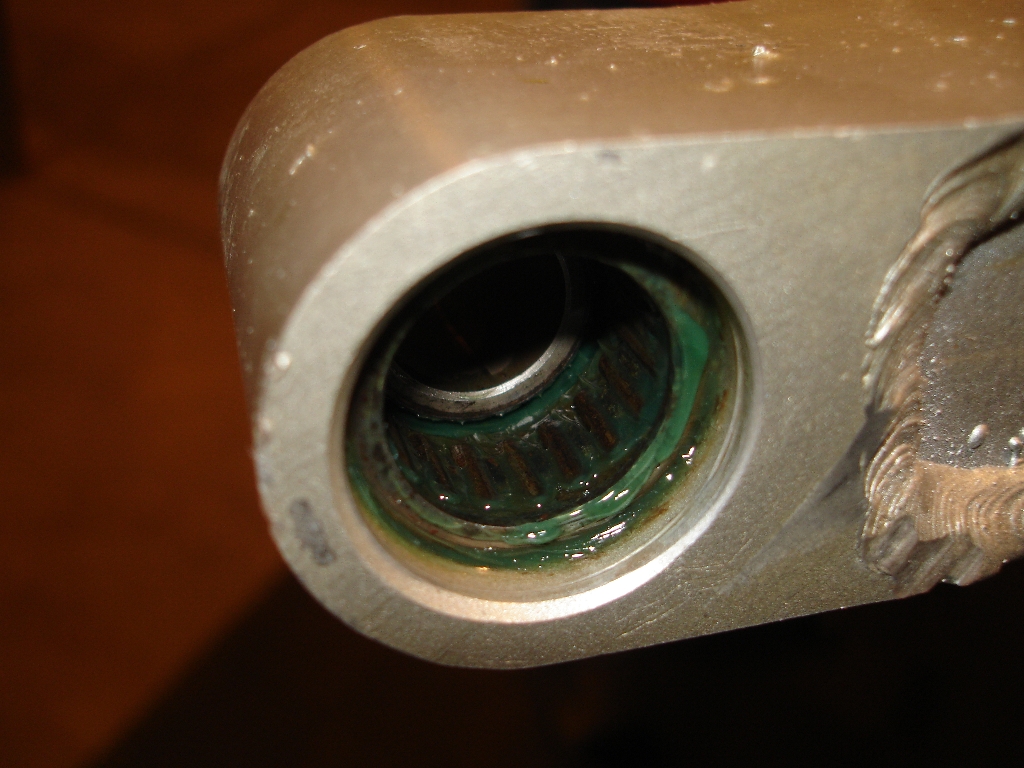
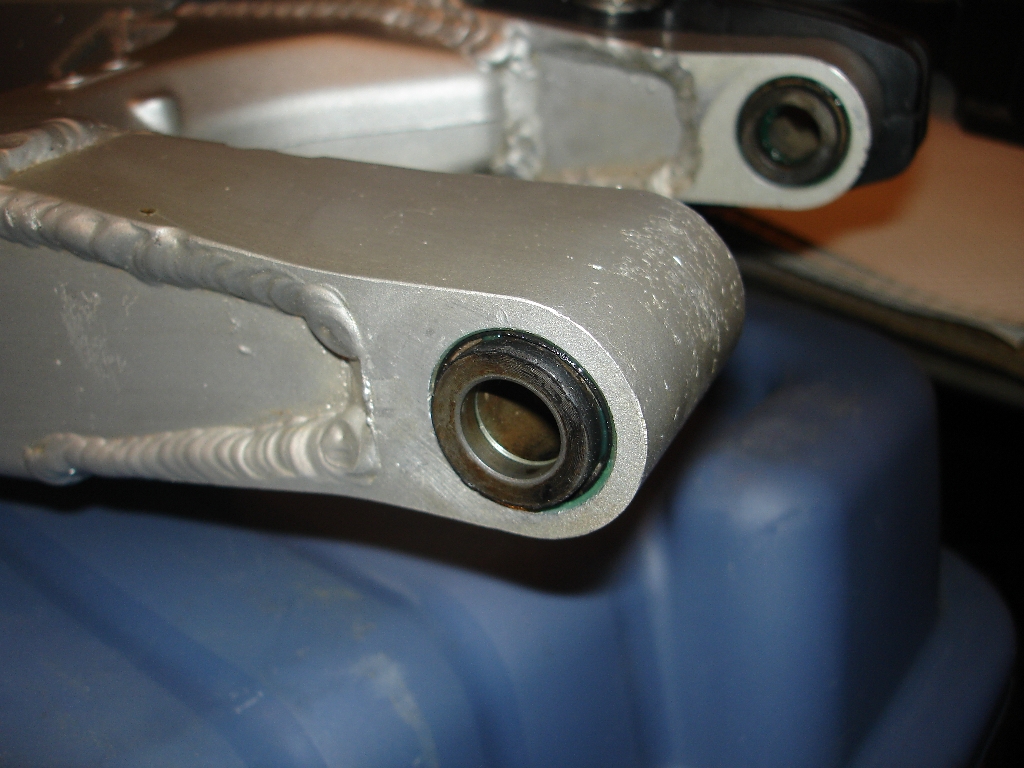
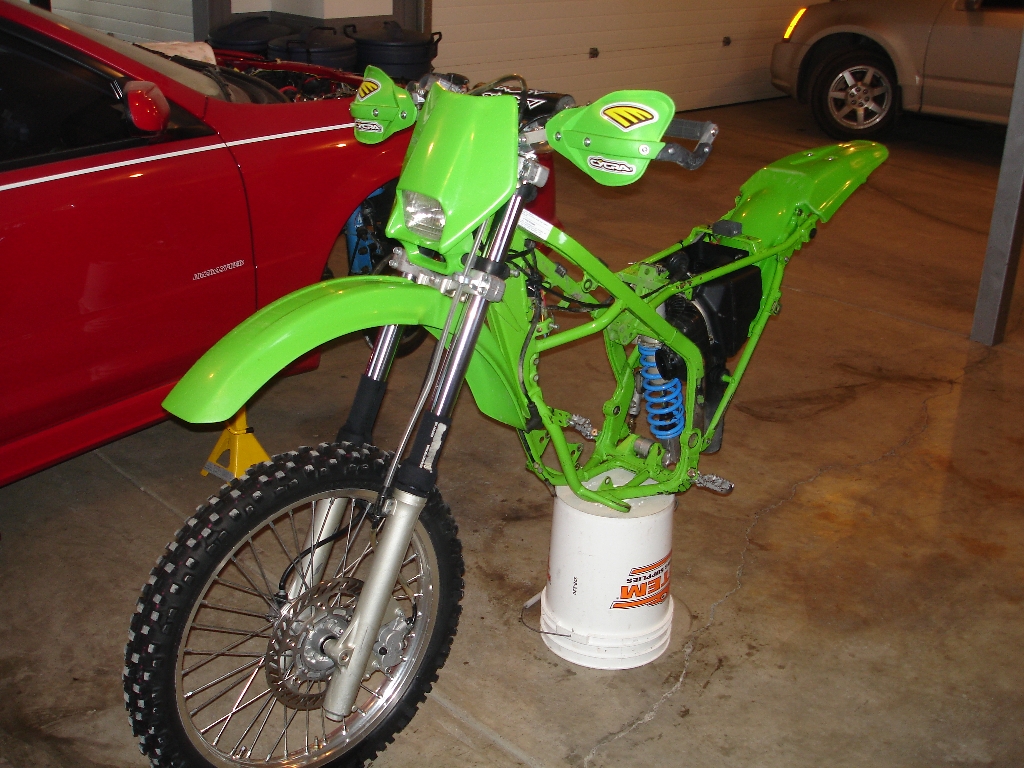
Today began by setting the bike up on my patented stand, and removing all the big stuff. Rear wheel, swingarm, seat, tank, shrouds, rads, blah blah blah... Swingarm bearings and all linkage bearings are ok, just need a thurough cleaning and some grease. I disassembled the rear wheel bearings, cleaned, and repacked. 2 spokes were a bit loose, need to get a spoke wrench and fix that. I'm glad I'm getting new brake pads.
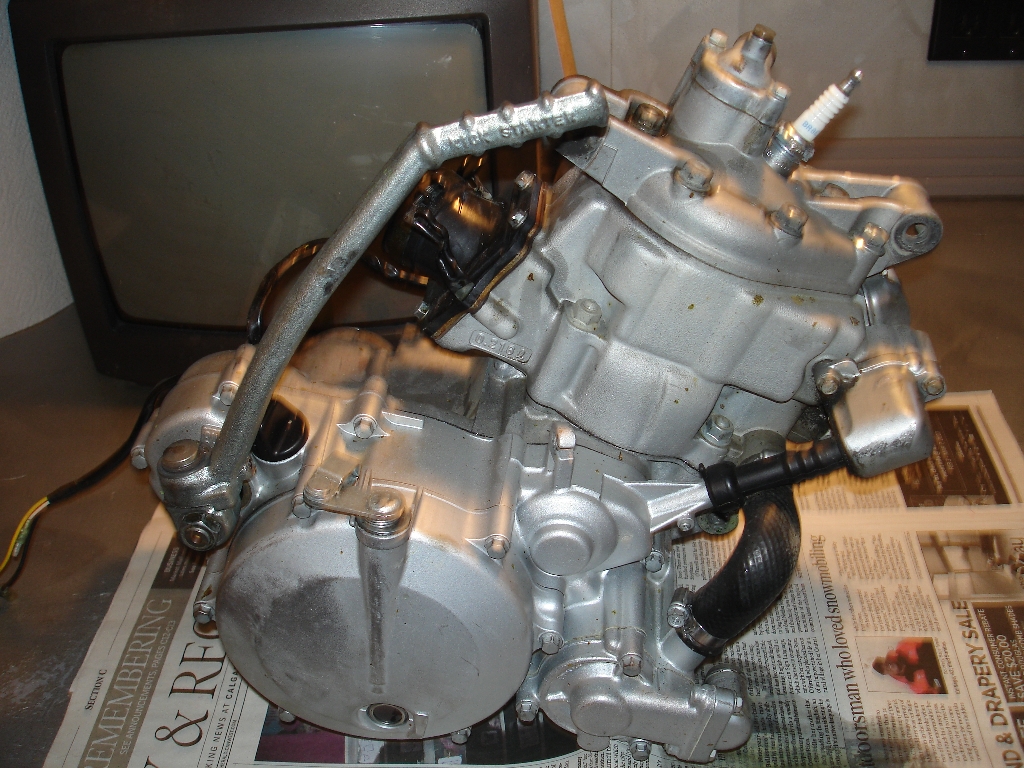
After all the stuff was removed, I pulled the engine and set it on the bench, and left the chassis aside for now.


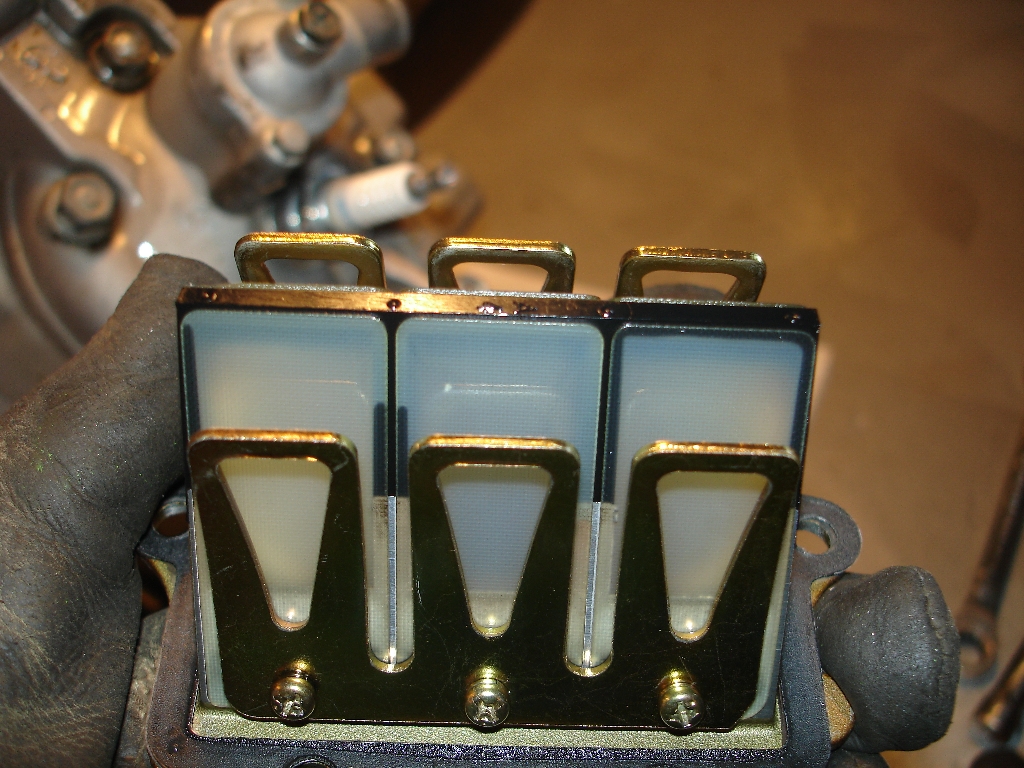
Started by removing the reeds, one corner was chipped, maybe that's why I'm getting premix before my carb. VF3 will take care of that problem. Plug pulled too, maybe 10 hours on it. Running a touch lean with the cold weather it looks like.

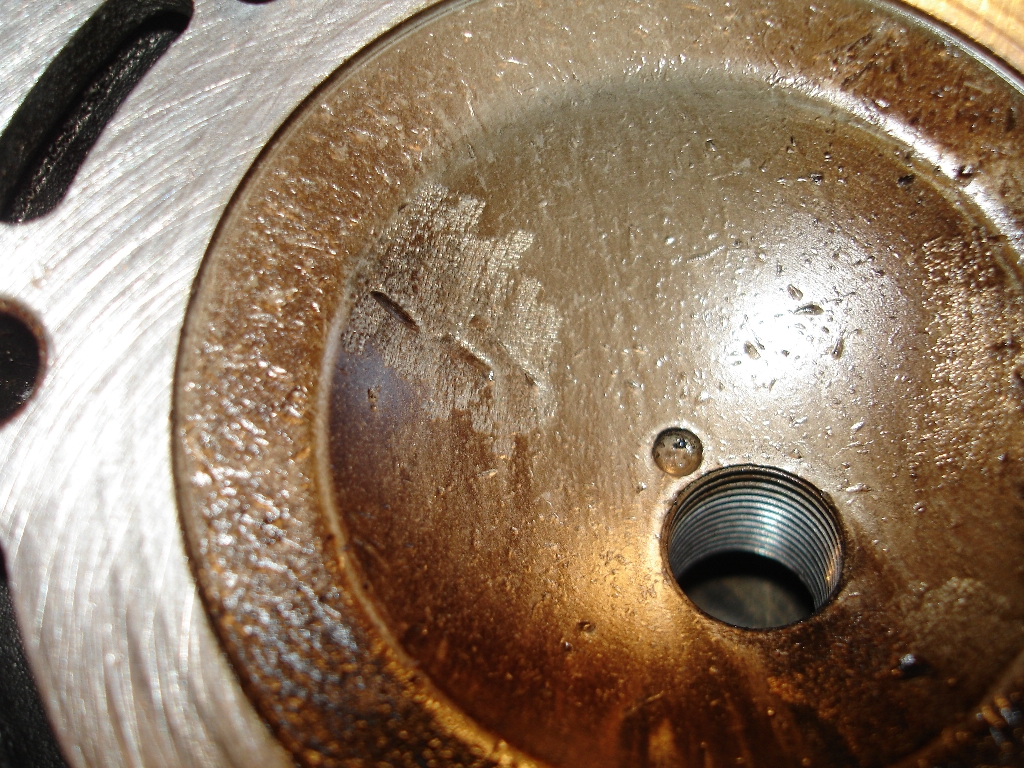
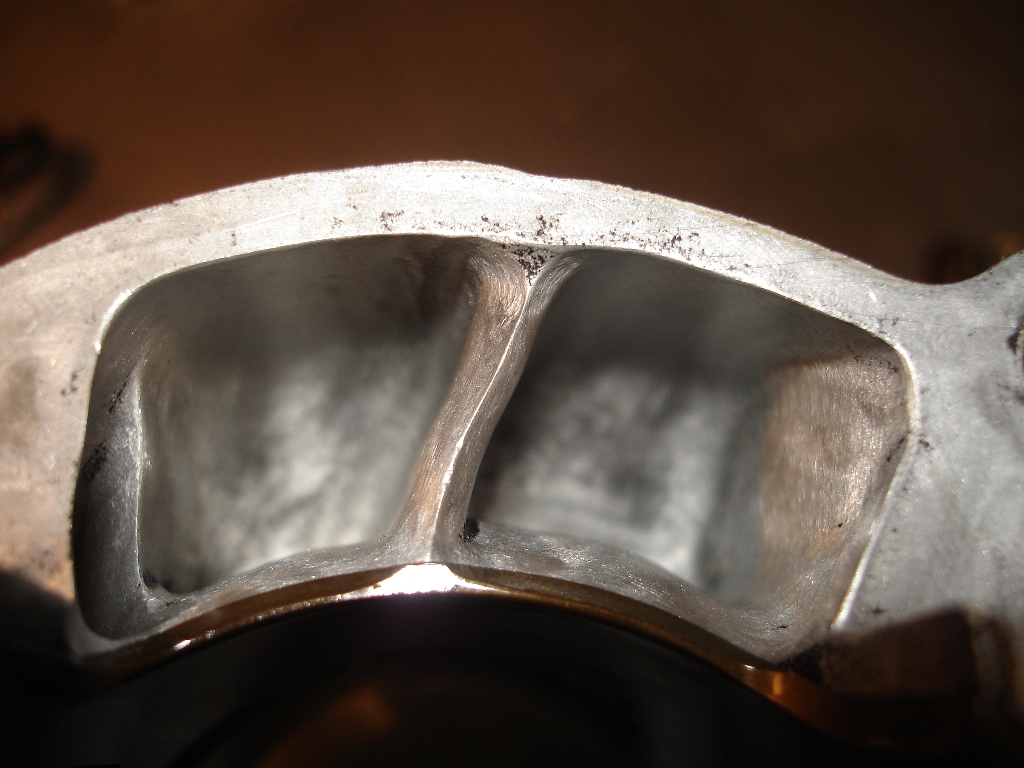
Then, I pulled the head. Was I ever in for a surprise. Looks like the imfamous 220 broken piston a few owners ago, you can see the damage to the head, and where someone tried to grind it out. Hopefully RB Designs can save this head, if not I'll grab a used one.

One of the KIPS shafts was broken, through no fault of my own... Add another part to the list...
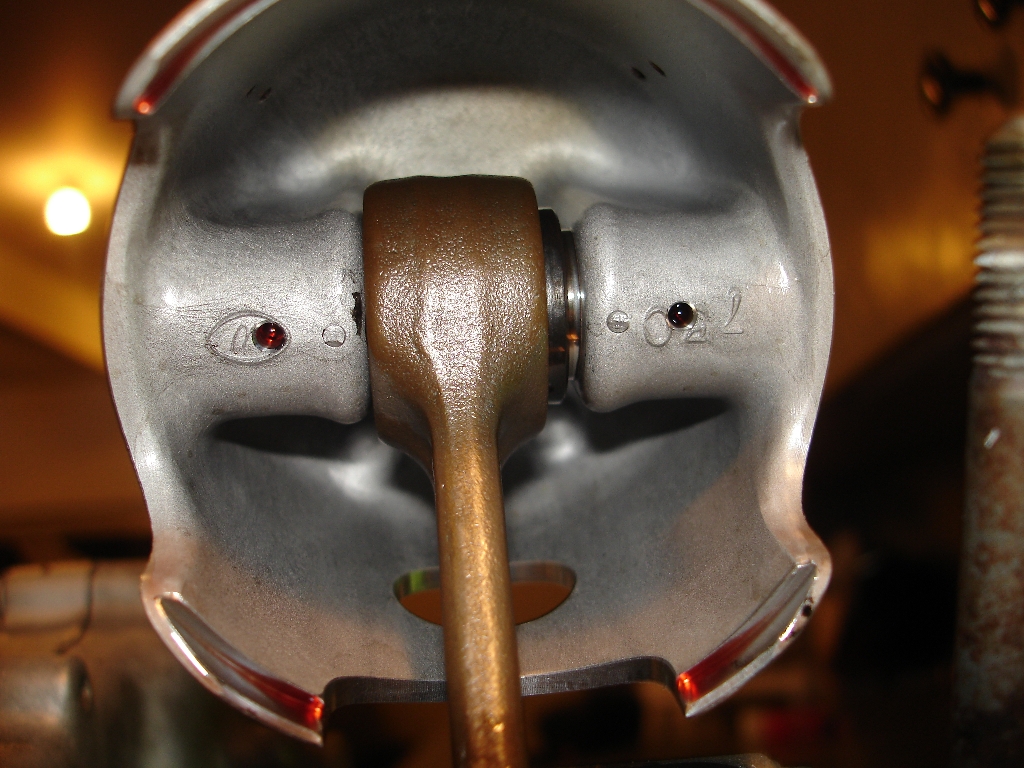
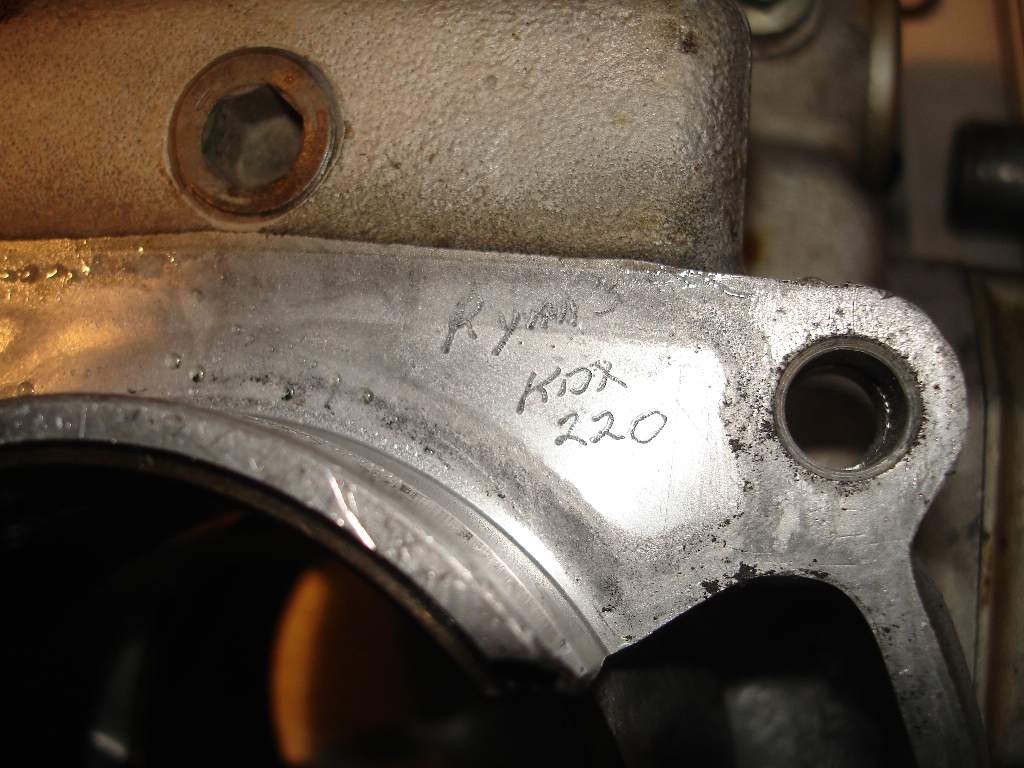
Pulled the jug, and to my surprise, it had a Wiseco piston, and not only was the cylinder plating in great shape, apparently one of the PO's "Ryan" had it ported and polished!


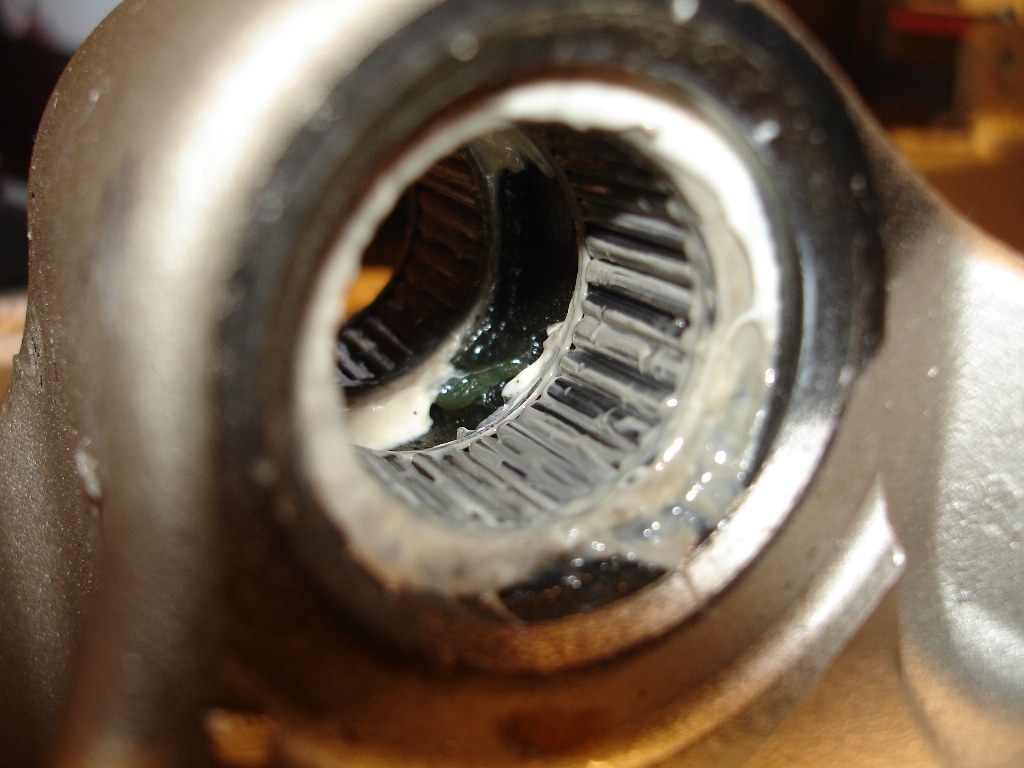
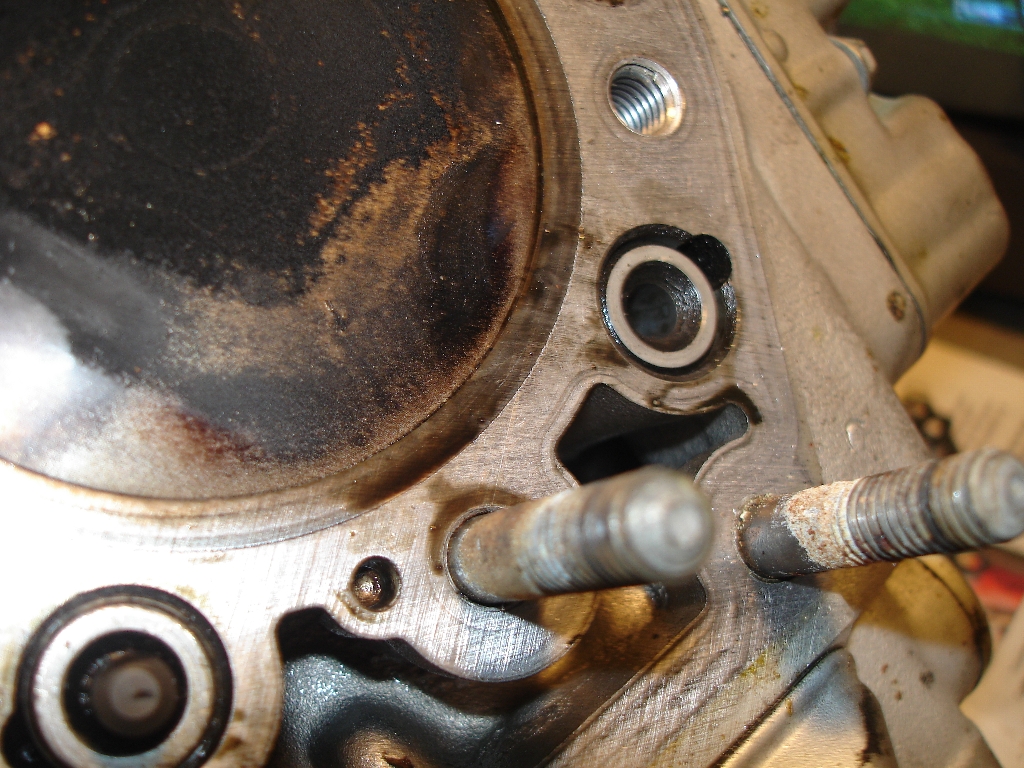
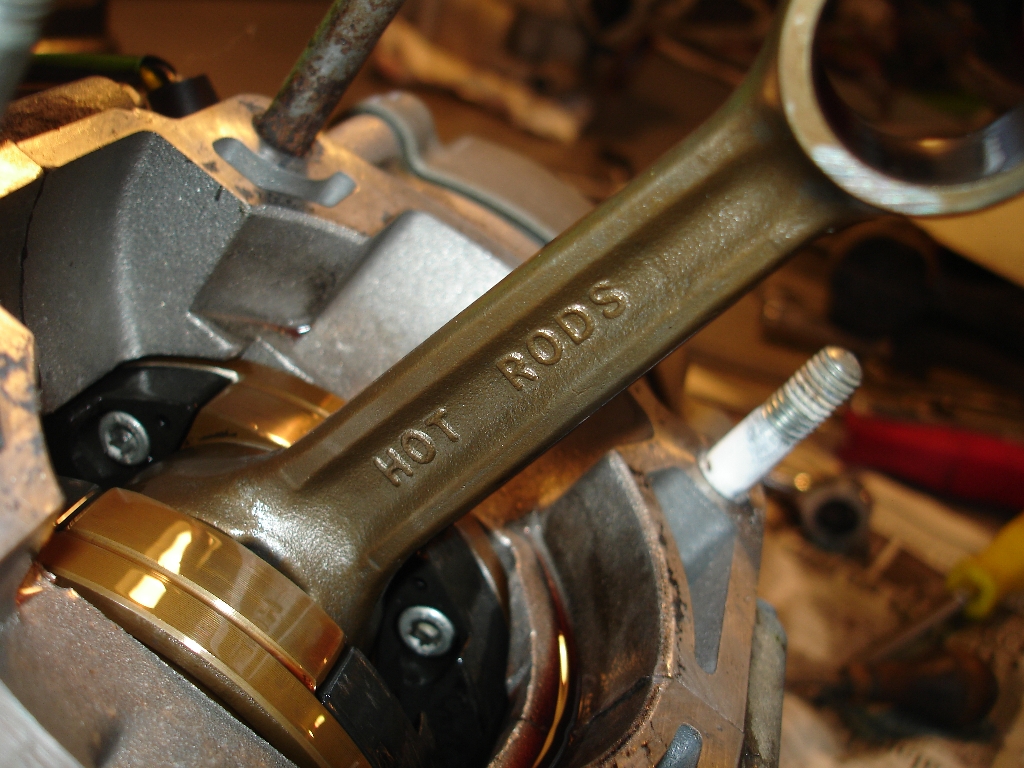
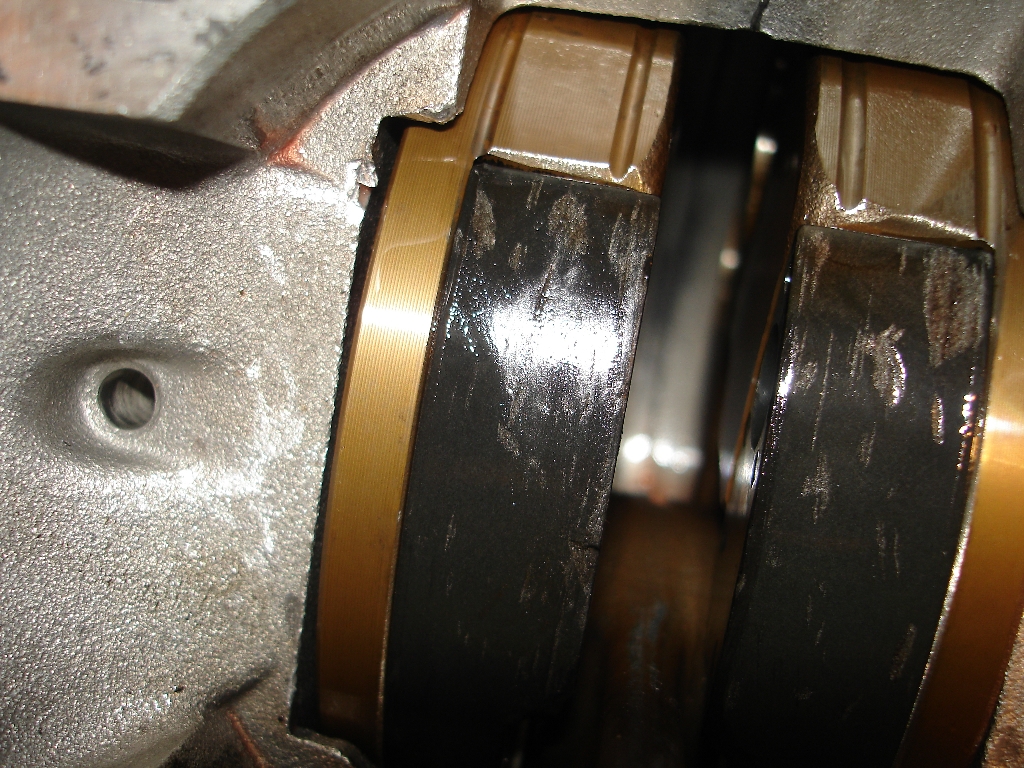
I think I know why the jug was in such good shape however. It probably had to be replaced after the piston broke, because the bottom end had been rebuilt as well with a Hot Rods connecting rod, but why the HELL would you not replace the crank too? This bottom end has eaten some metal in its lifetime.
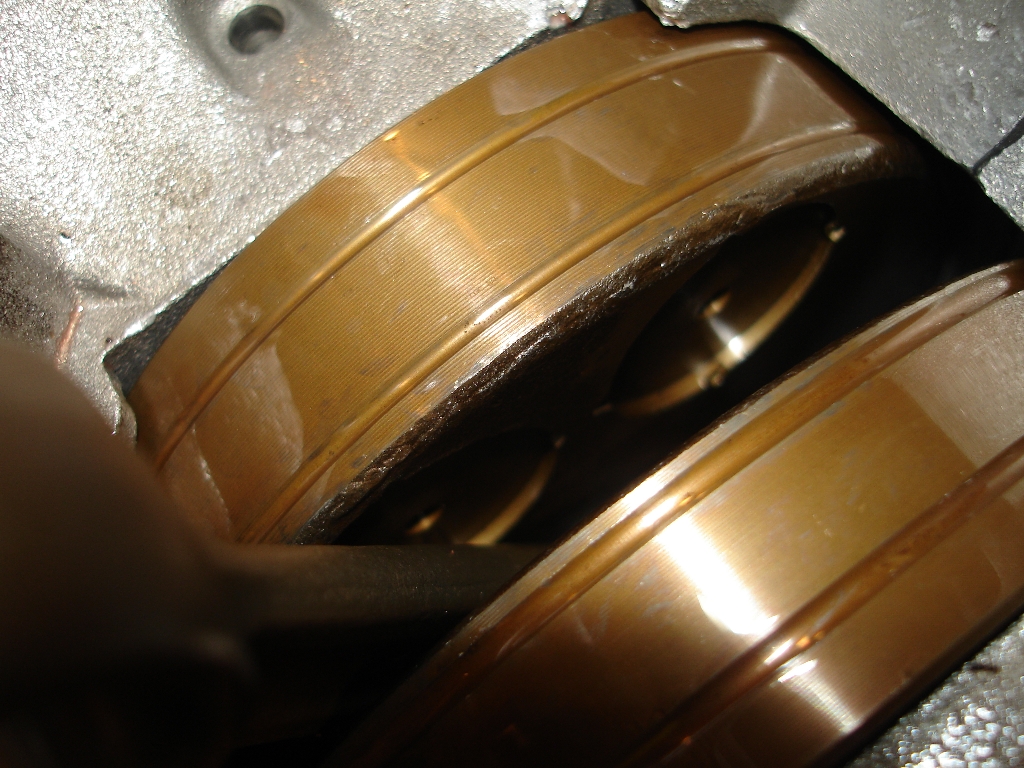
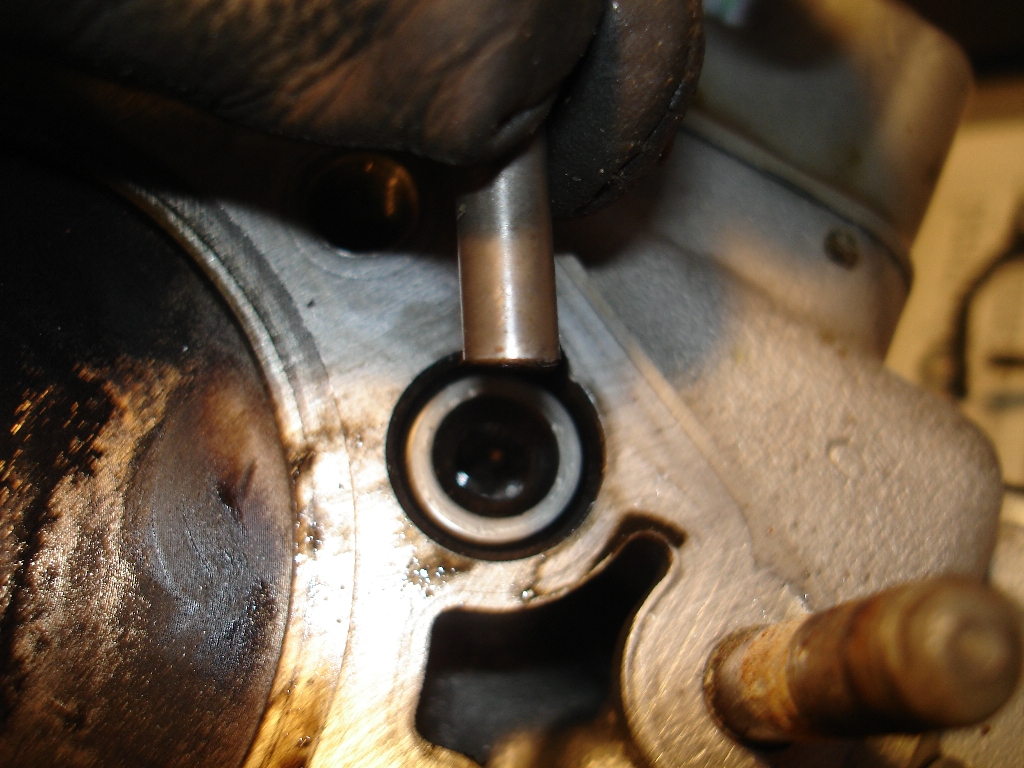
Water pump looks like it had some aluminum lunch too:
Once I put that aside, I pulled the clutch to see if it was FUBAR too. Fiber plates look OK, but the metal ones look overheated. What do you think? Also, are those stock springs? The basket is notched a little bit, I'm gonna shop for a new one.

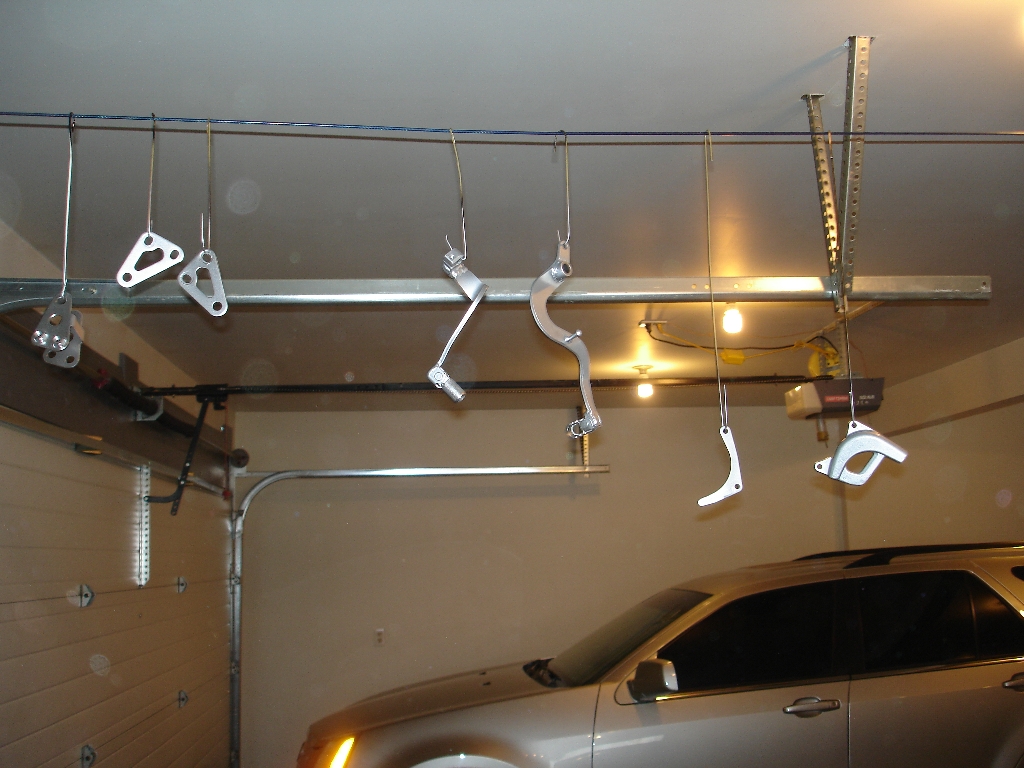
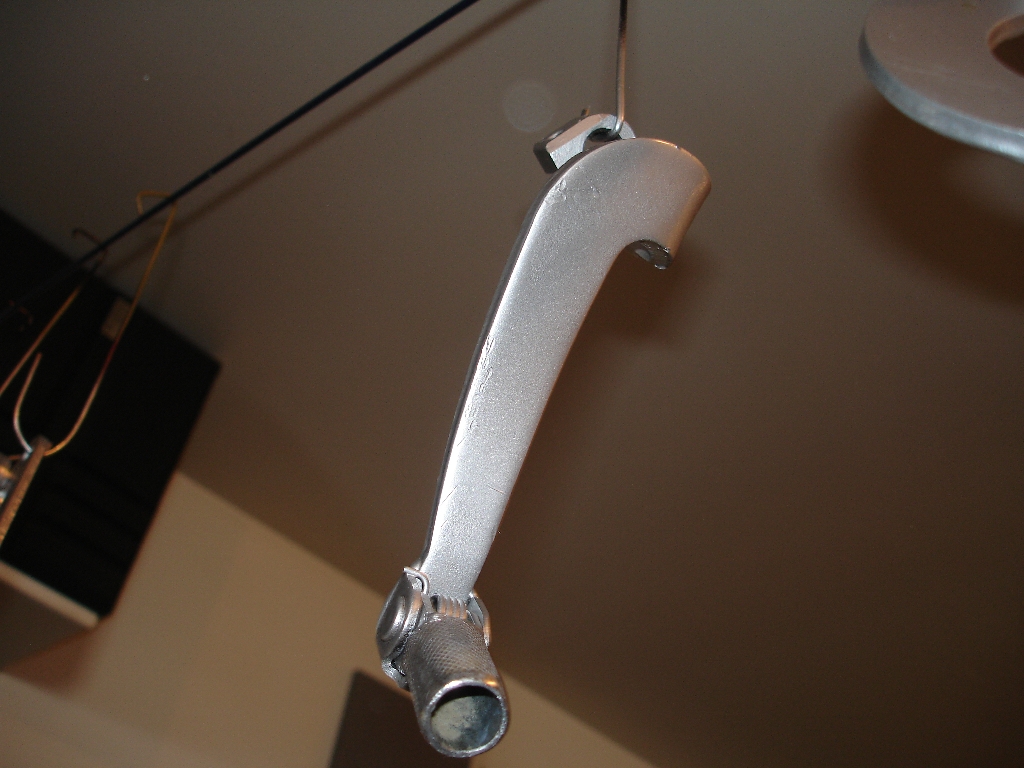
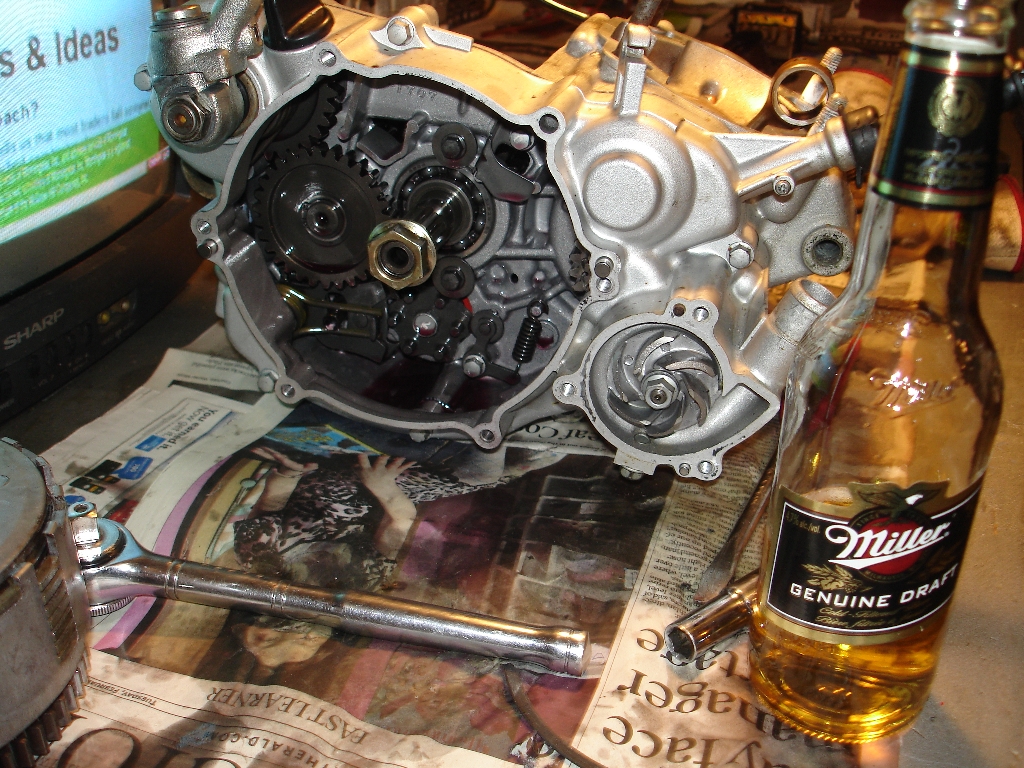
Overview
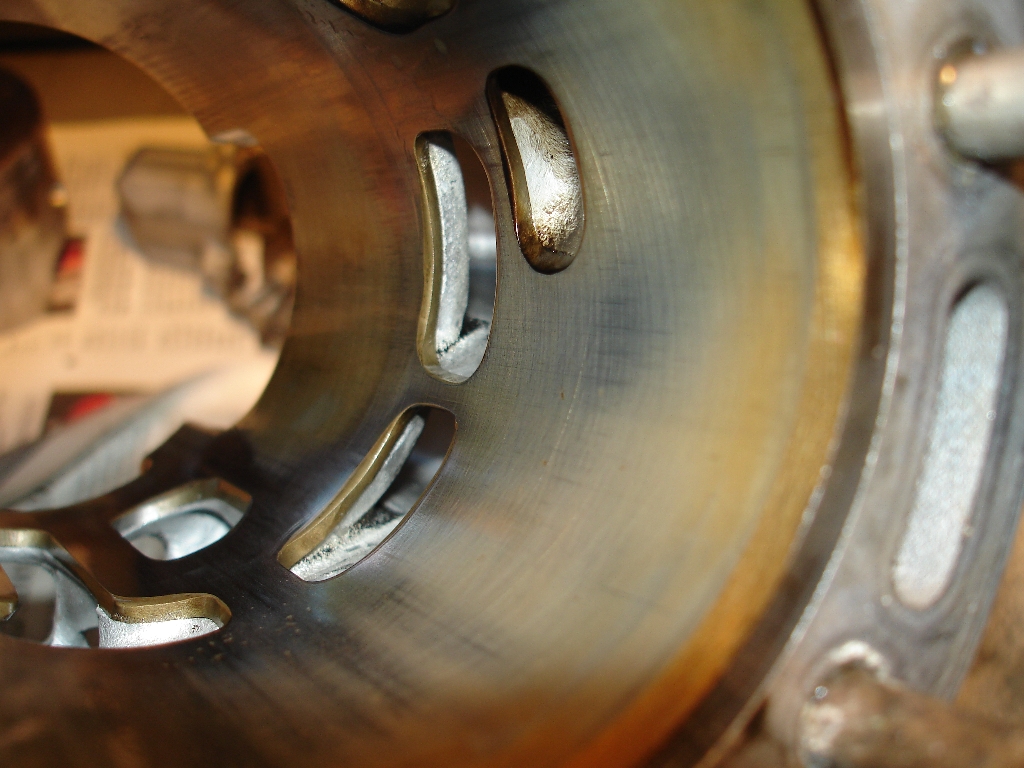
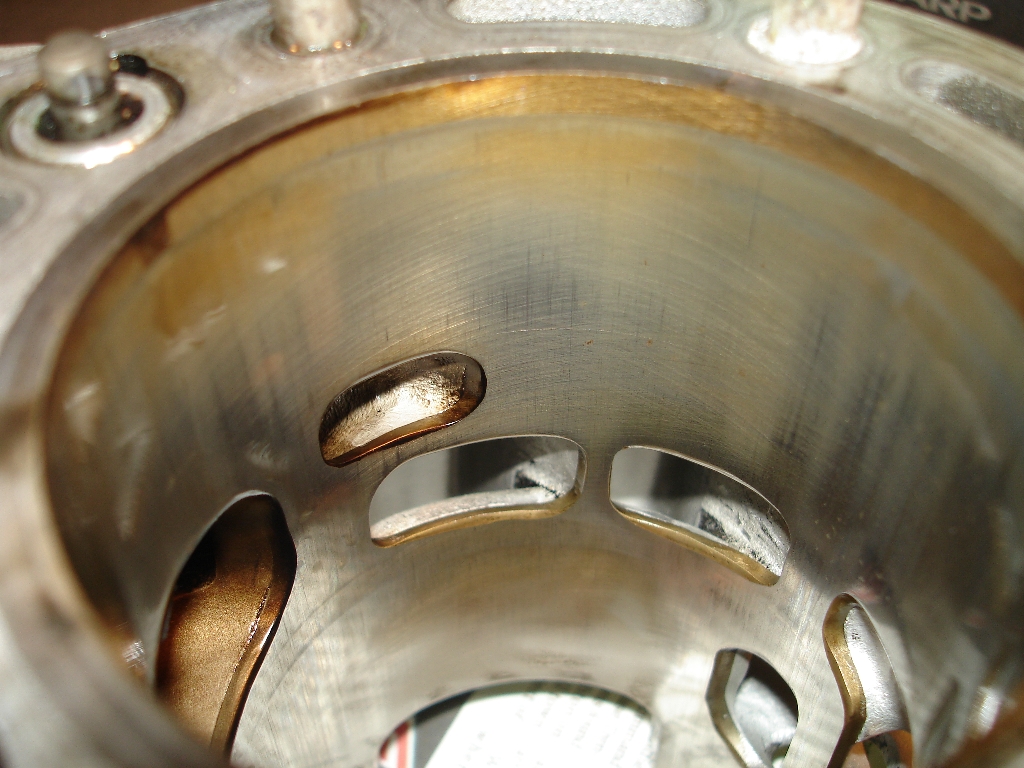
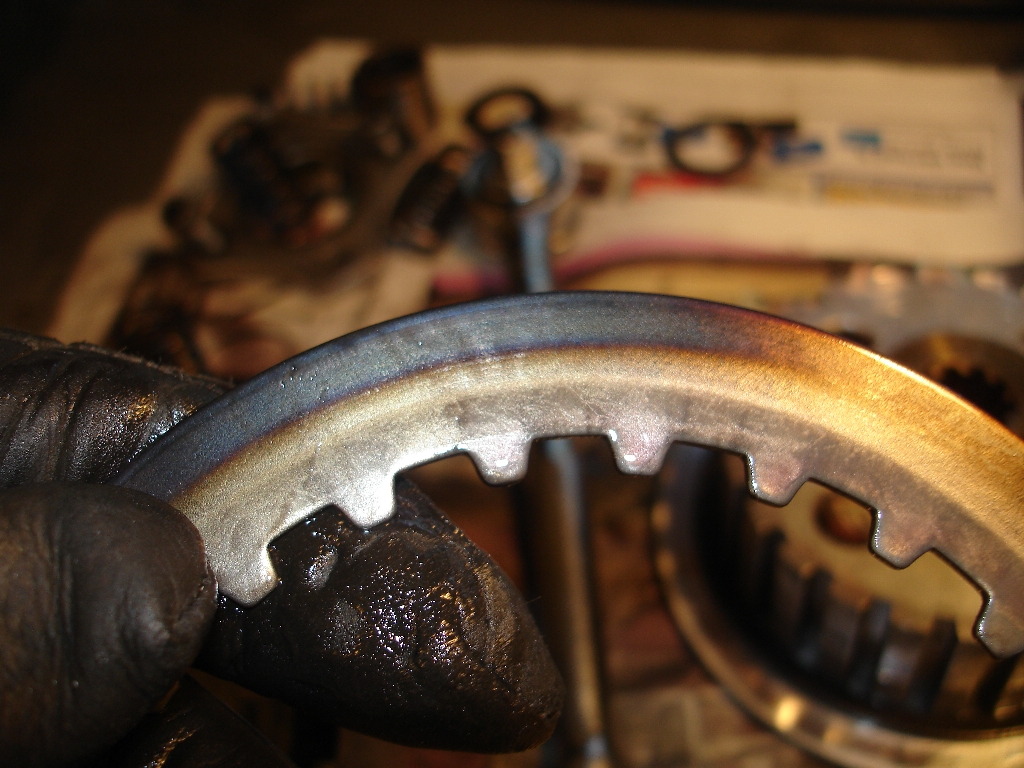
And finally, took apart the KIPS. Looks bad, but it opened and closed smooth as silk. I'll clean this up like new!
That's all for day 1, that MGD turned into many after that hahaha.
Keep checking back for updates!
For the chassis, all bearings will be inspected and lubed or replaced, new graphics, seat cover, maybe some fresh paint in areas, everything will be sandblasted to clean it up. Spokes checked, new brake pads, new chain and sprokets, new bars, grips and a new headlight. (Anyone know where I can get a green DHH???)
The engine will recieve a complete rebuild, top and bottom. The countershaft seal is weeping, and the left main seal is leaking a bit too. New rod, main bearings, piston, RB head and carb, and V-Force 3 reed valve to top it all off.
Today began by setting the bike up on my patented stand, and removing all the big stuff. Rear wheel, swingarm, seat, tank, shrouds, rads, blah blah blah... Swingarm bearings and all linkage bearings are ok, just need a thurough cleaning and some grease. I disassembled the rear wheel bearings, cleaned, and repacked. 2 spokes were a bit loose, need to get a spoke wrench and fix that. I'm glad I'm getting new brake pads.
After all the stuff was removed, I pulled the engine and set it on the bench, and left the chassis aside for now.
Started by removing the reeds, one corner was chipped, maybe that's why I'm getting premix before my carb. VF3 will take care of that problem. Plug pulled too, maybe 10 hours on it. Running a touch lean with the cold weather it looks like.
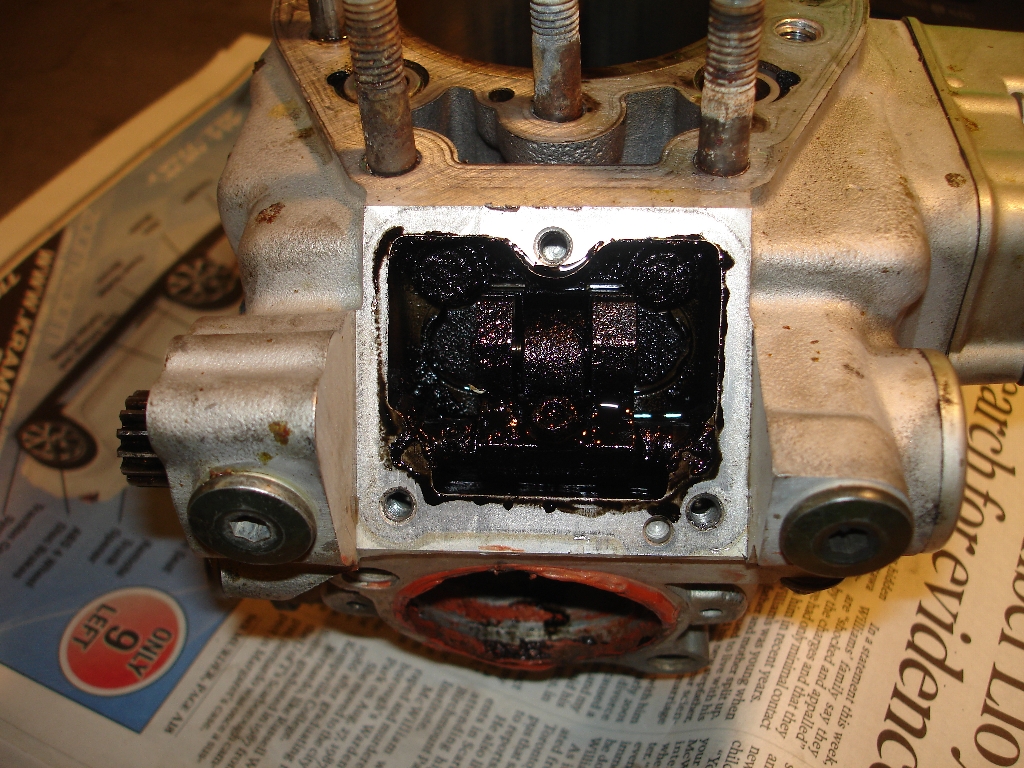
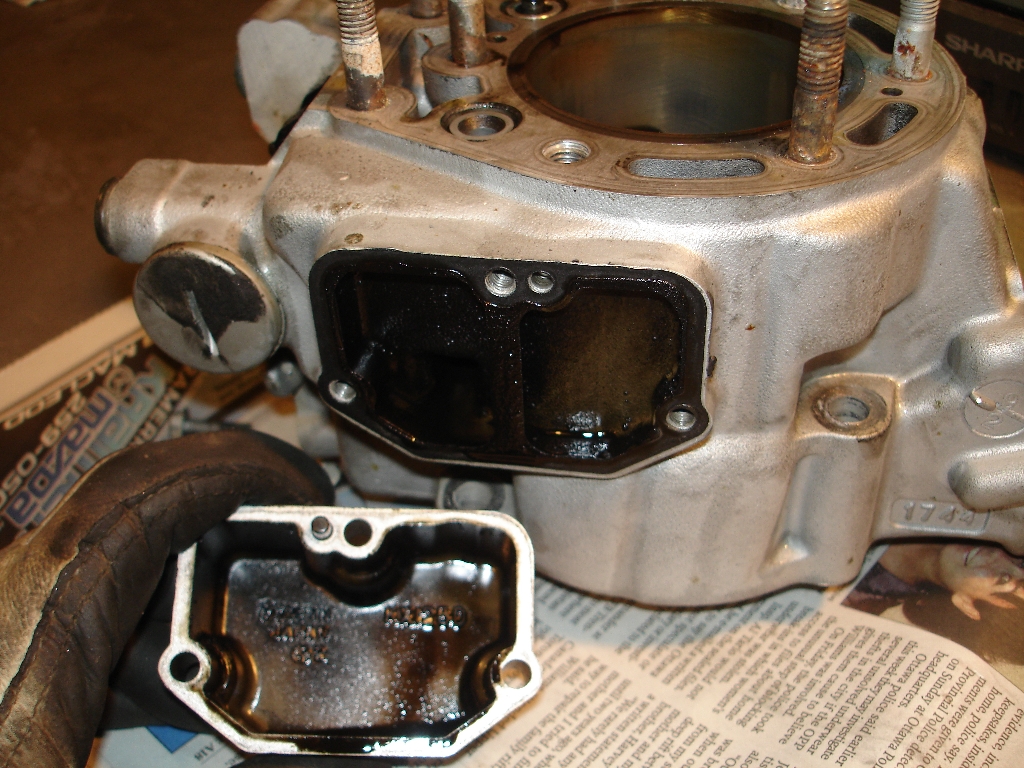
Then, I pulled the head. Was I ever in for a surprise. Looks like the imfamous 220 broken piston a few owners ago, you can see the damage to the head, and where someone tried to grind it out. Hopefully RB Designs can save this head, if not I'll grab a used one.
One of the KIPS shafts was broken, through no fault of my own... Add another part to the list...
Pulled the jug, and to my surprise, it had a Wiseco piston, and not only was the cylinder plating in great shape, apparently one of the PO's "Ryan" had it ported and polished!
I think I know why the jug was in such good shape however. It probably had to be replaced after the piston broke, because the bottom end had been rebuilt as well with a Hot Rods connecting rod, but why the HELL would you not replace the crank too? This bottom end has eaten some metal in its lifetime.
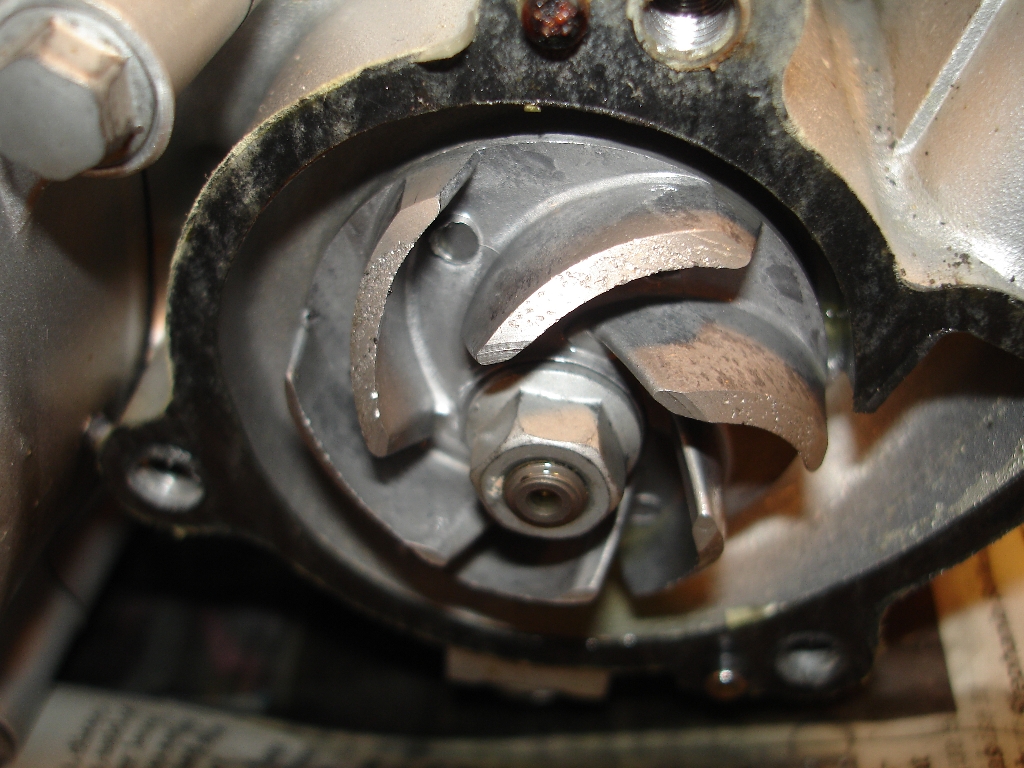
Water pump looks like it had some aluminum lunch too:
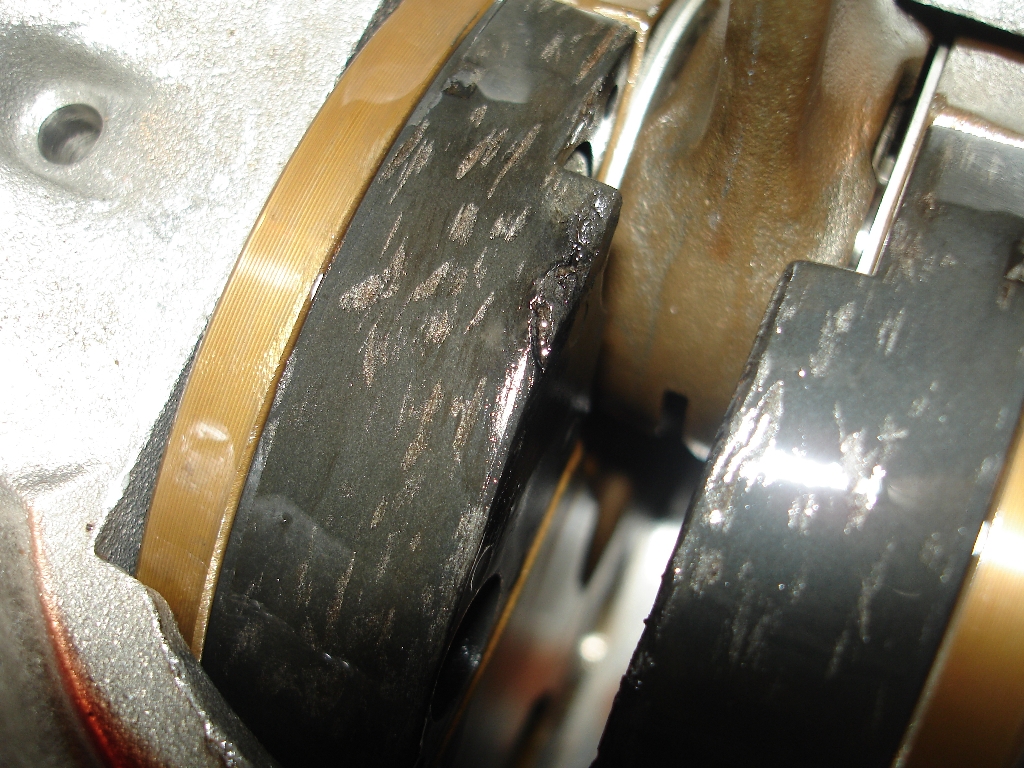
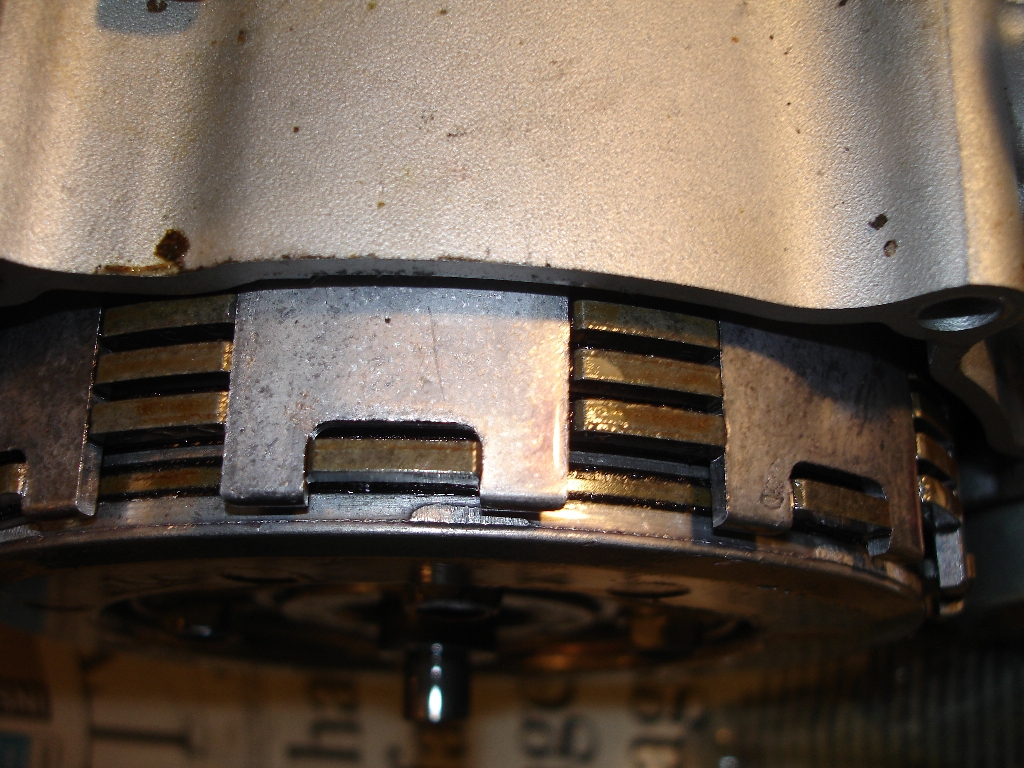
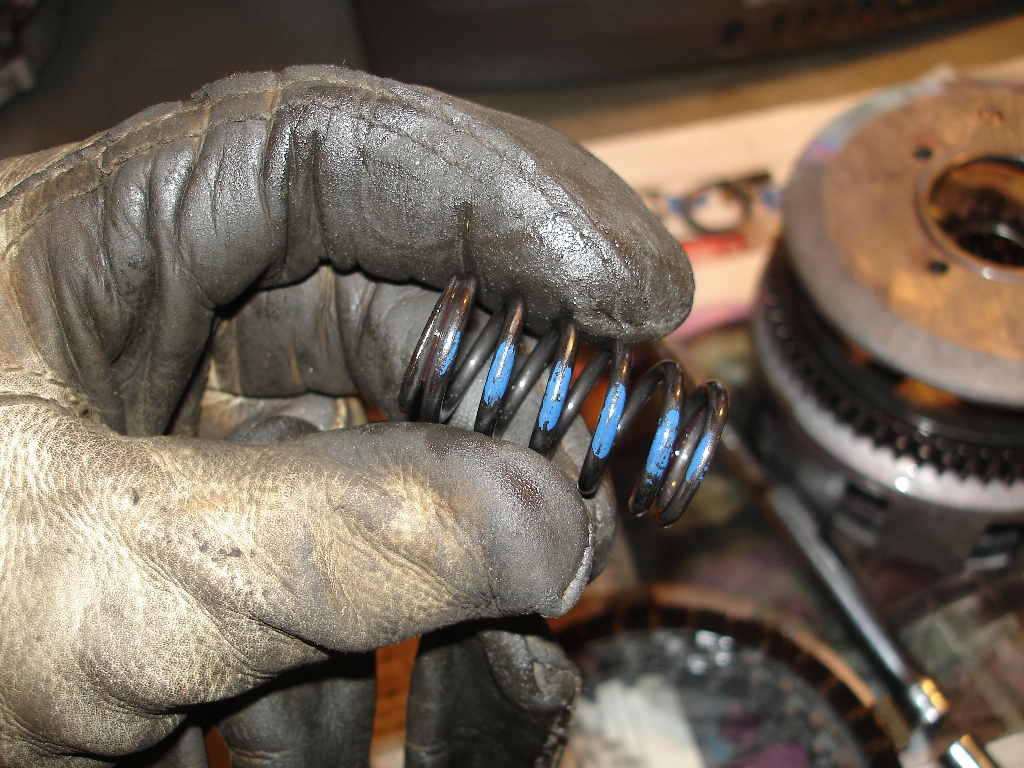
Once I put that aside, I pulled the clutch to see if it was FUBAR too. Fiber plates look OK, but the metal ones look overheated. What do you think? Also, are those stock springs? The basket is notched a little bit, I'm gonna shop for a new one.
Overview
And finally, took apart the KIPS. Looks bad, but it opened and closed smooth as silk. I'll clean this up like new!
That's all for day 1, that MGD turned into many after that hahaha.
Keep checking back for updates!