Page 2 of 2
Posted: 11:02 pm Jan 12 2010
by SOARSKI
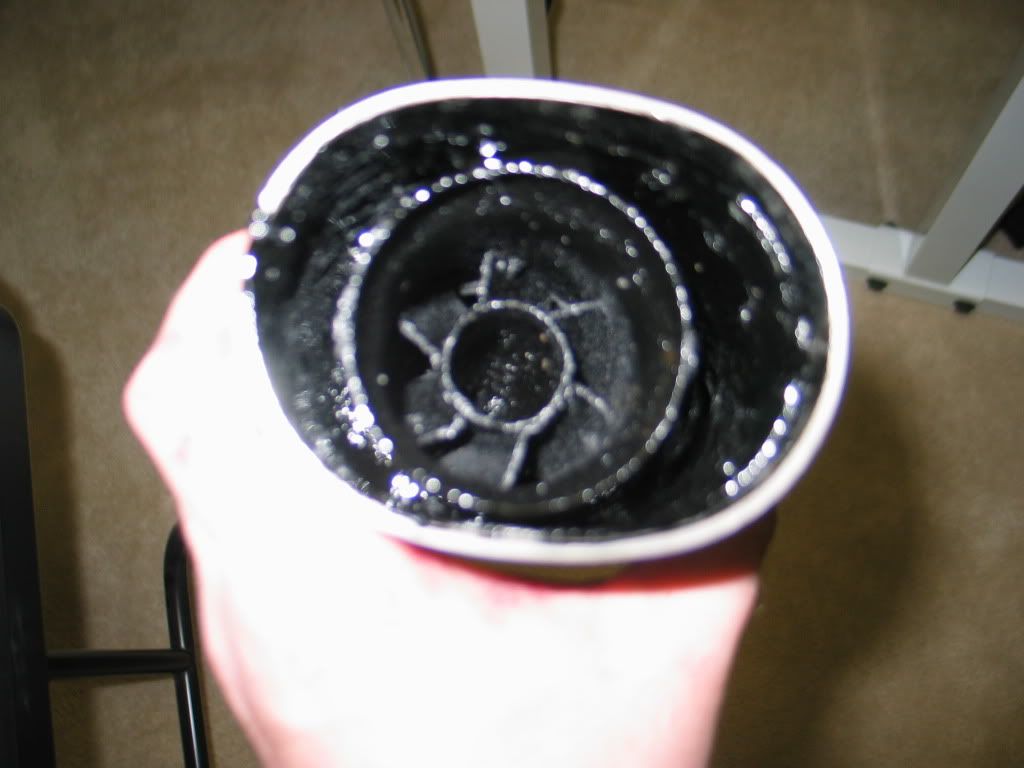
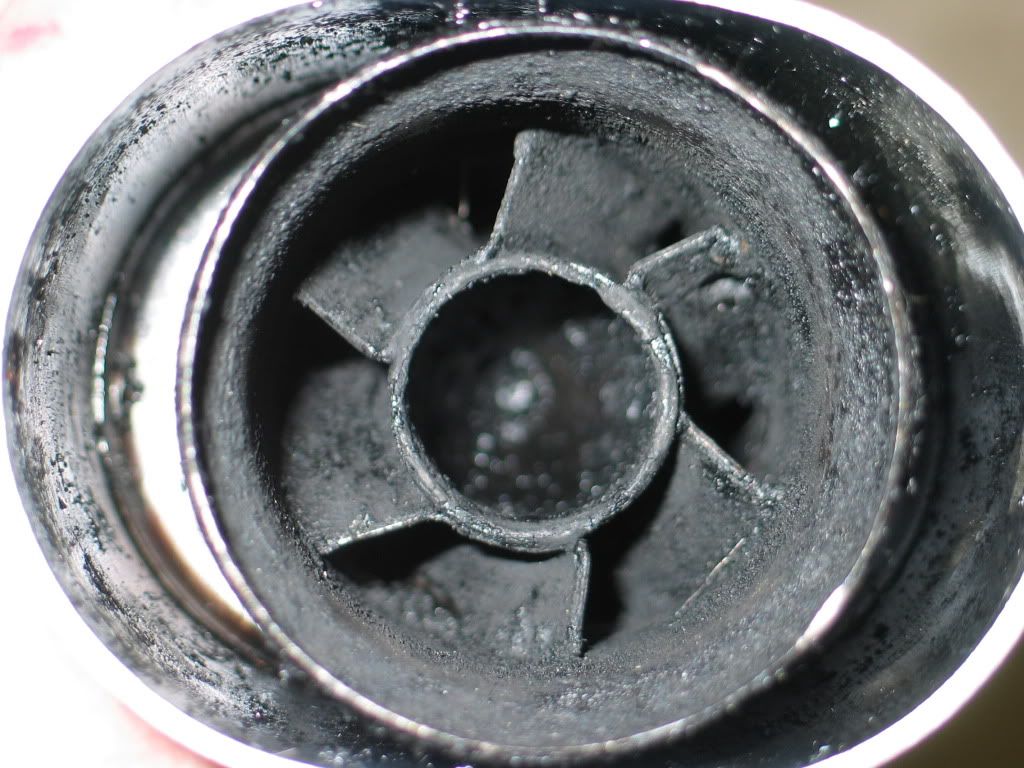
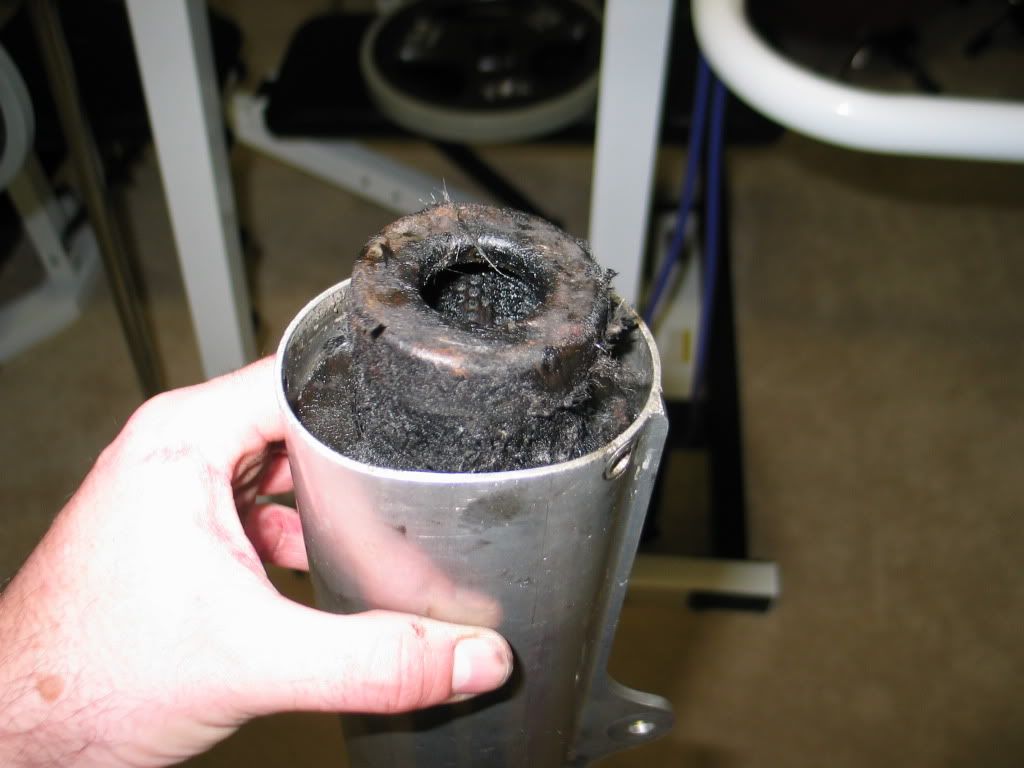
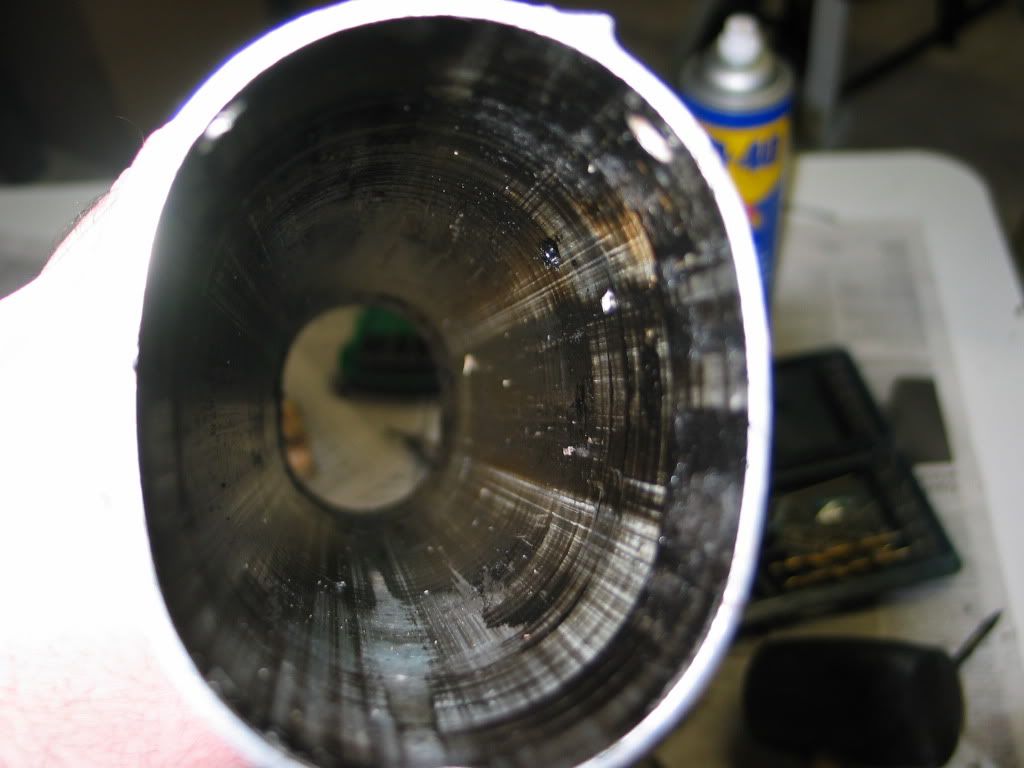
I decided to take it a step further and drill the end cap rivets. It was difficult getting the cap off as there is not much to grab onto. Below are some pics of what the inside condition was like, carbon and sludge. I sprayed brake cleaner inside, but there was still thick sludge leftover. Next I took a torch and burned a lot of it out. This probably would have been good enough, but I was still curious, so I drilled the 2 rivets that held in the spark arrestor. I inserted a piece of wood on the input side and tried to tap the arrestor out the rear but it got stuck at the end. Then I tried it from the rear, Oh Yeah! I took my scrap wood tapping the arrestor toward the the input side, it worked.
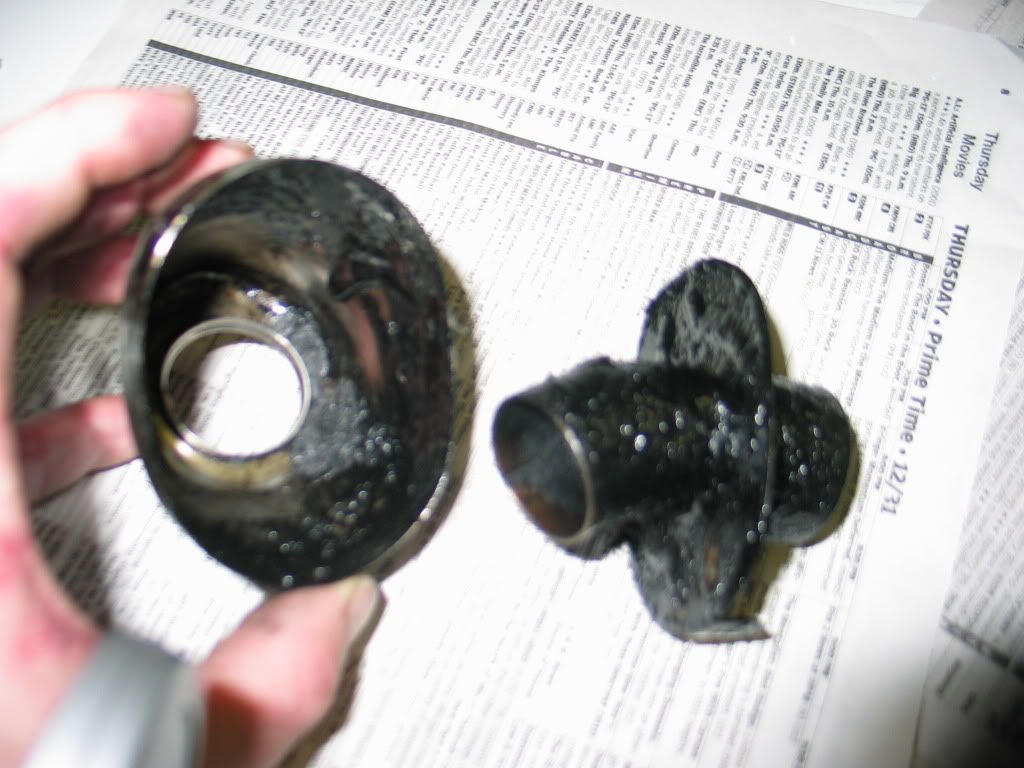
Above pic is after I used the torch to clean it.
Above shows the arrestor being removed from the input side.

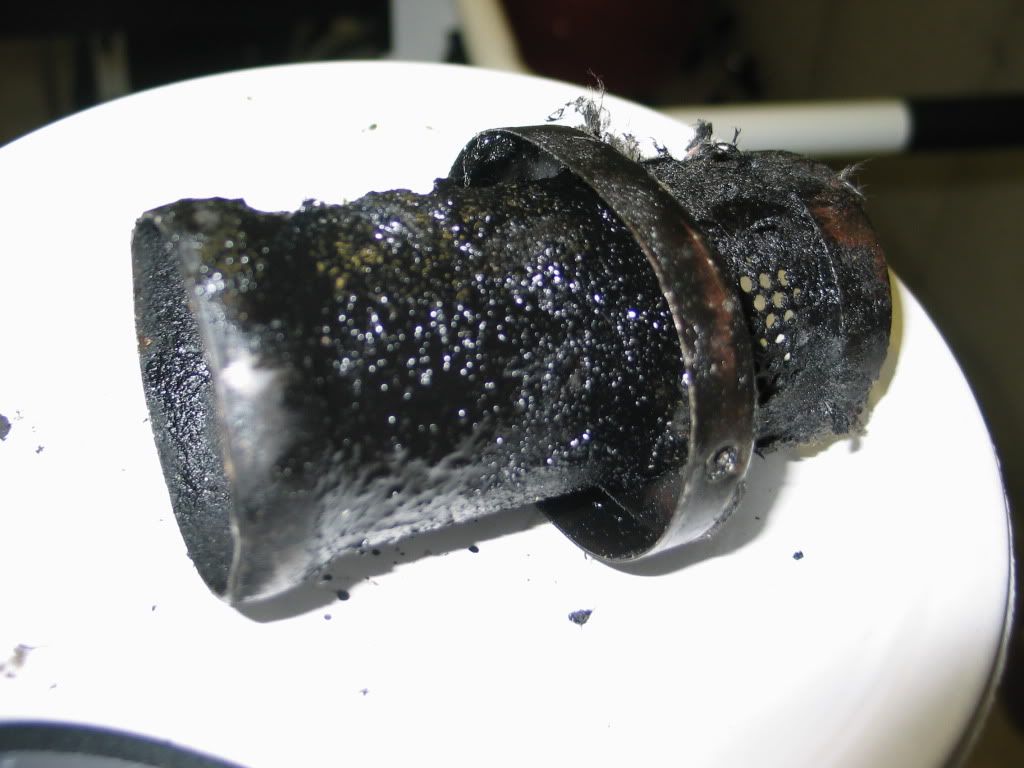
If I did it again I would use a larger diameter scrap wood to distribute the force over the spark arrestor while tapping it out. That way you're less likely to bend it. I was able to remove it without damage!
Now I need to finish cleaning and see if I can get it back in.
Posted: 11:14 pm Jan 12 2010
by Mr. Wibbens
To each his own
I like the string
I've repacked mine 2 or 3 times and the bag is still 3/4's full
IMHO it's as easy as any other material, but I've used it lots more than any other material
Posted: 11:45 pm Jan 12 2010
by Mr. Wibbens
>|QBB<[/url]
SOARSKI wrote:I decided to take it a step further and drill the end cap rivets. It was difficult getting the cap off as there is not much to grab onto. Below are some pics of what the inside condition was like, carbon and sludge. I sprayed brake cleaner inside, but there was still thick sludge leftover. Next I took a torch and burned a lot of it out. This probably would have been good enough, but I was still curious, so I drilled the 2 rivets that held in the spark arrestor. I inserted a piece of wood on the input side and tried to tap the arrestor out the rear but it got stuck at the end. Then I tried it from the rear, Oh Yeah! I took my scrap wood tapping the arrestor toward the the input side, it worked.
Above pic is after I used the torch to clean it.
Above shows the arrestor being removed from the input side.
If I did it again I would use a larger diameter scrap wood to distribute the force over the spark arrestor while tapping it out. That way you're less likely to bend it. I was able to remove it without damage!
Now I need to finish cleaning and see if I can get it back in.
Wow!
Imagine that, looks very similar to my TC donut?
Whodathunkit?
Dunno bout you? But it looks quite serviceable to me!
Whatdaya say Mr Fullahorshit?

Posted: 11:47 pm Jan 12 2010
by barryadam
I found the easiest way to clean all those internal parts (including the long perf tube part) was to put them on the gas BBQ, crank up the heat, close the lid, and come back in about 3 hours. Tap out the grey ash, and clean as a whistle.
Posted: 11:51 pm Jan 12 2010
by Mr. Wibbens
Sounds good to me!
I like mapp gas though
Getter done in 15min

Posted: 01:07 am Jan 13 2010
by scheckaet


barryadam wrote:I found the easiest way to clean all those internal parts (including the long perf tube part) was to put them on the gas BBQ, crank up the heat, close the lid, and come back in about 3 hours. Tap out the grey ash, and clean as a whistle.
Don't invite me for your next bbq...
Posted: 05:12 pm Jan 15 2010
by SOARSKI
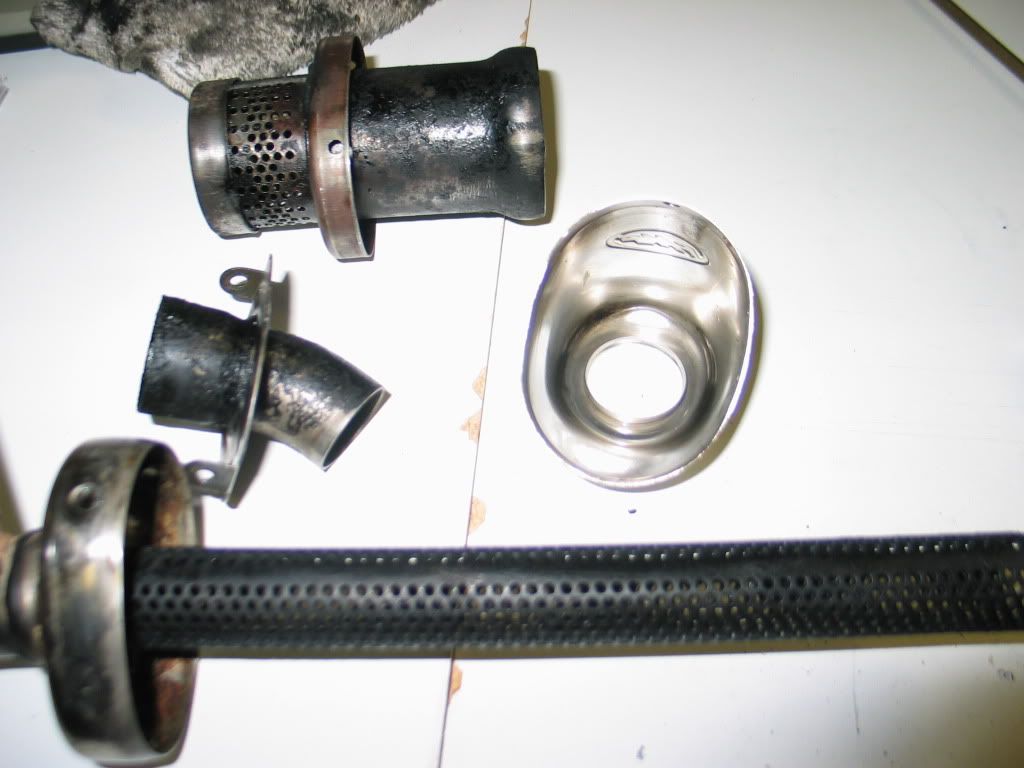
I've got it all back together! I used the parts washer w/ solvent at work and a brush to clean the parts. It did a pretty descent job, see pics, but did not remove heavy carbon. The most difficult part of reassembly was getting the rear cap and stinger? back in. PITA. To pack the small void between the arrestor and can I cut a strip of packing wrapped the arrestor and then slid the arrestor into the can.
I don't think I'll be going to all this effort for every repack, maybe just when it looks like the goo has really built up.
[/img]
Posted: 06:09 pm Jan 15 2010
by Mr. Wibbens
Cool !!
Thanks for posting pics!
Carvr dinner for one, your table is ready!

Posted: 06:26 pm Jan 15 2010
by scheckaet
Bahhh!!!
Posted: 07:34 pm Jan 15 2010
by Brian
Dude, your poking the Bear

Posted: 07:41 pm Jan 15 2010
by Mr. Wibbens
he aint no bear
He's more like a buzzy little bumblebee
Posted: 08:12 pm Jan 15 2010
by Varmint
oh man
