http://www.thumpertalk.com/topic/966791-the-next-slick-nick-rebuild-project-pics-inside/
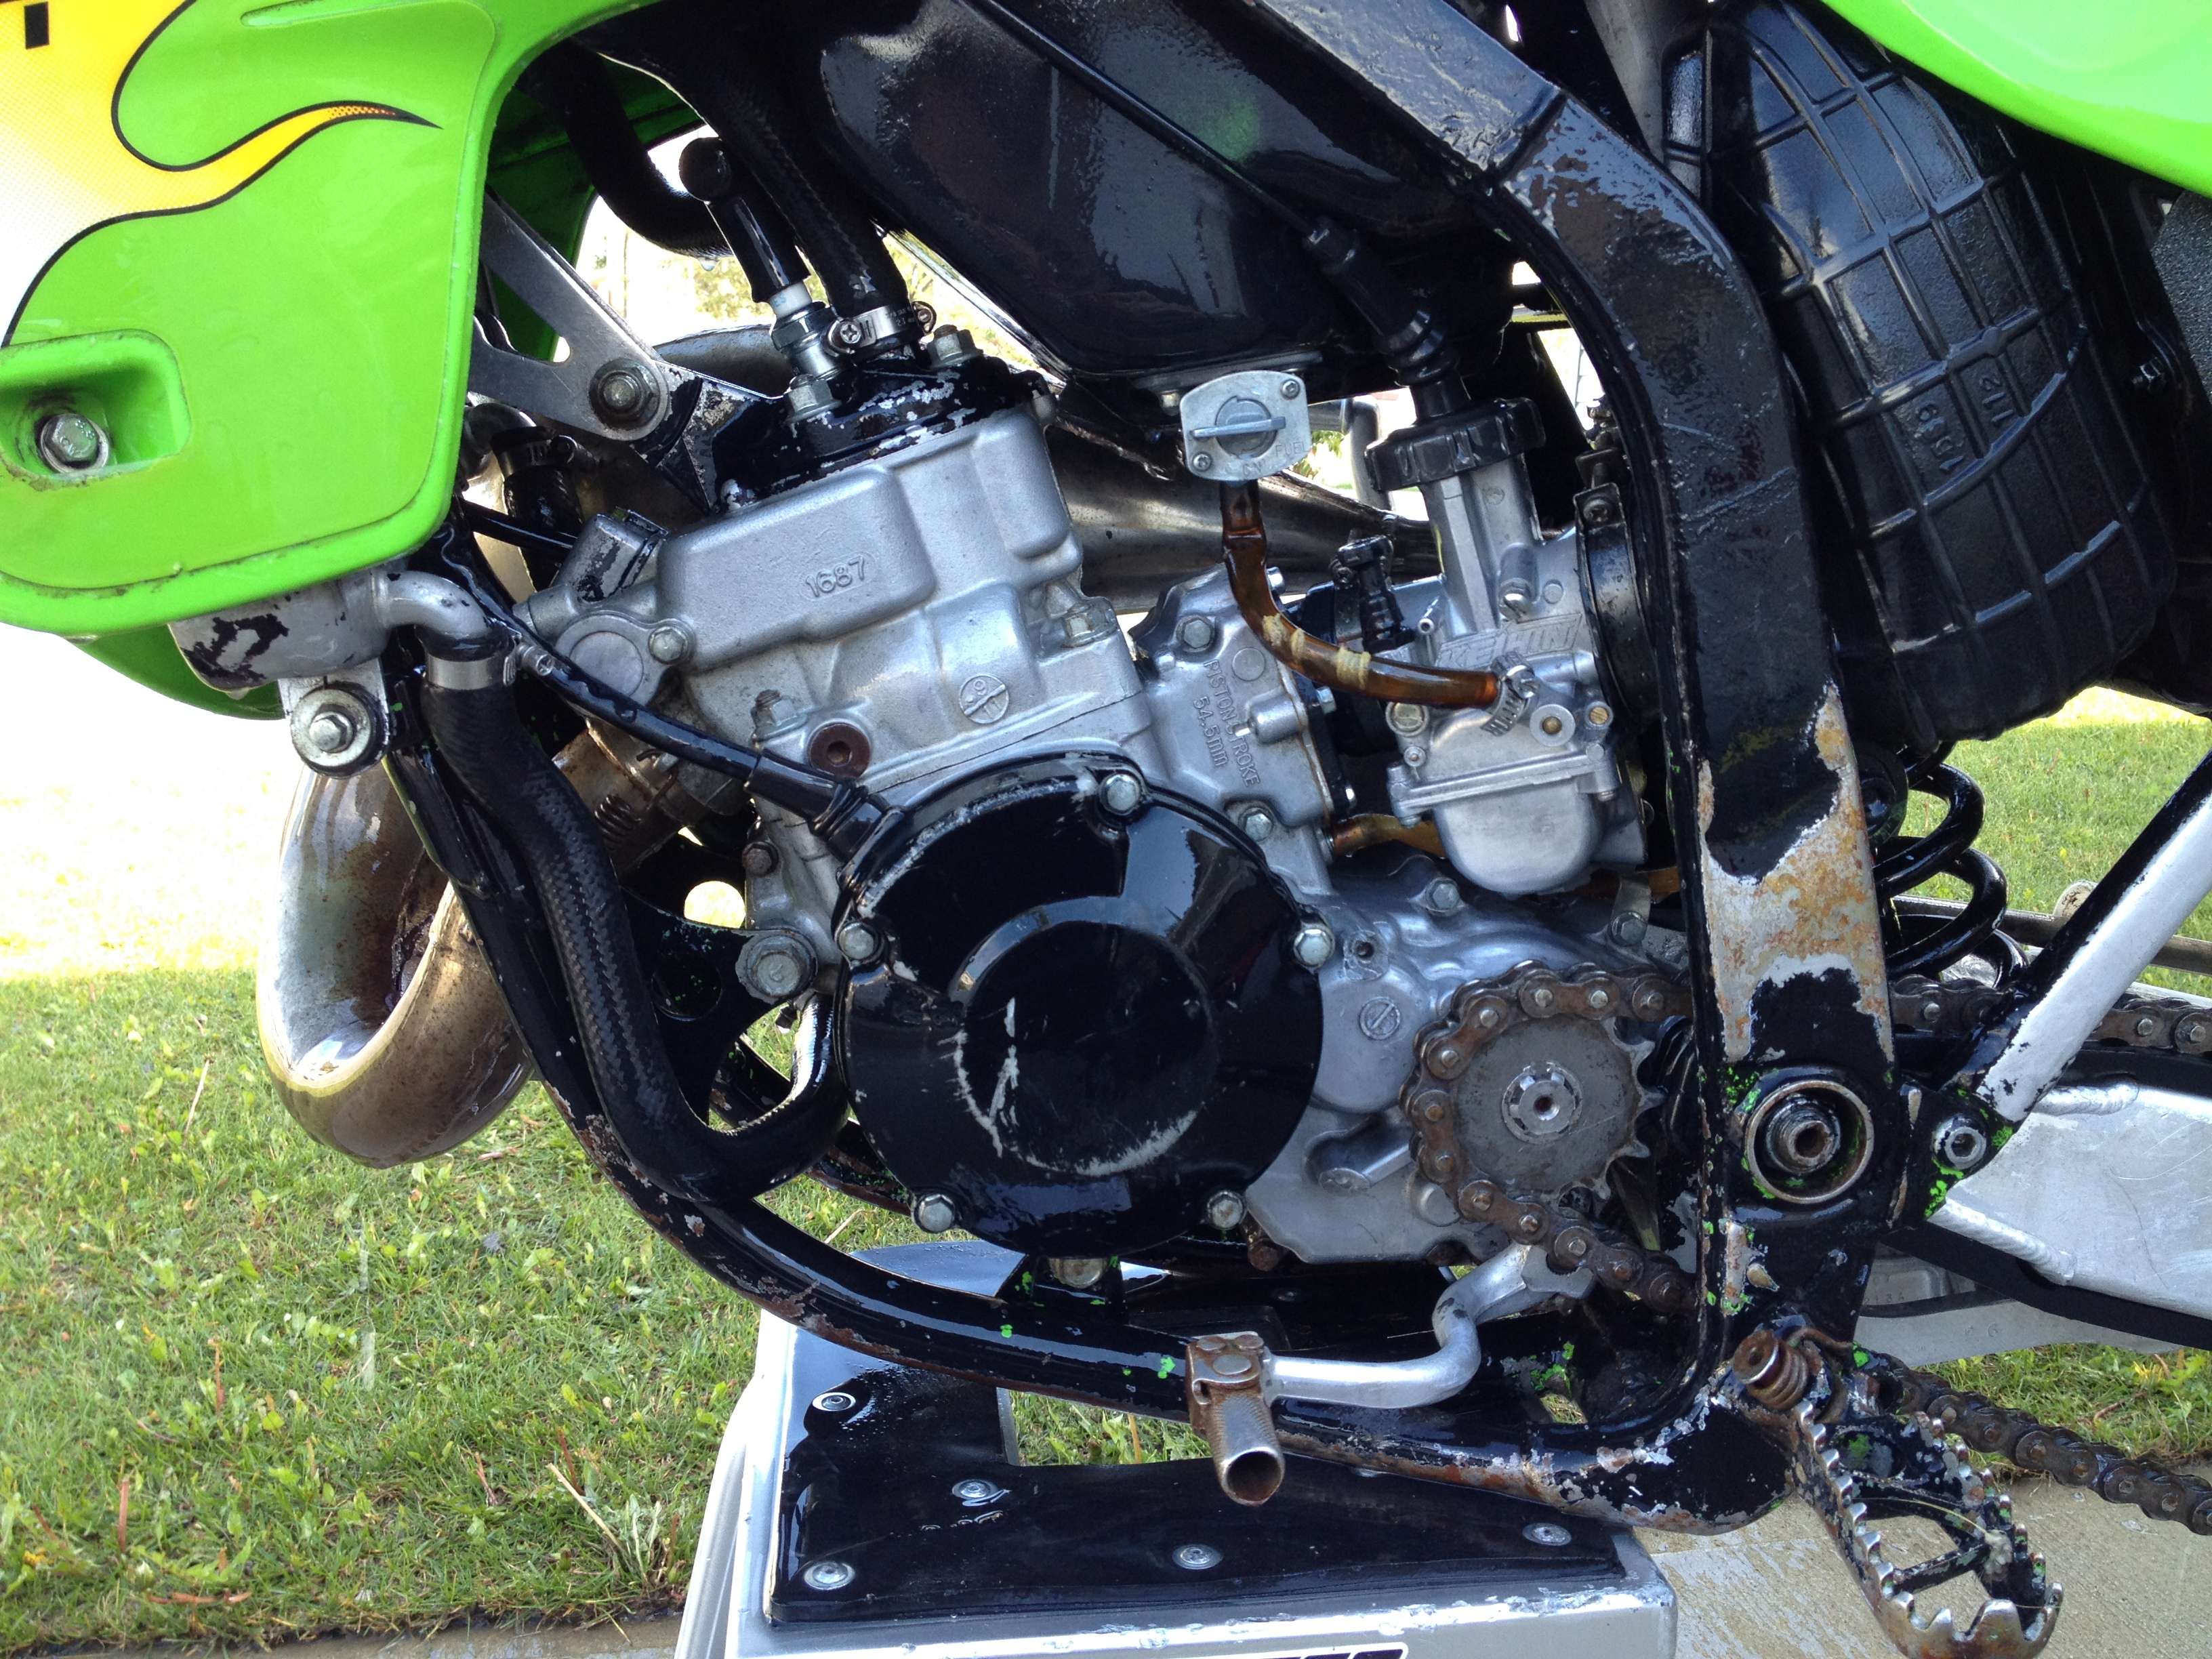
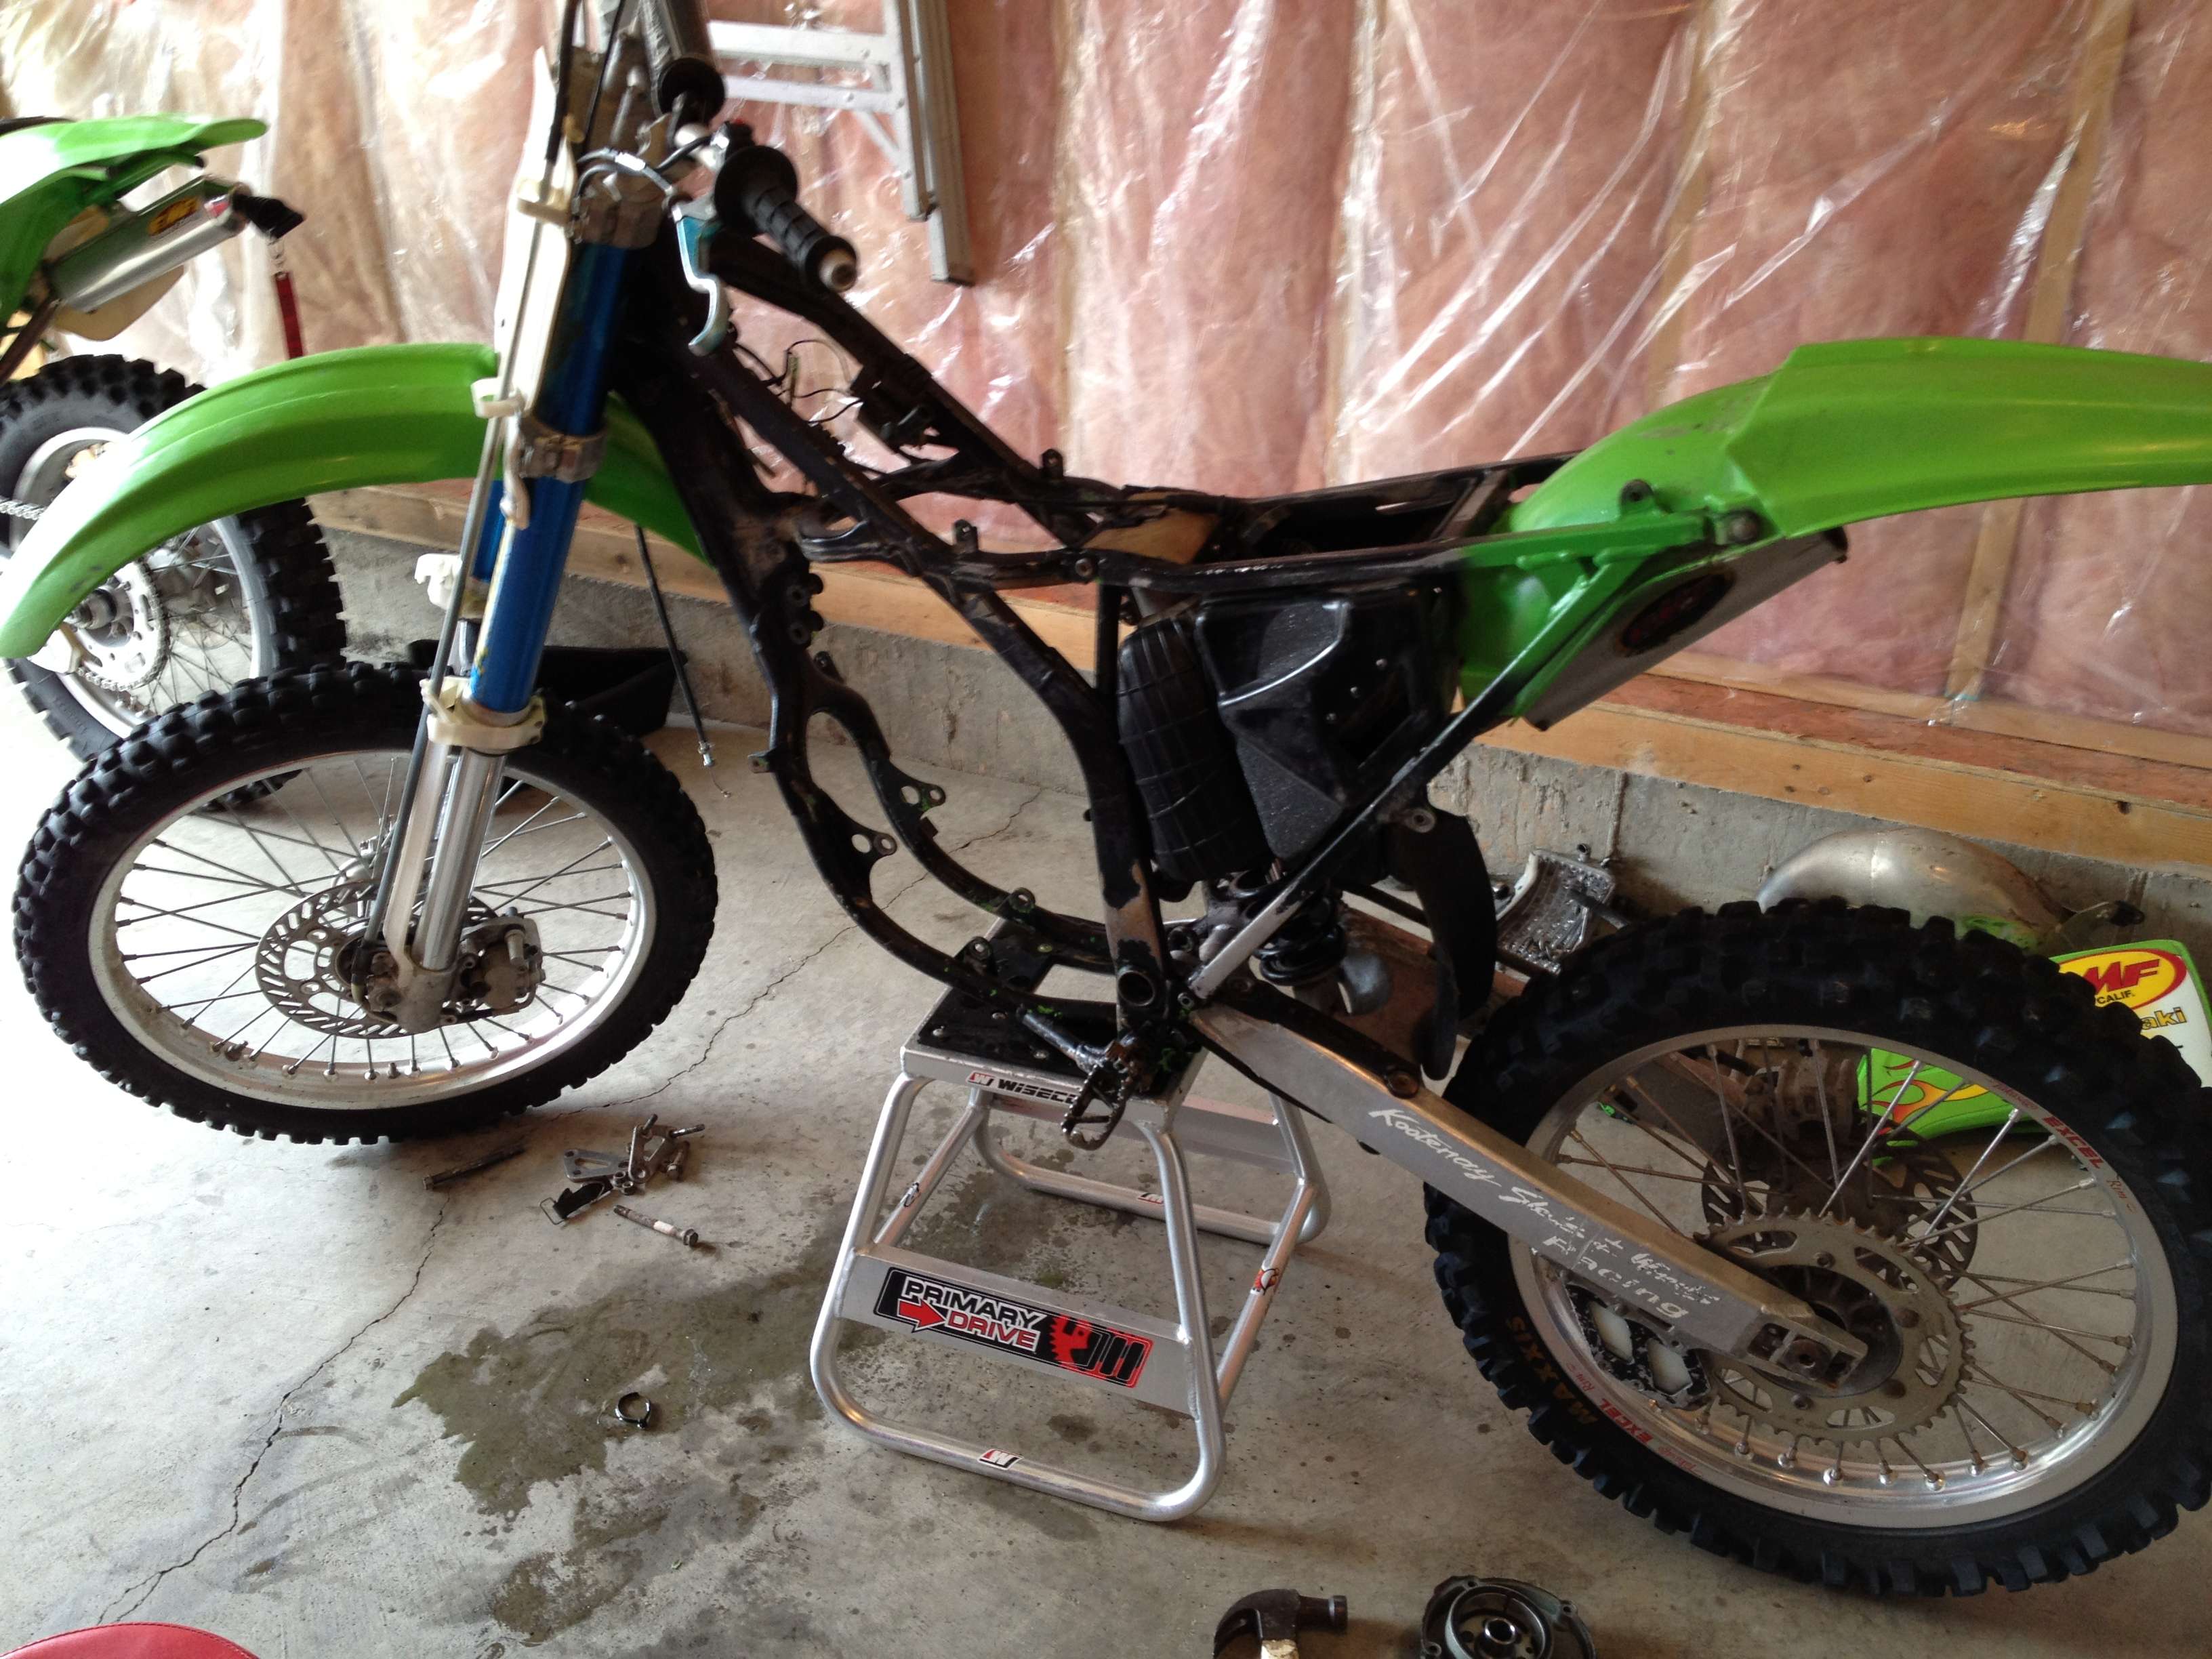
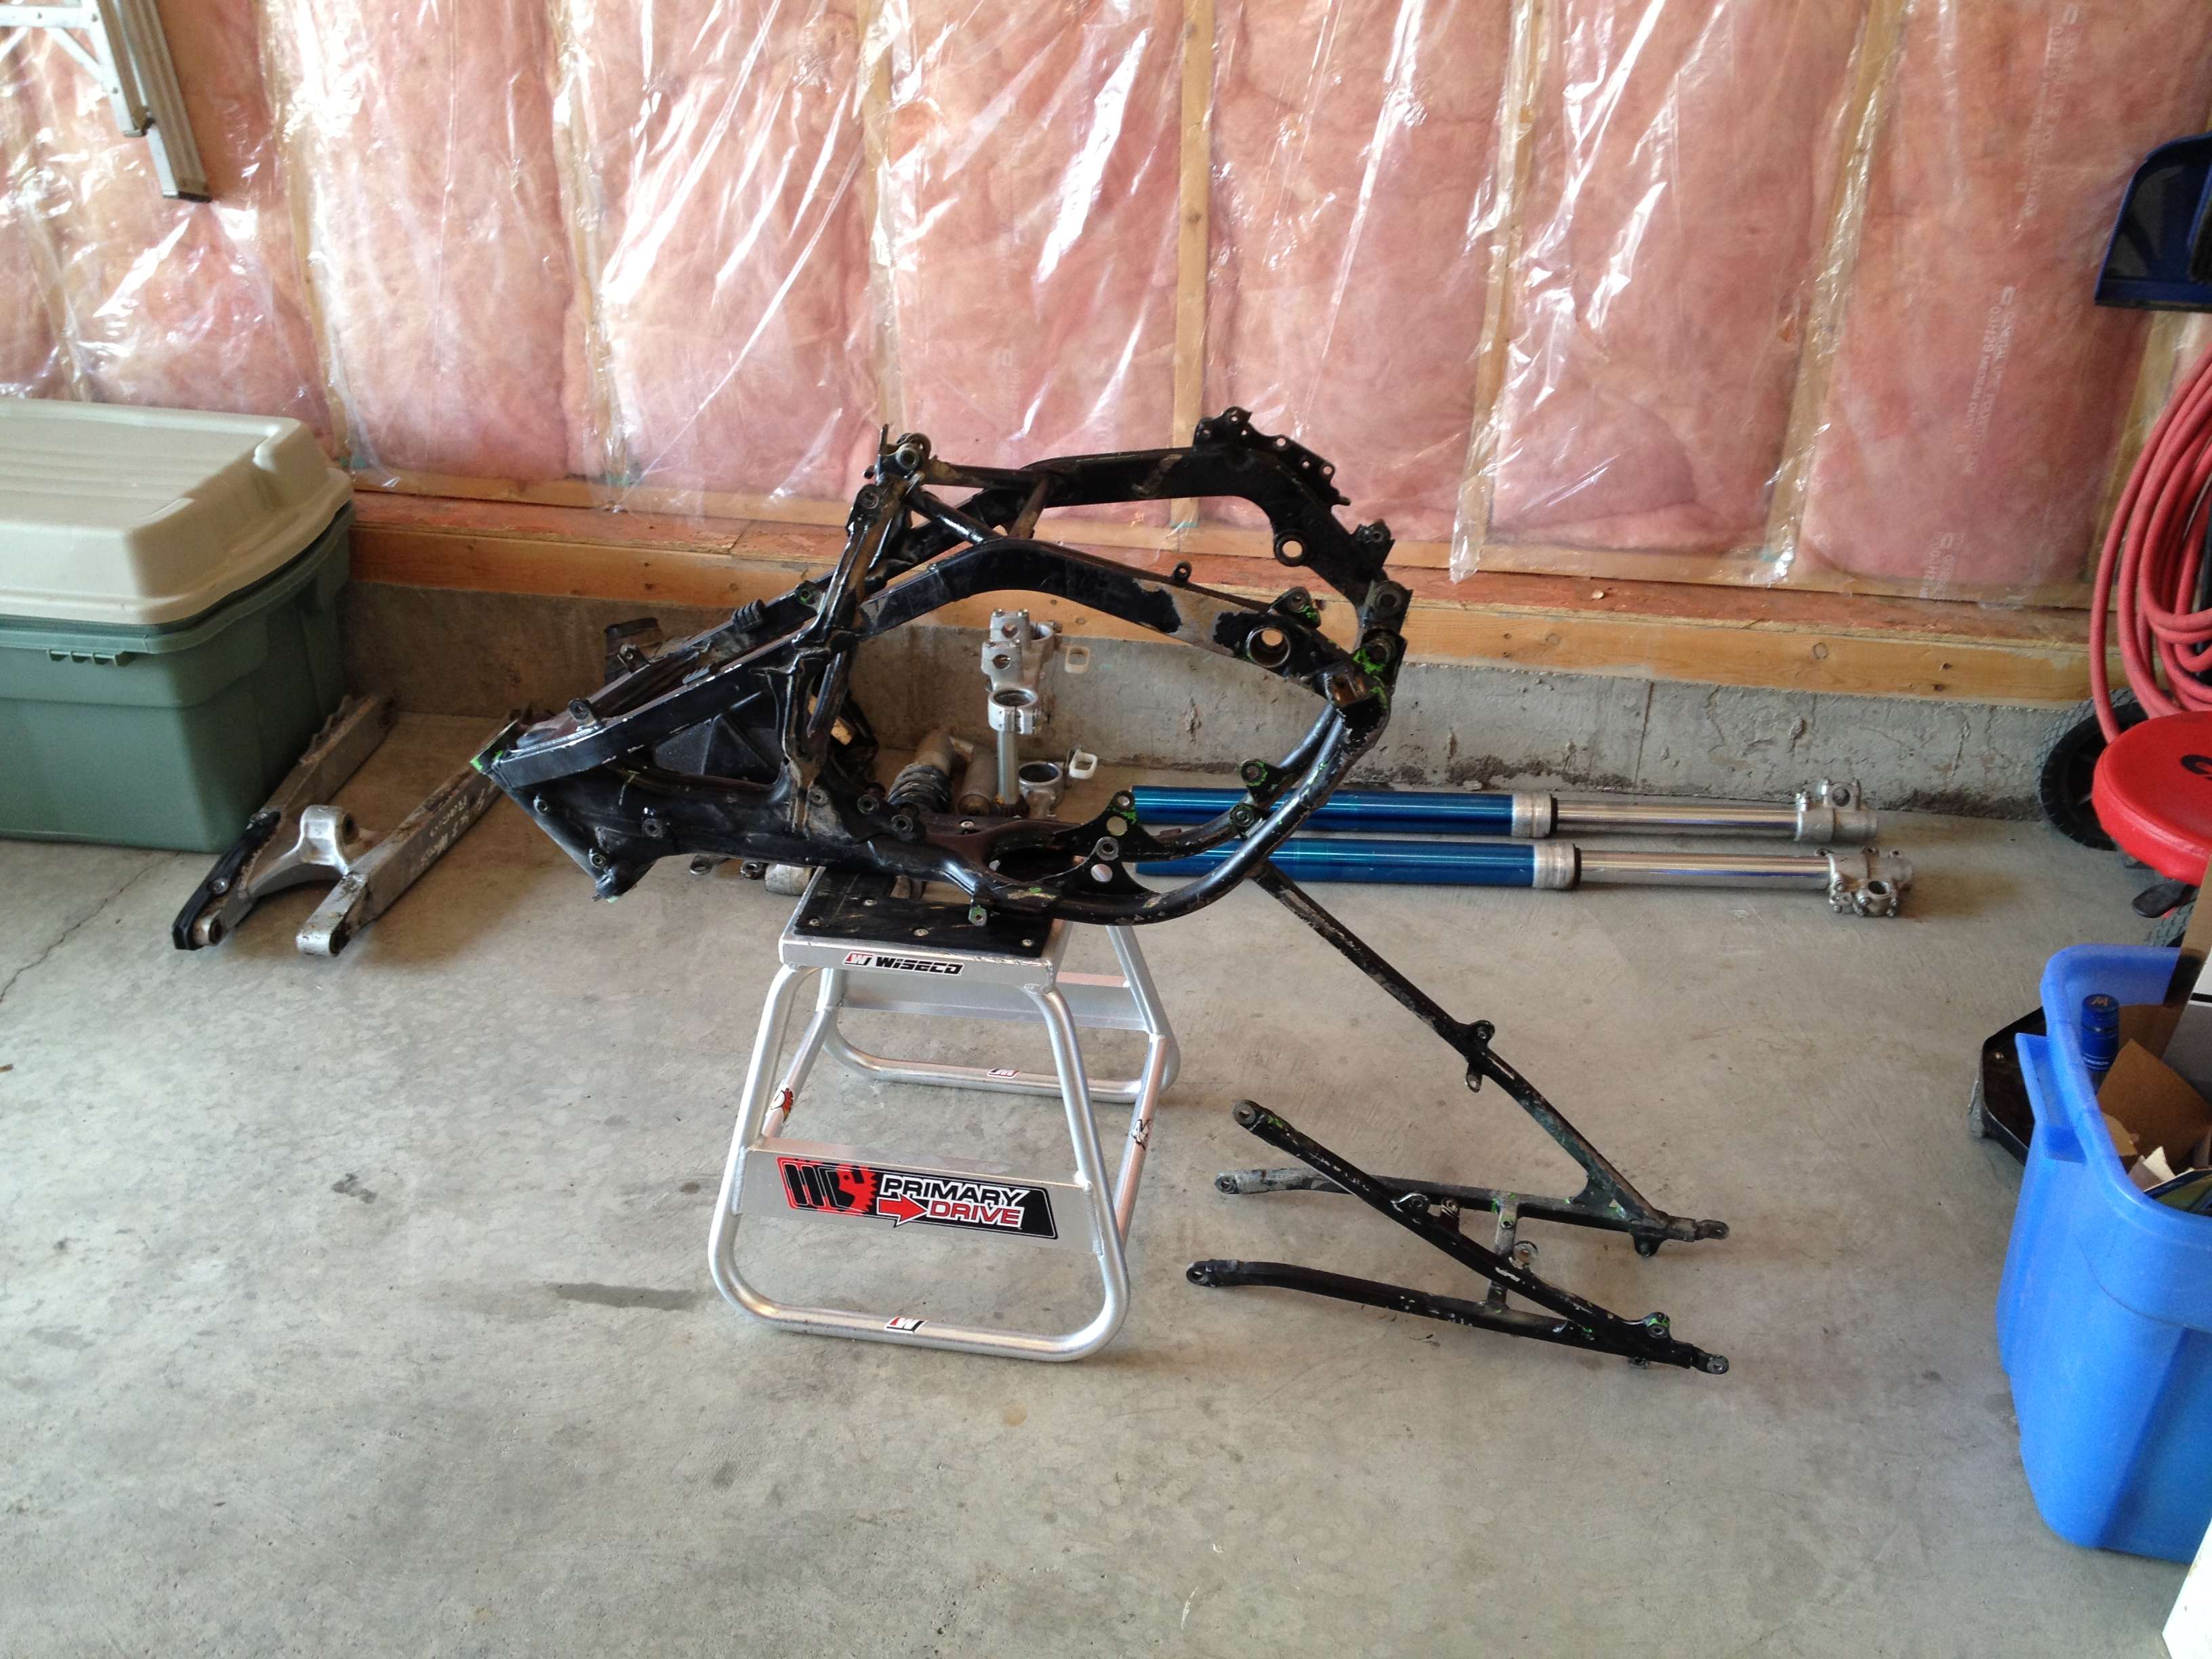
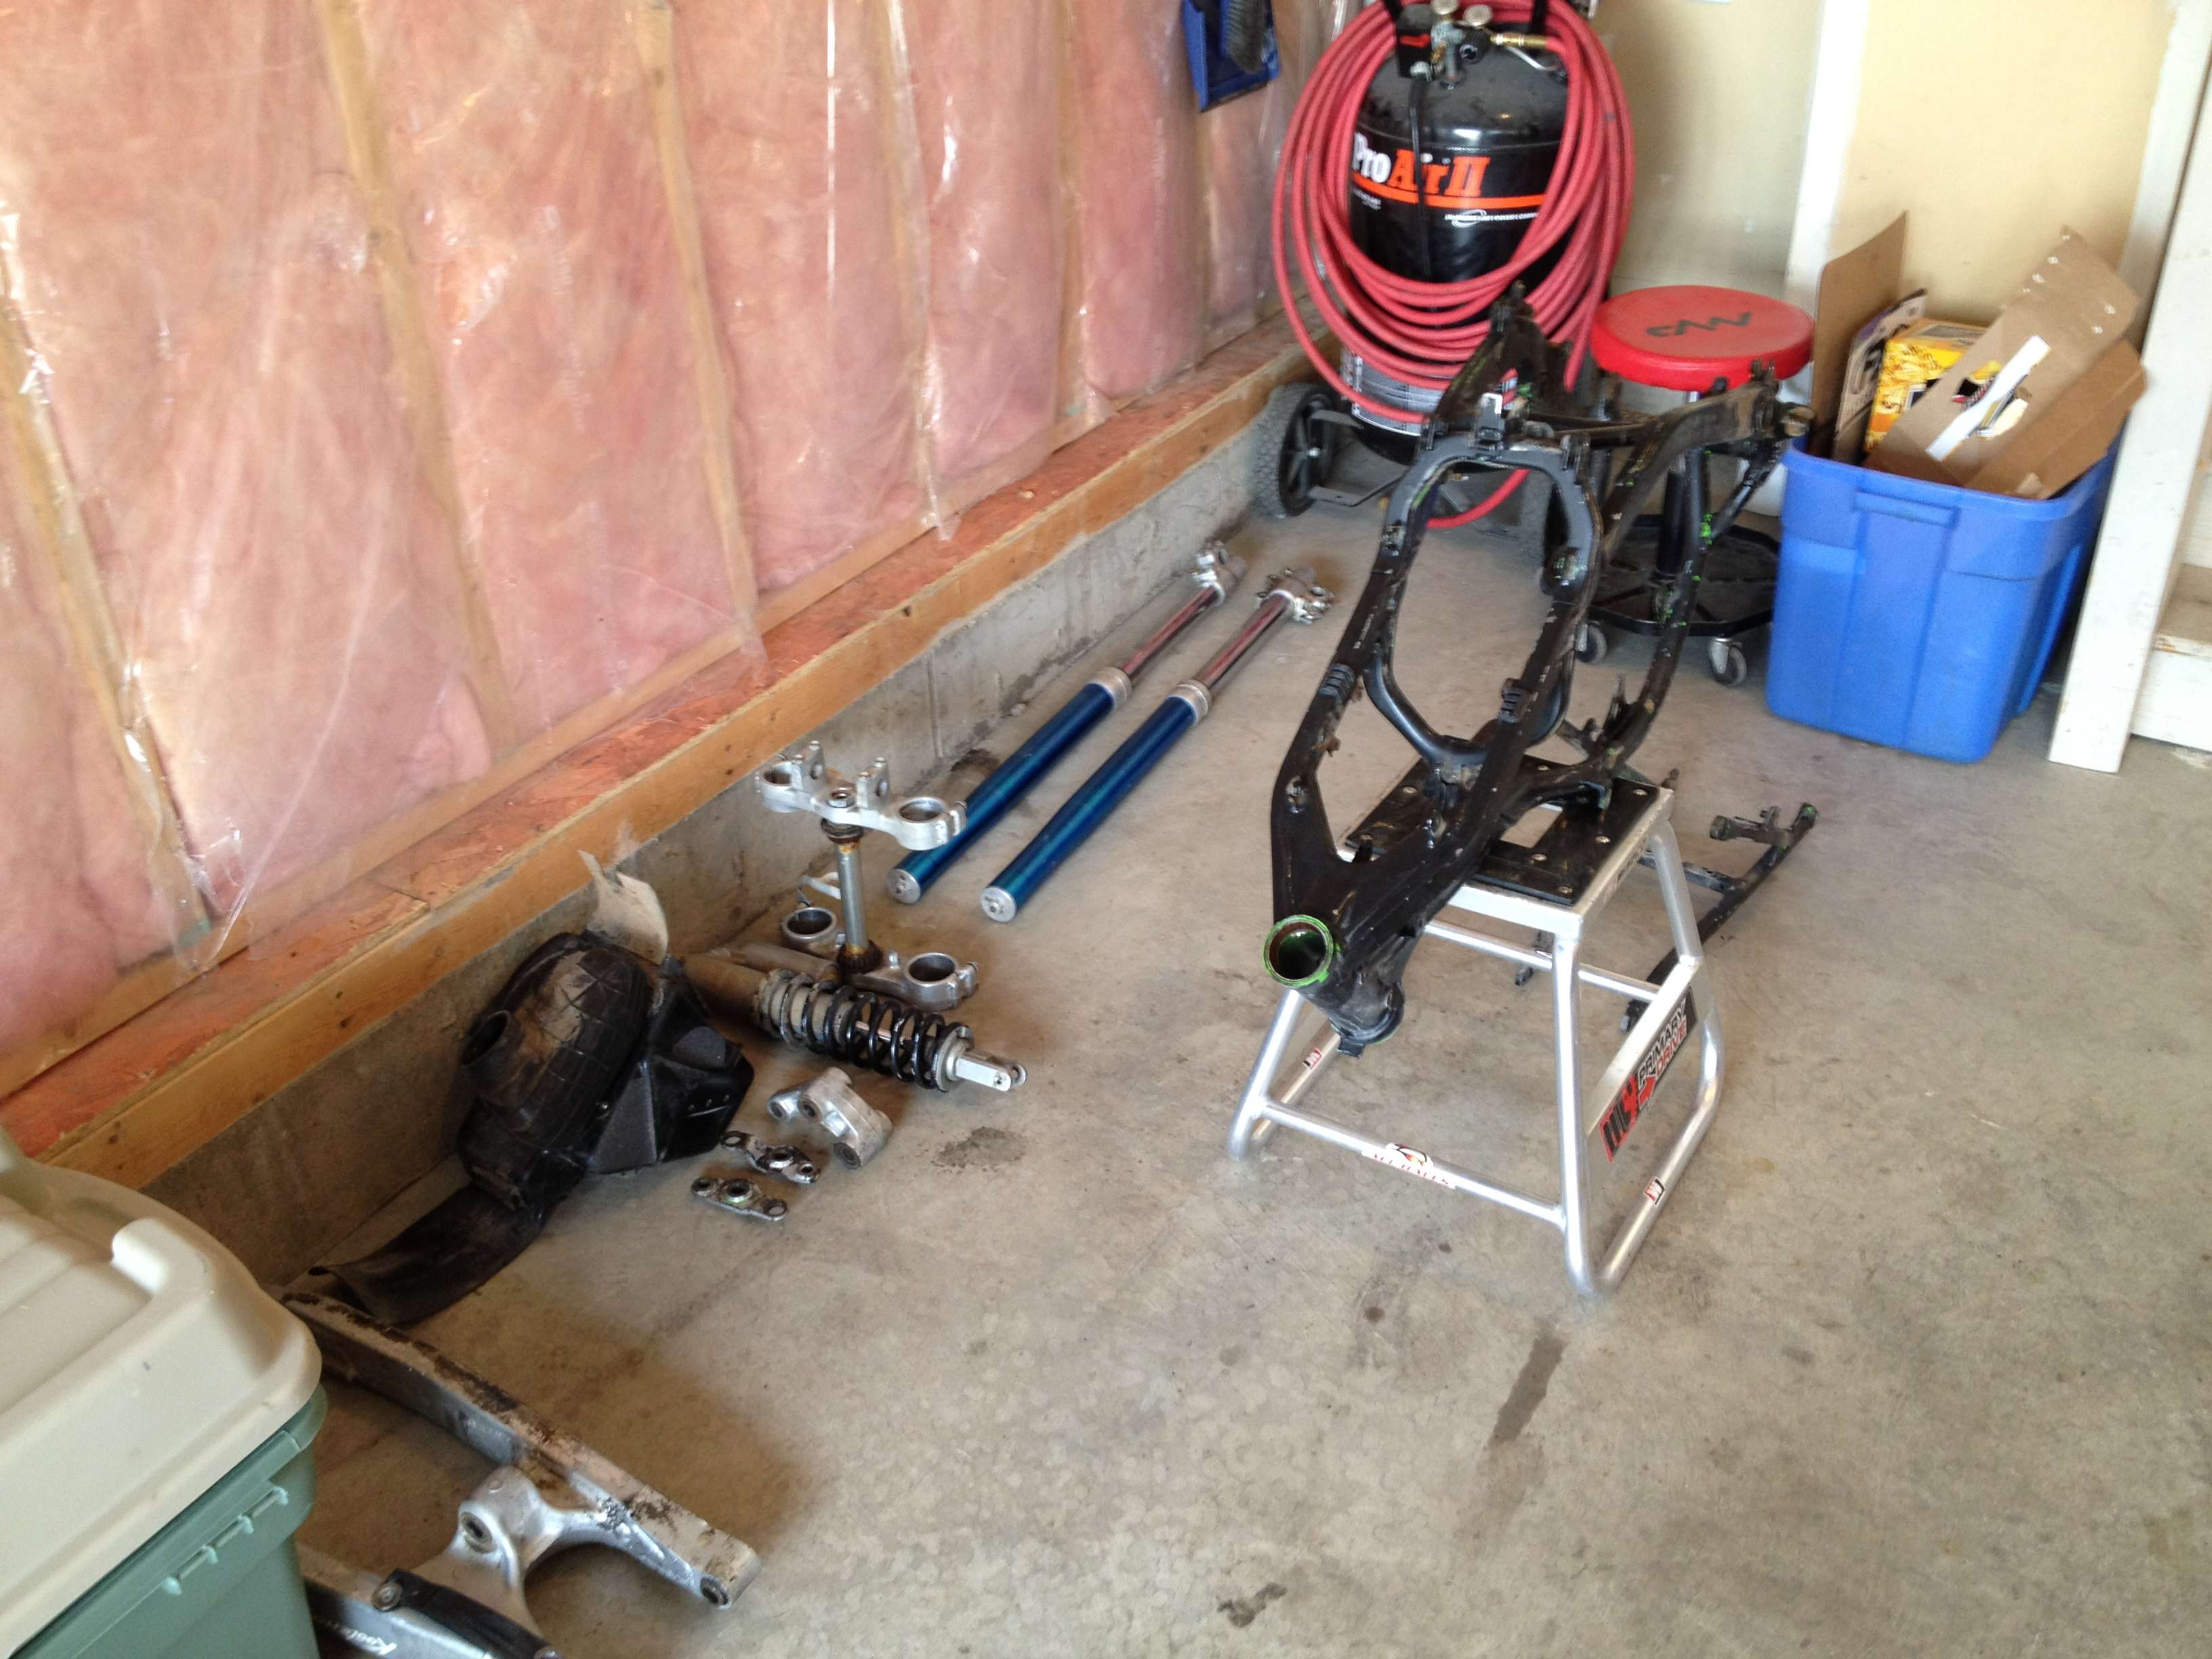
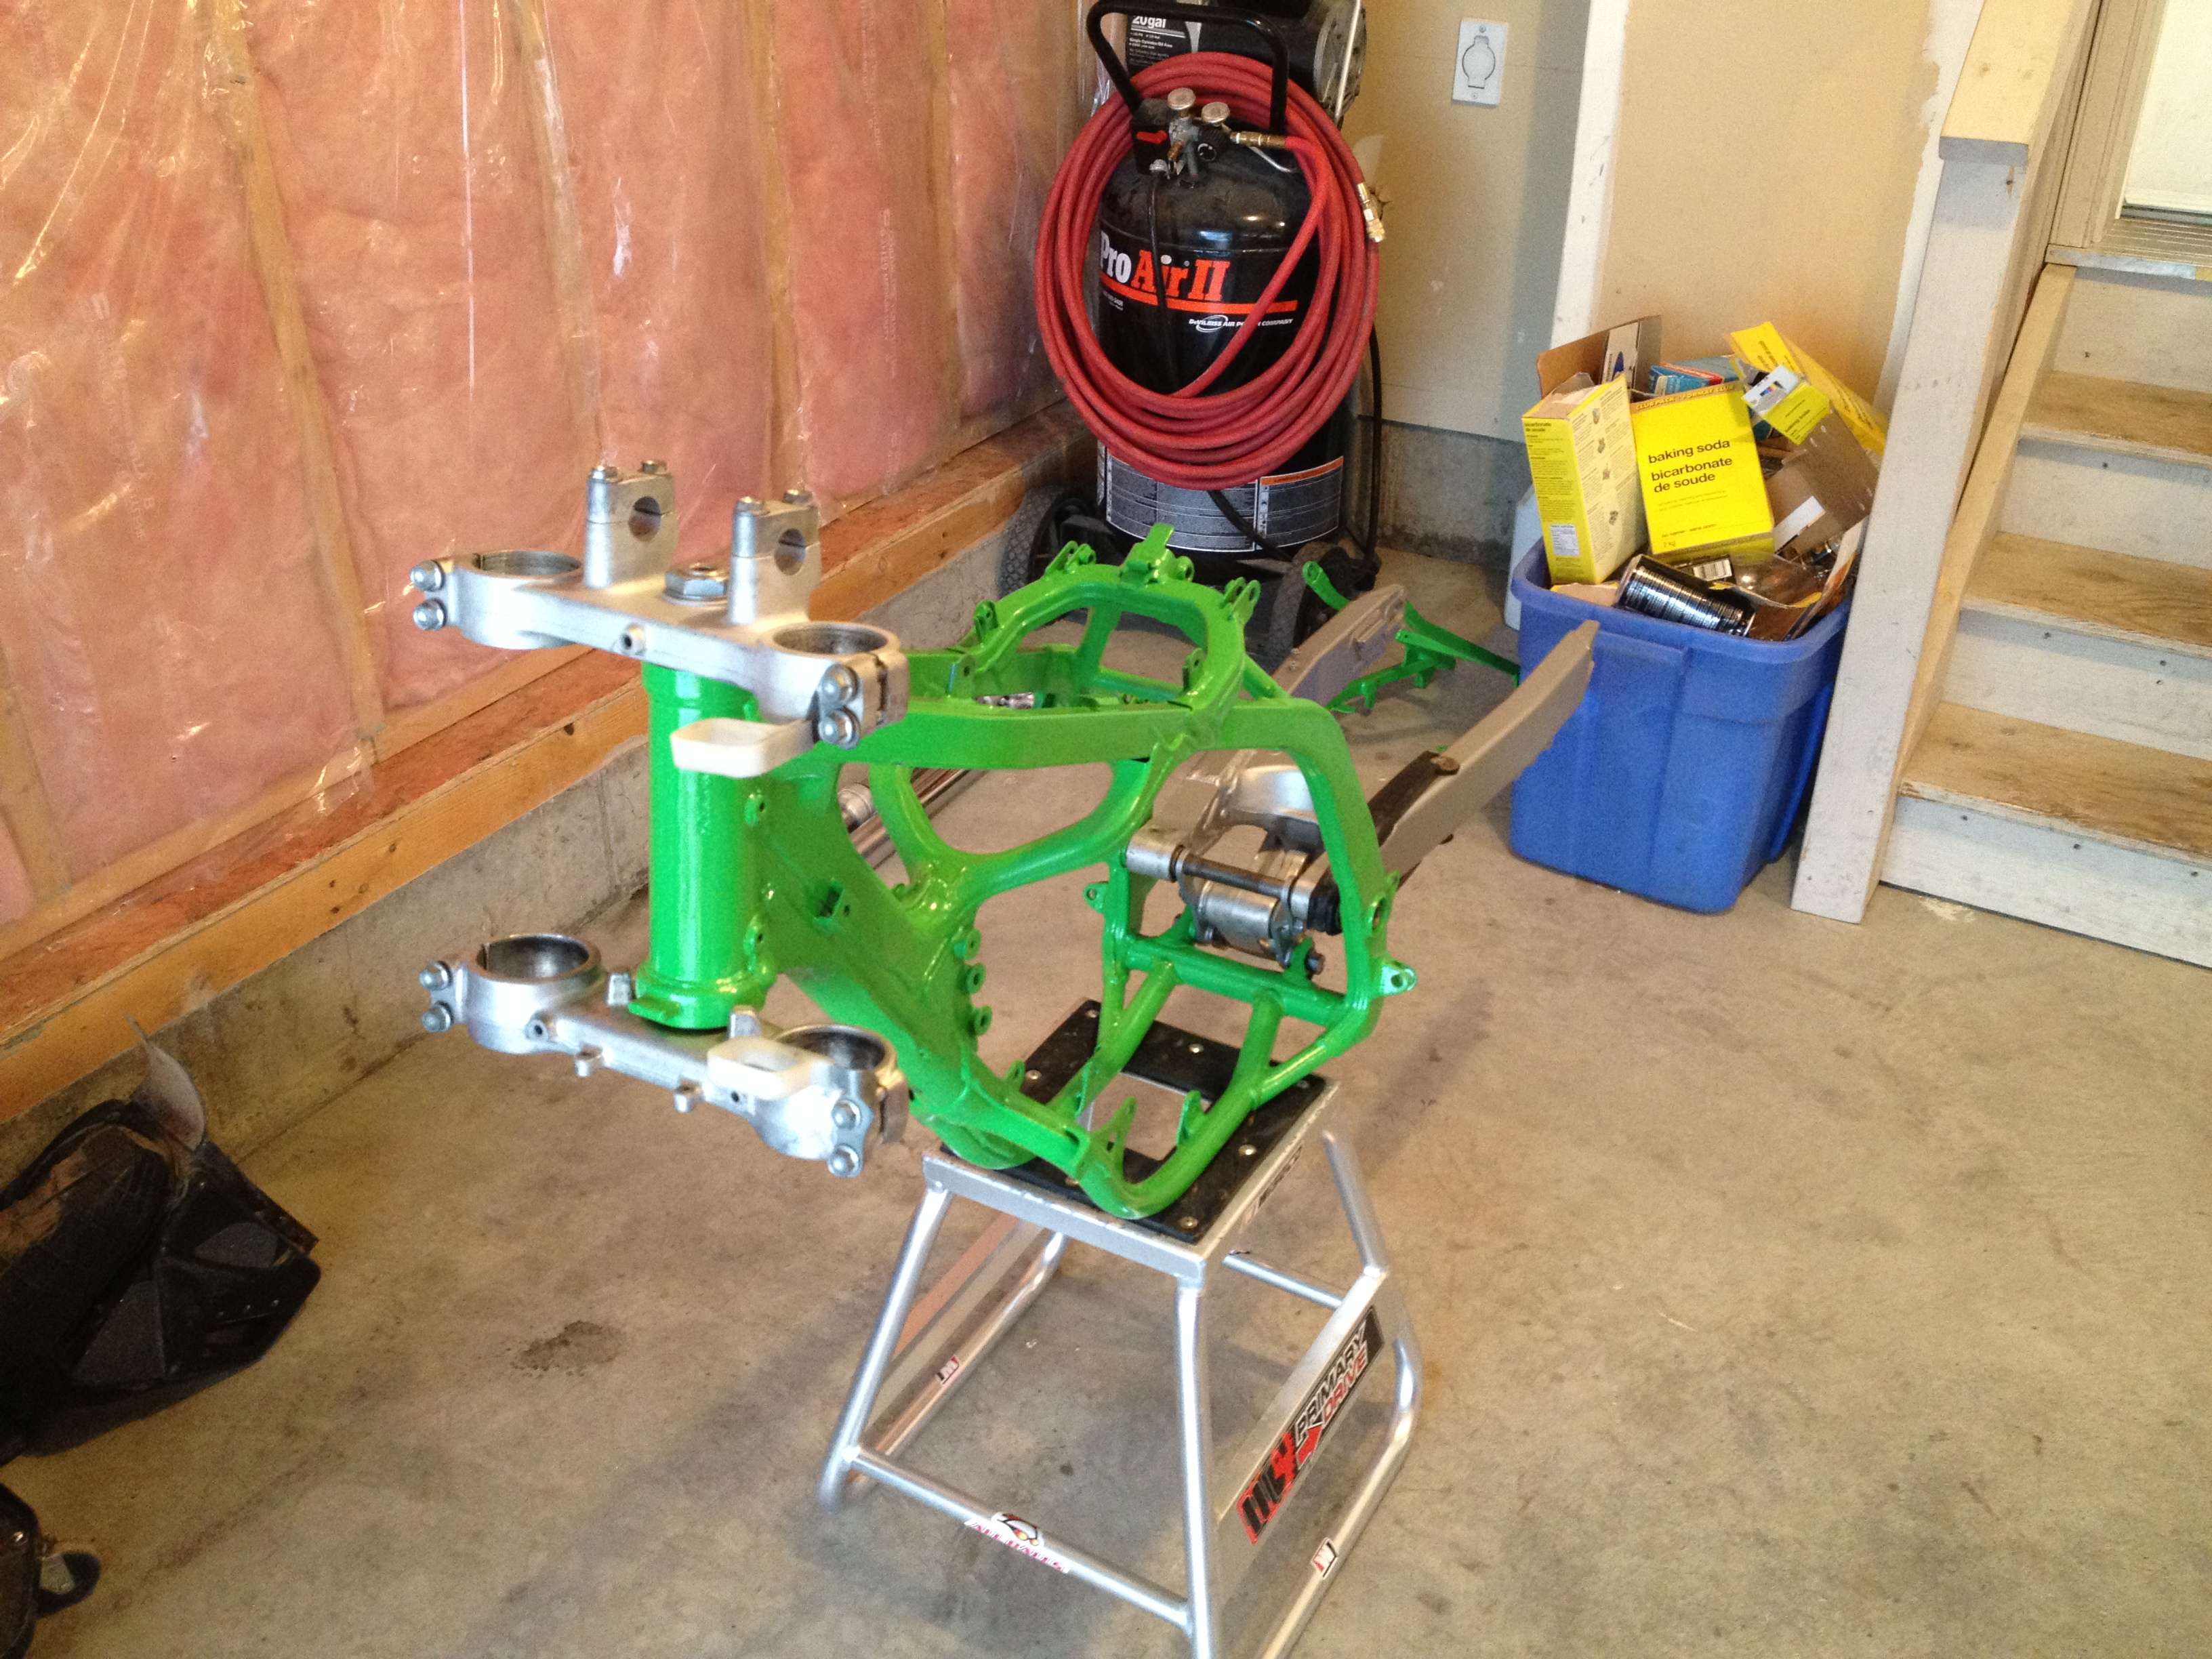
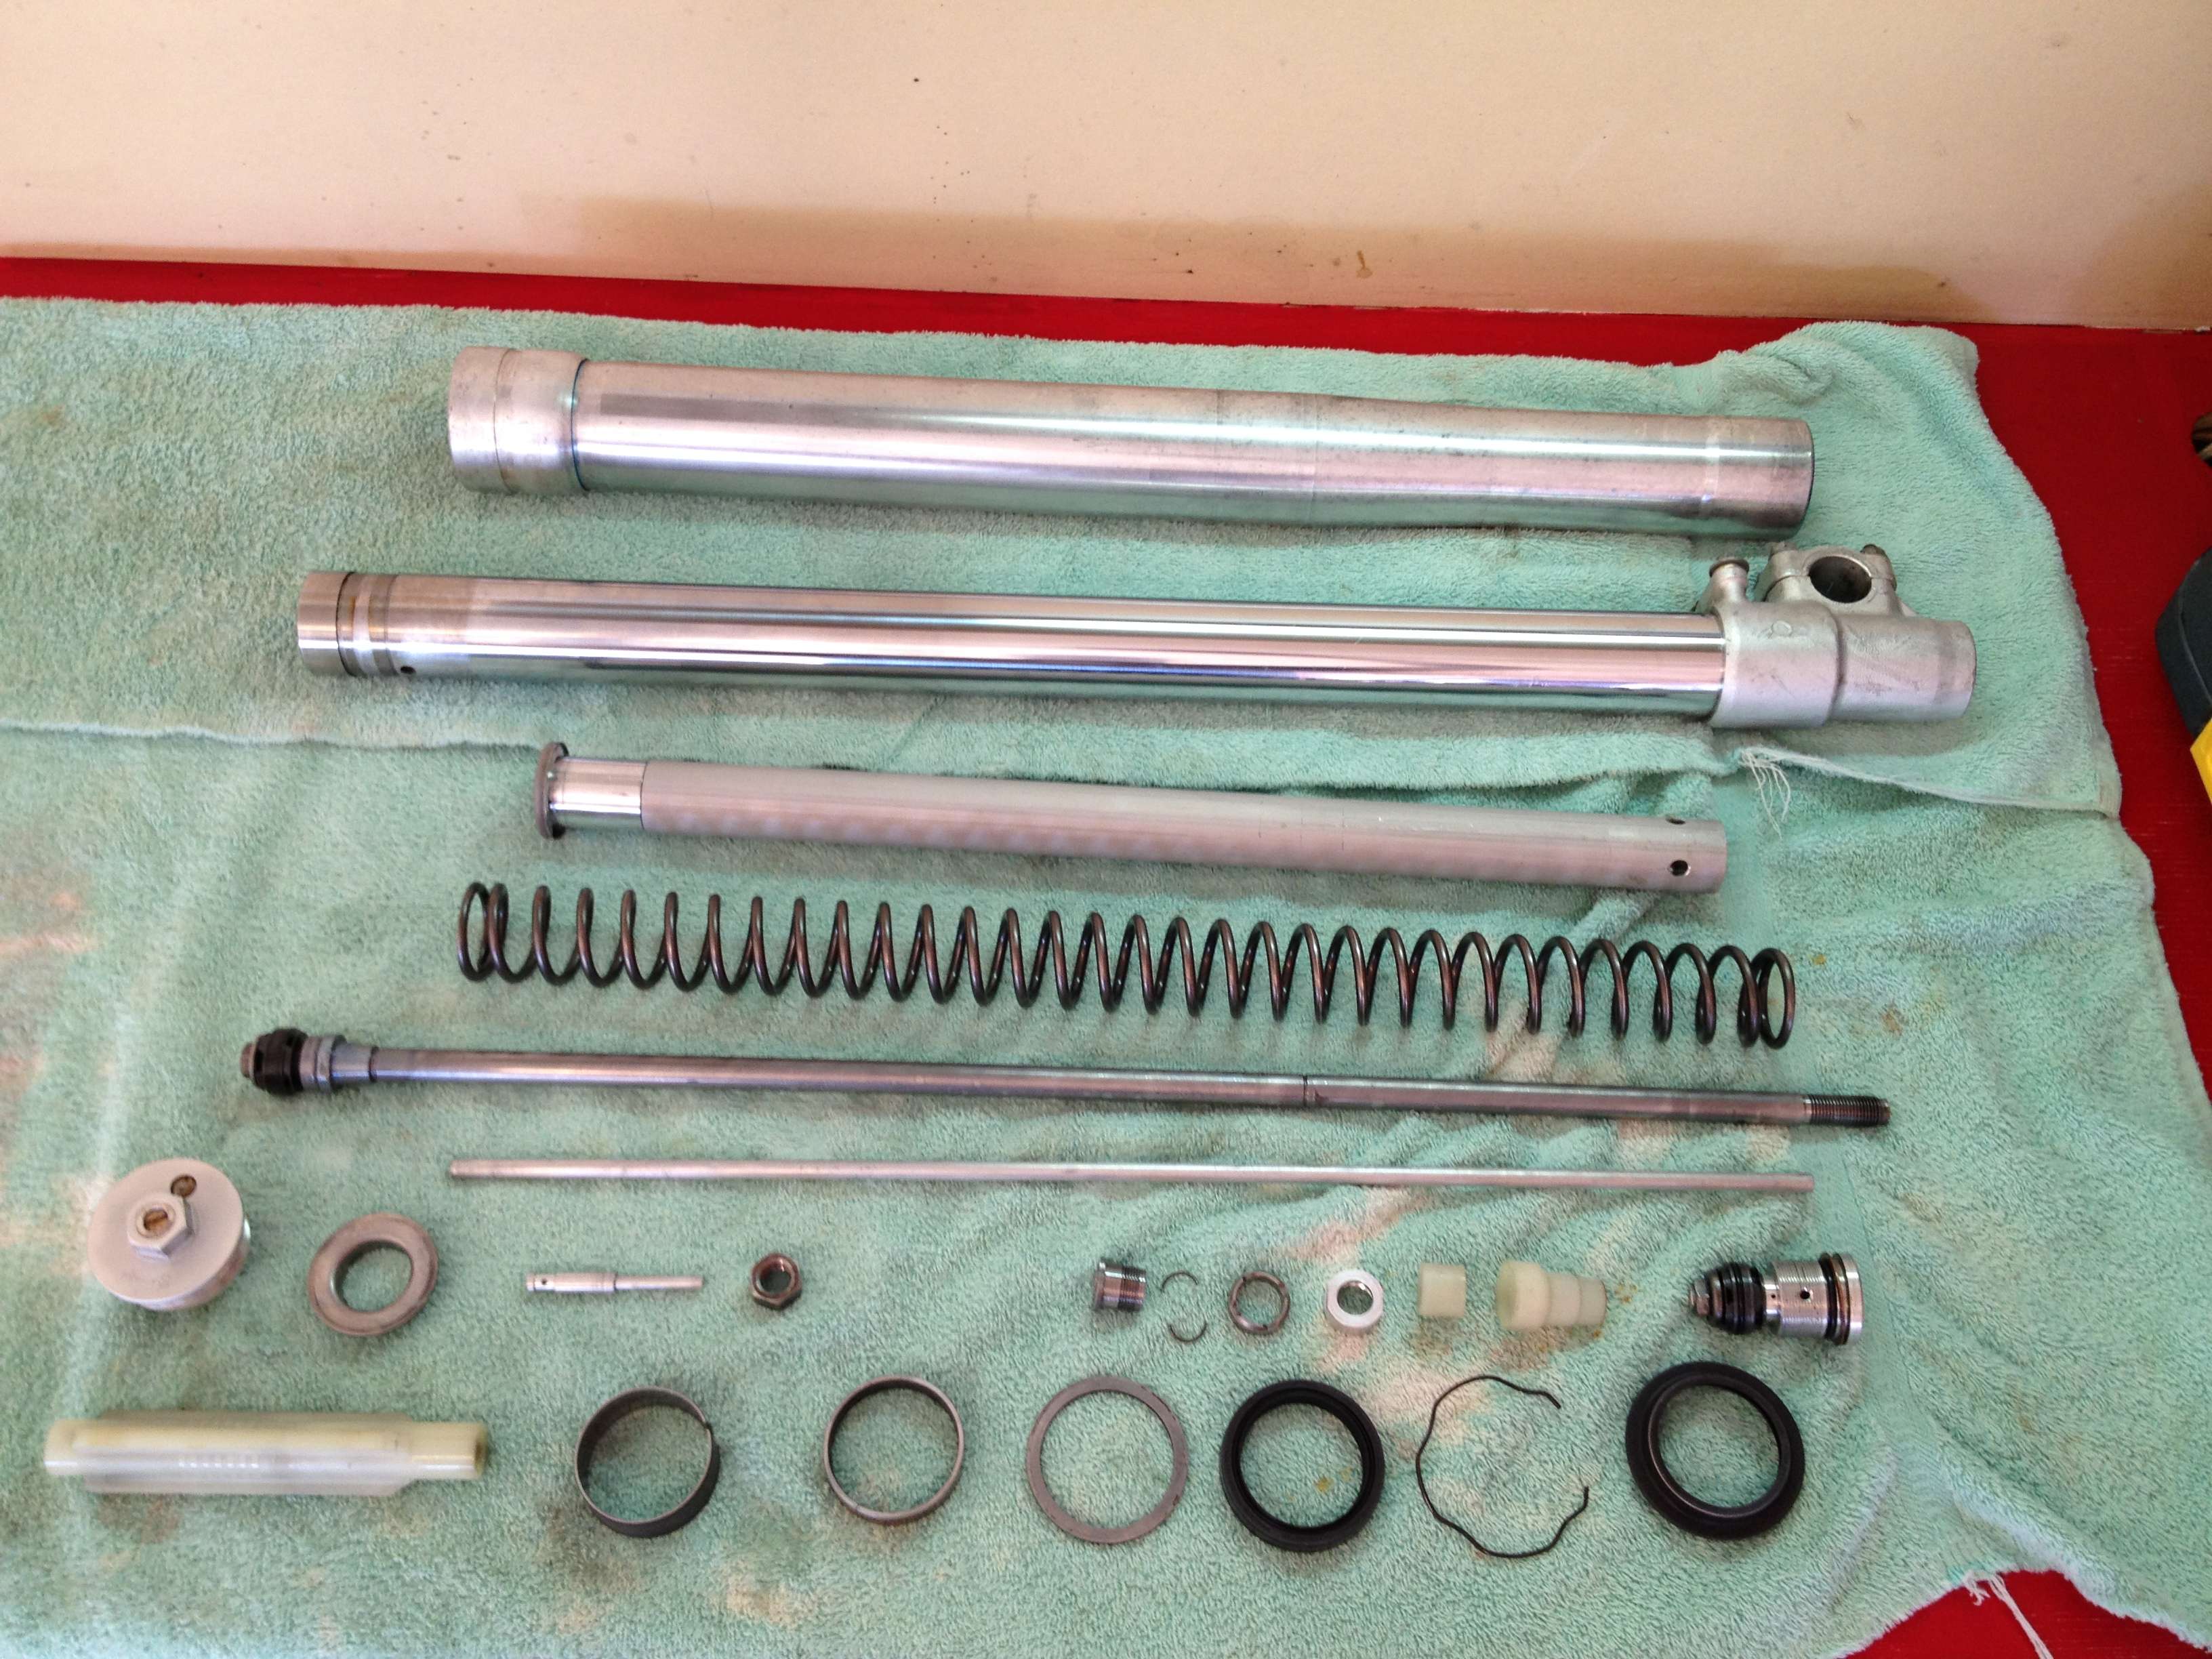
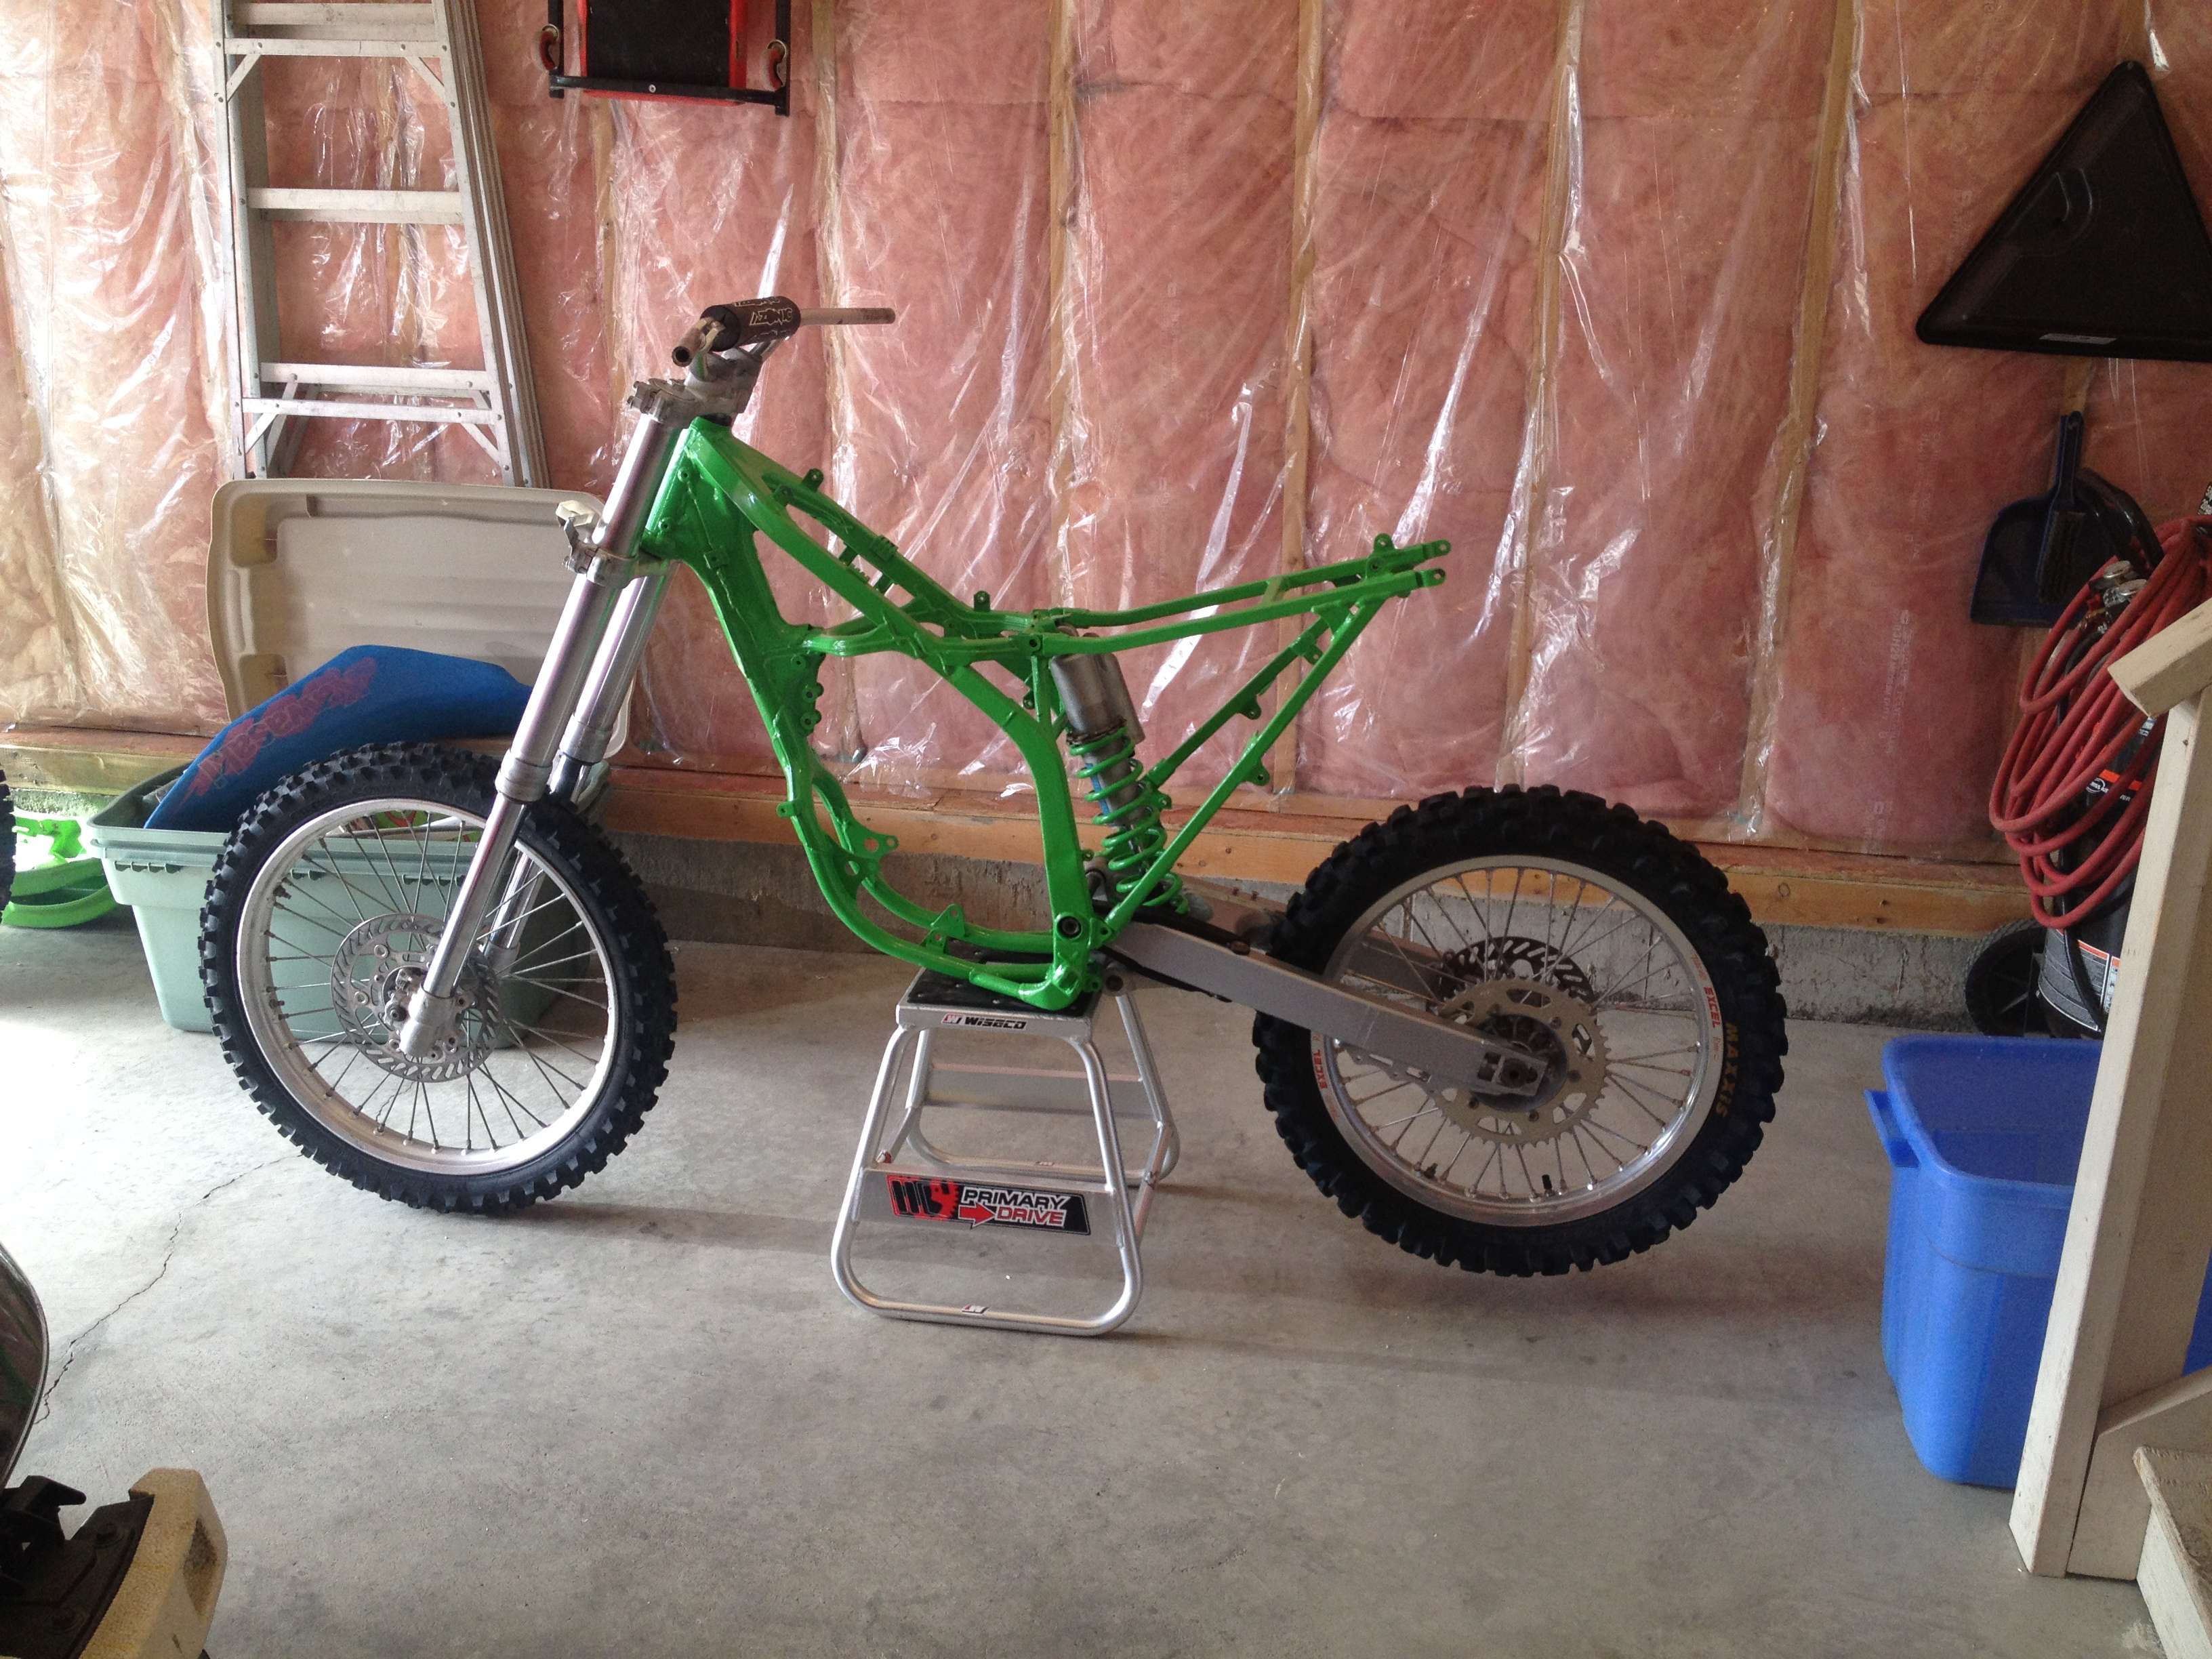
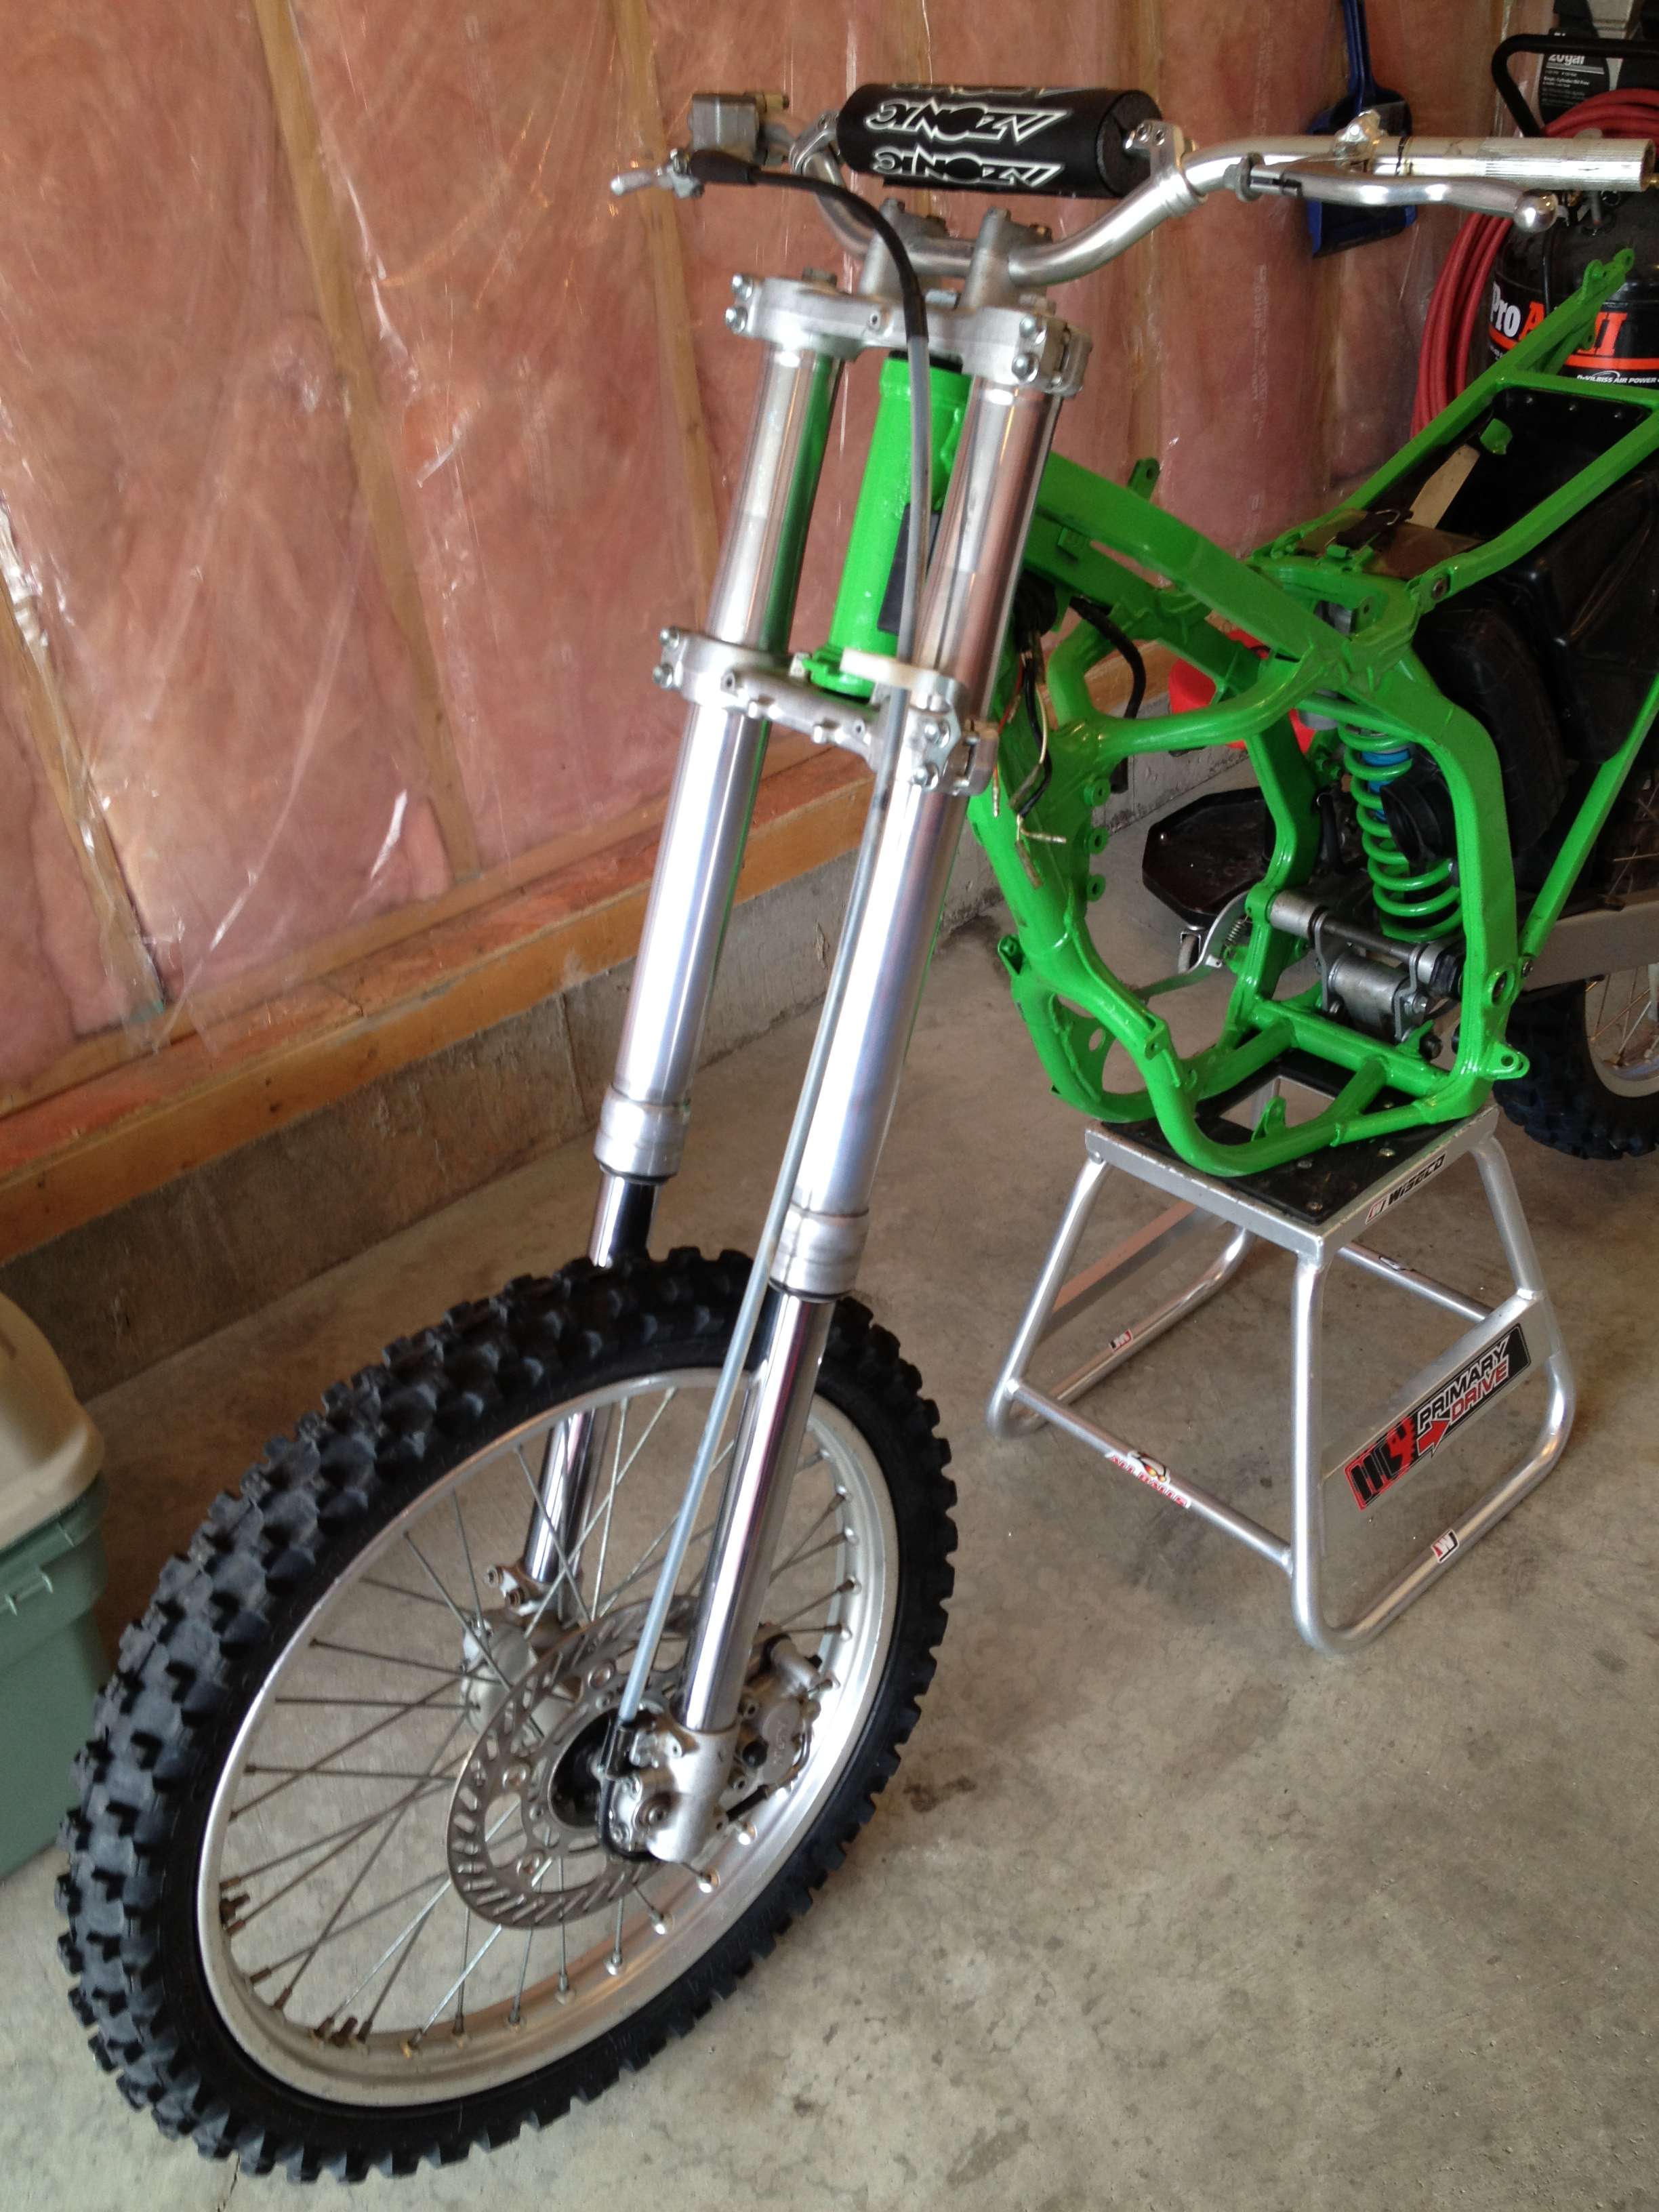
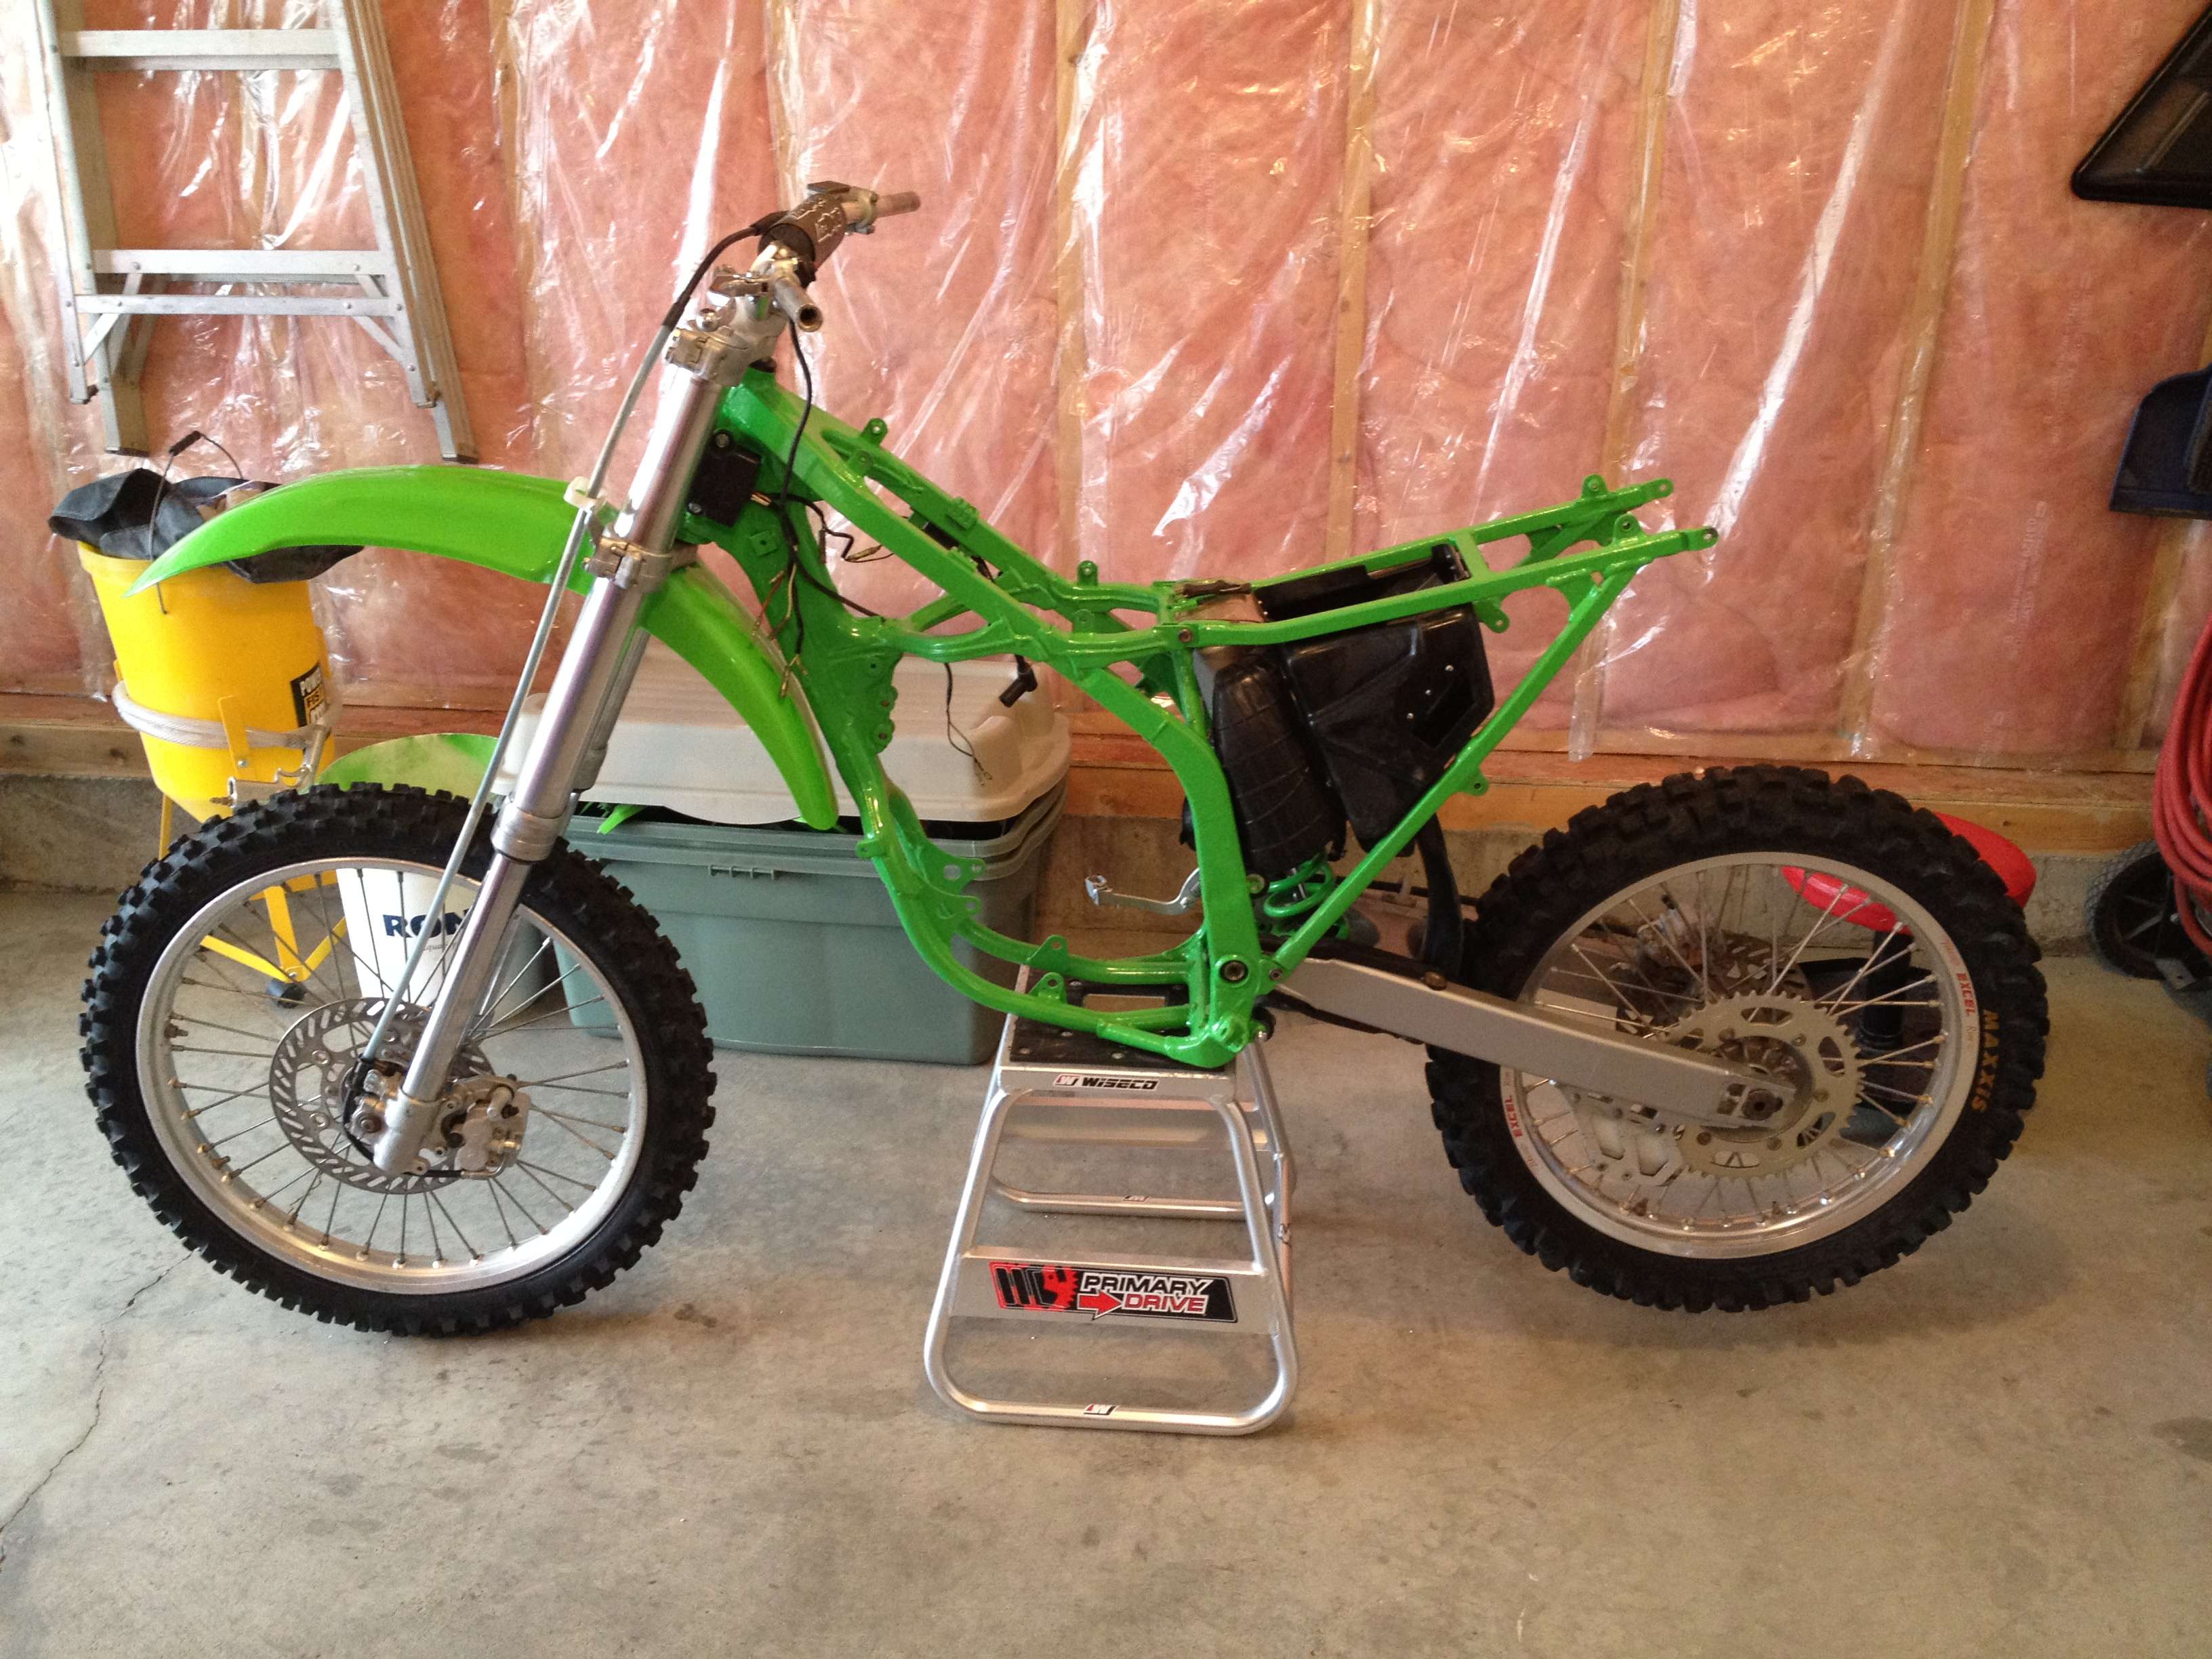
I'll jump right into the rebuild here. The bike is a used and abused 1993 KX 125. One of two I bought in a package deal. The other bike I will keep permanently, this bike I will rebuild, and then ride until the '98 is completed. Gives me something to take to the track while still having another project. Like all my builds, everything will be torn down, inspected, cleaned, replaced as needed, and upgraded. Because I don't plan on keeping the bike forever, this will not be a "works build" I'll save that for the '98. Instead, the objective is to have a "brand new" 1993 KX 125, that rips shiz, and that I can tear up the track with. For this reason, most things will get refreshed instead of upgraded. I won't be dumping thousands into the suspension or the engine, but when I'm done it should be a "better than stock" KX.
Well then, onto the rebuild!
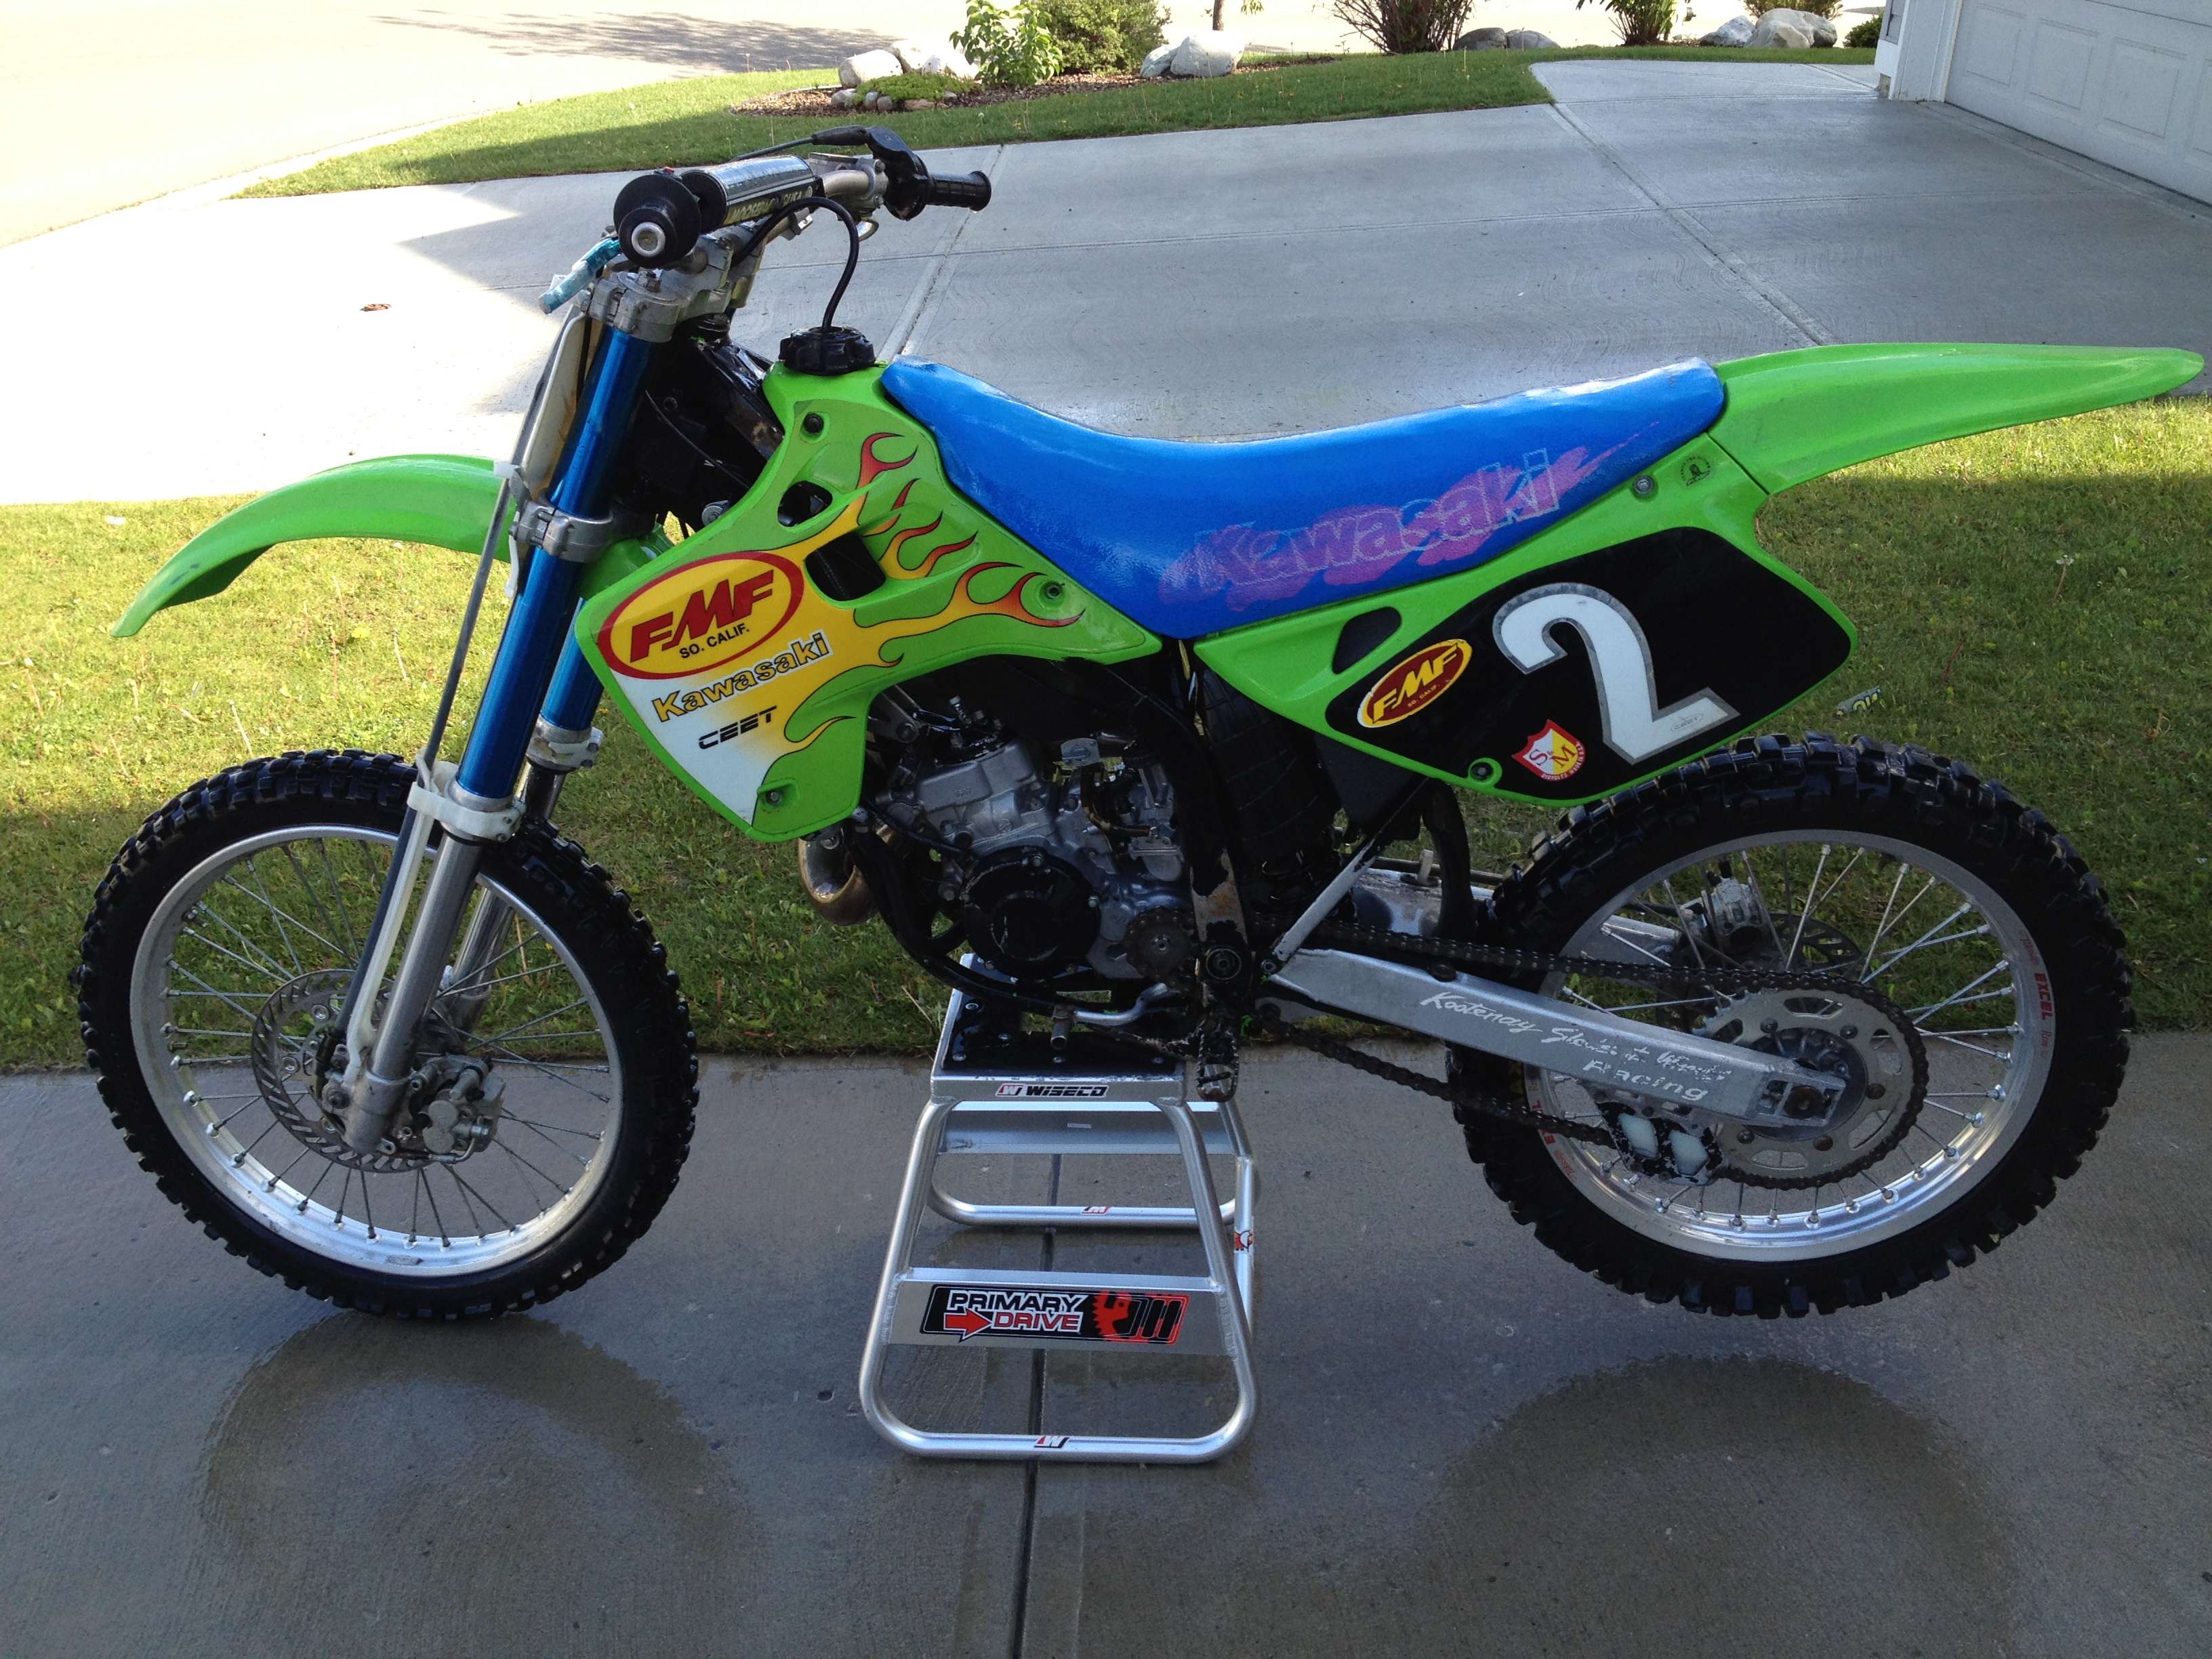
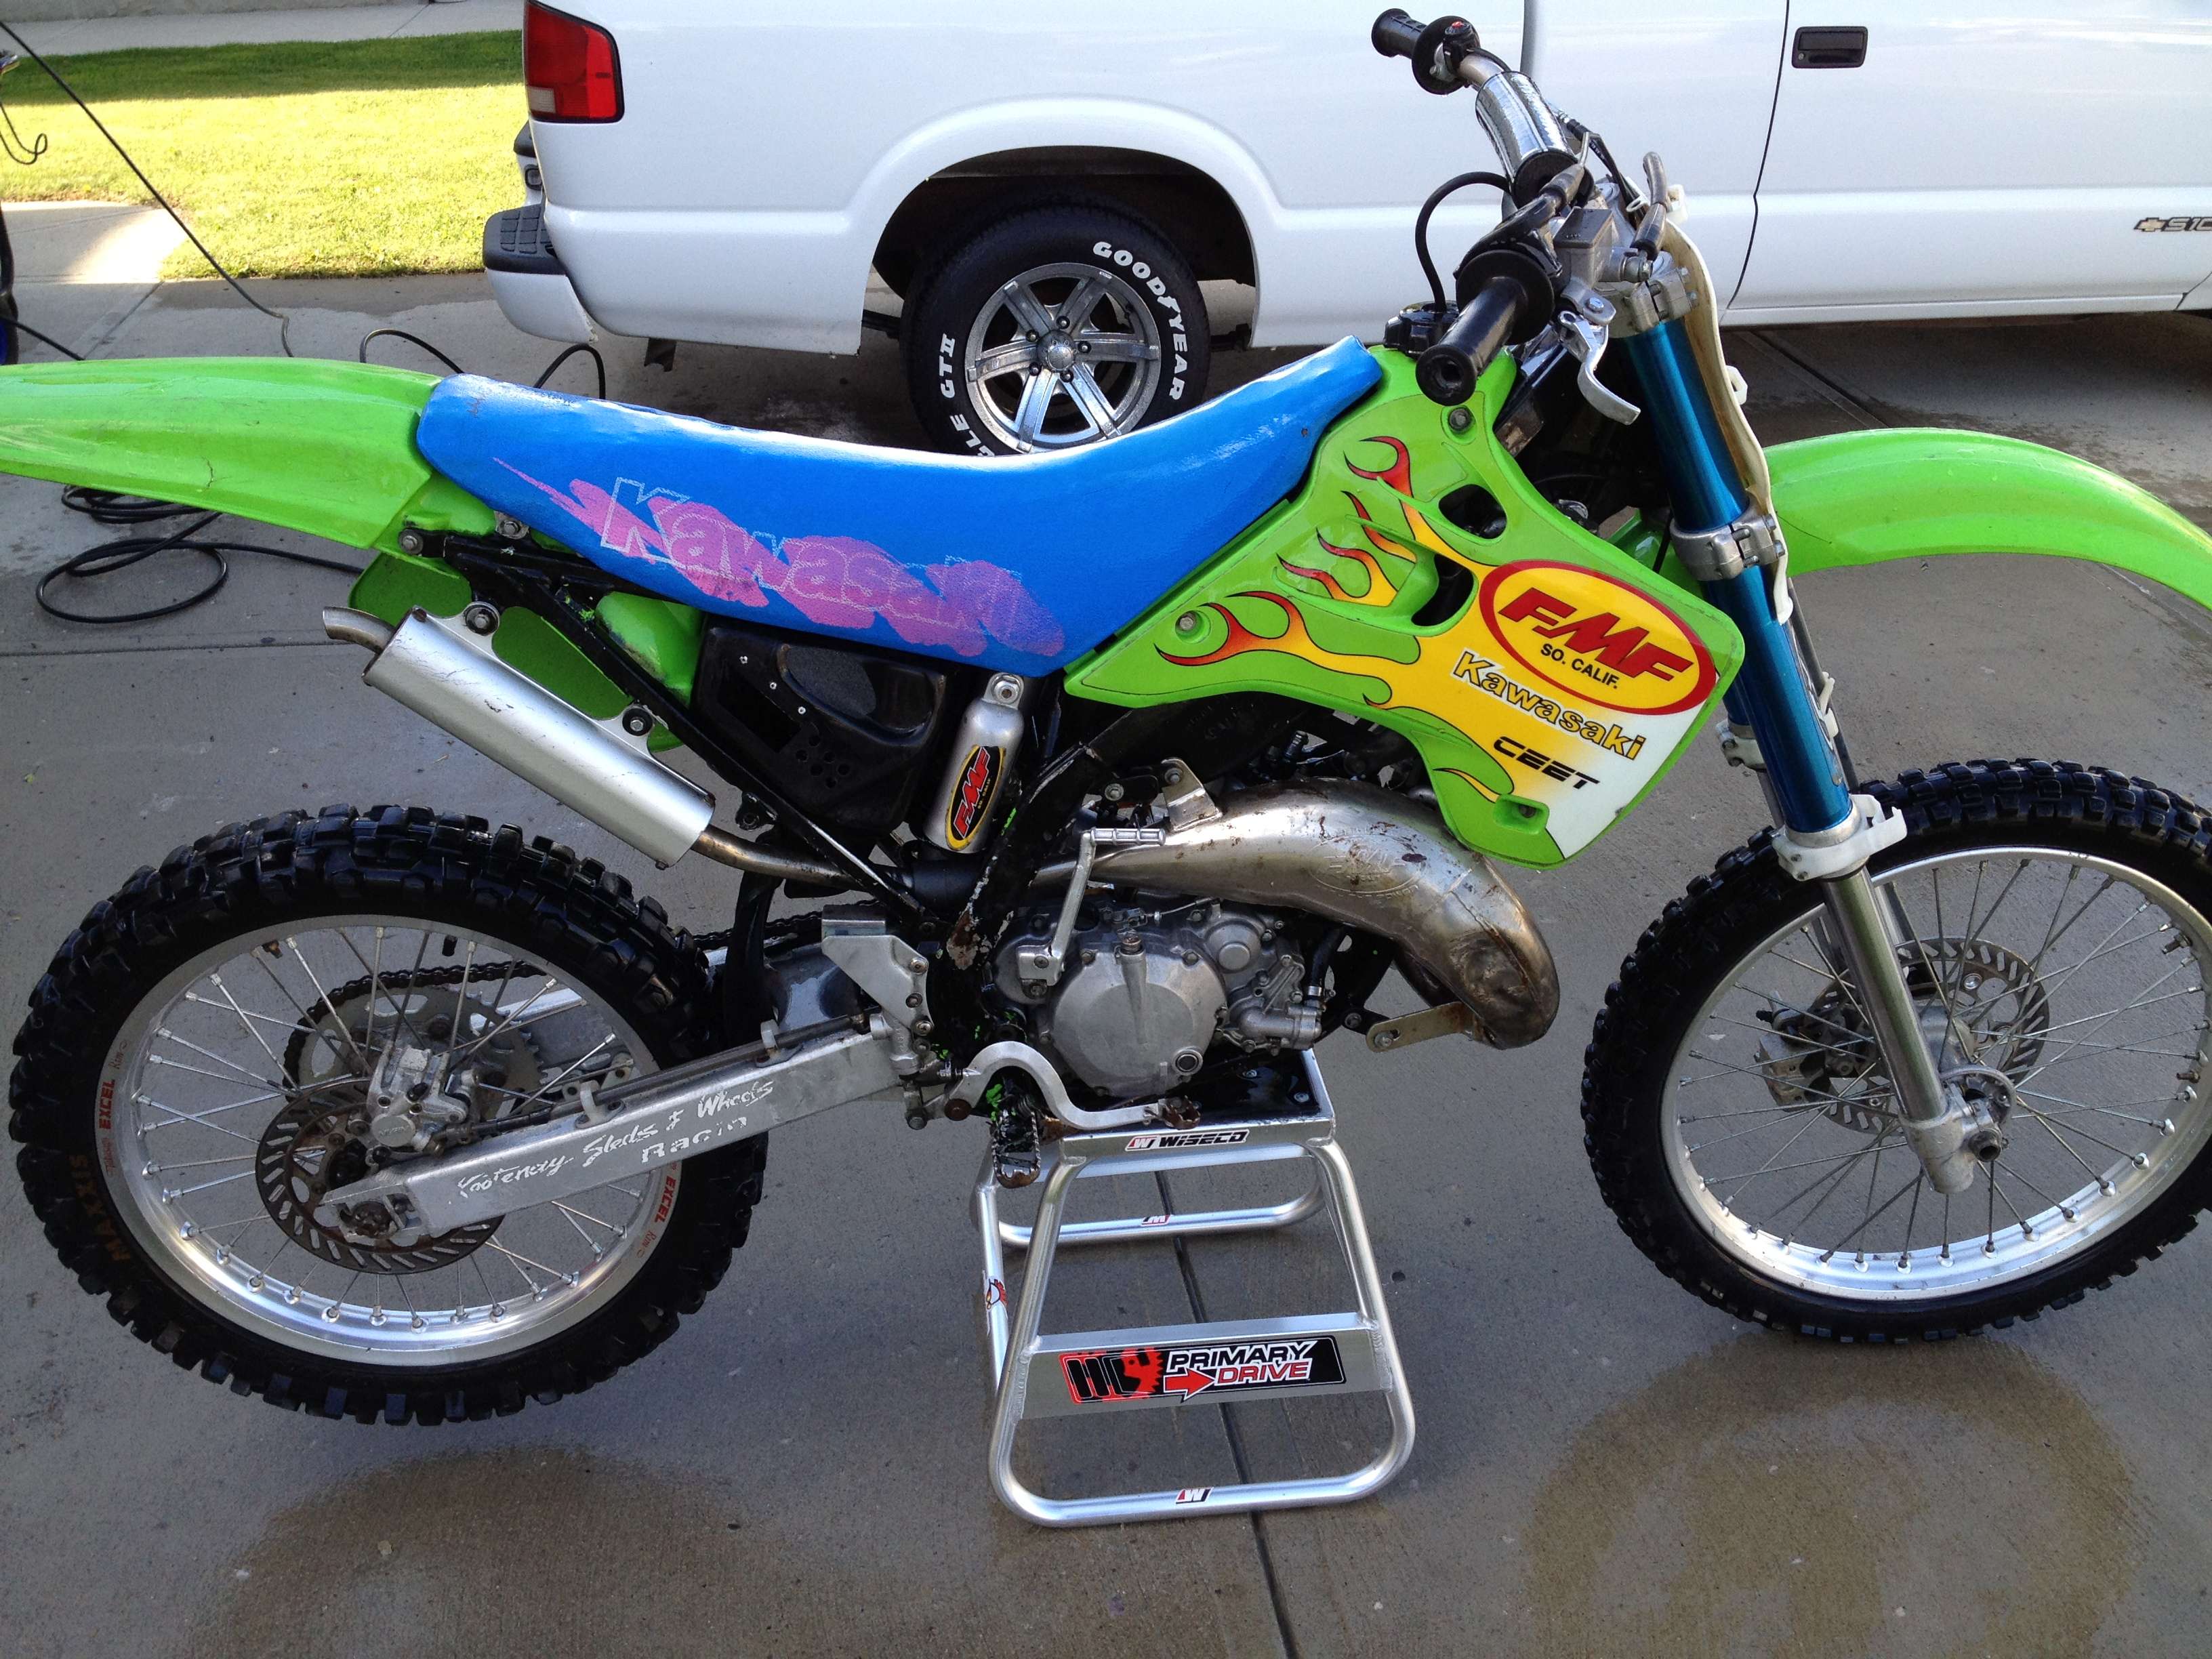
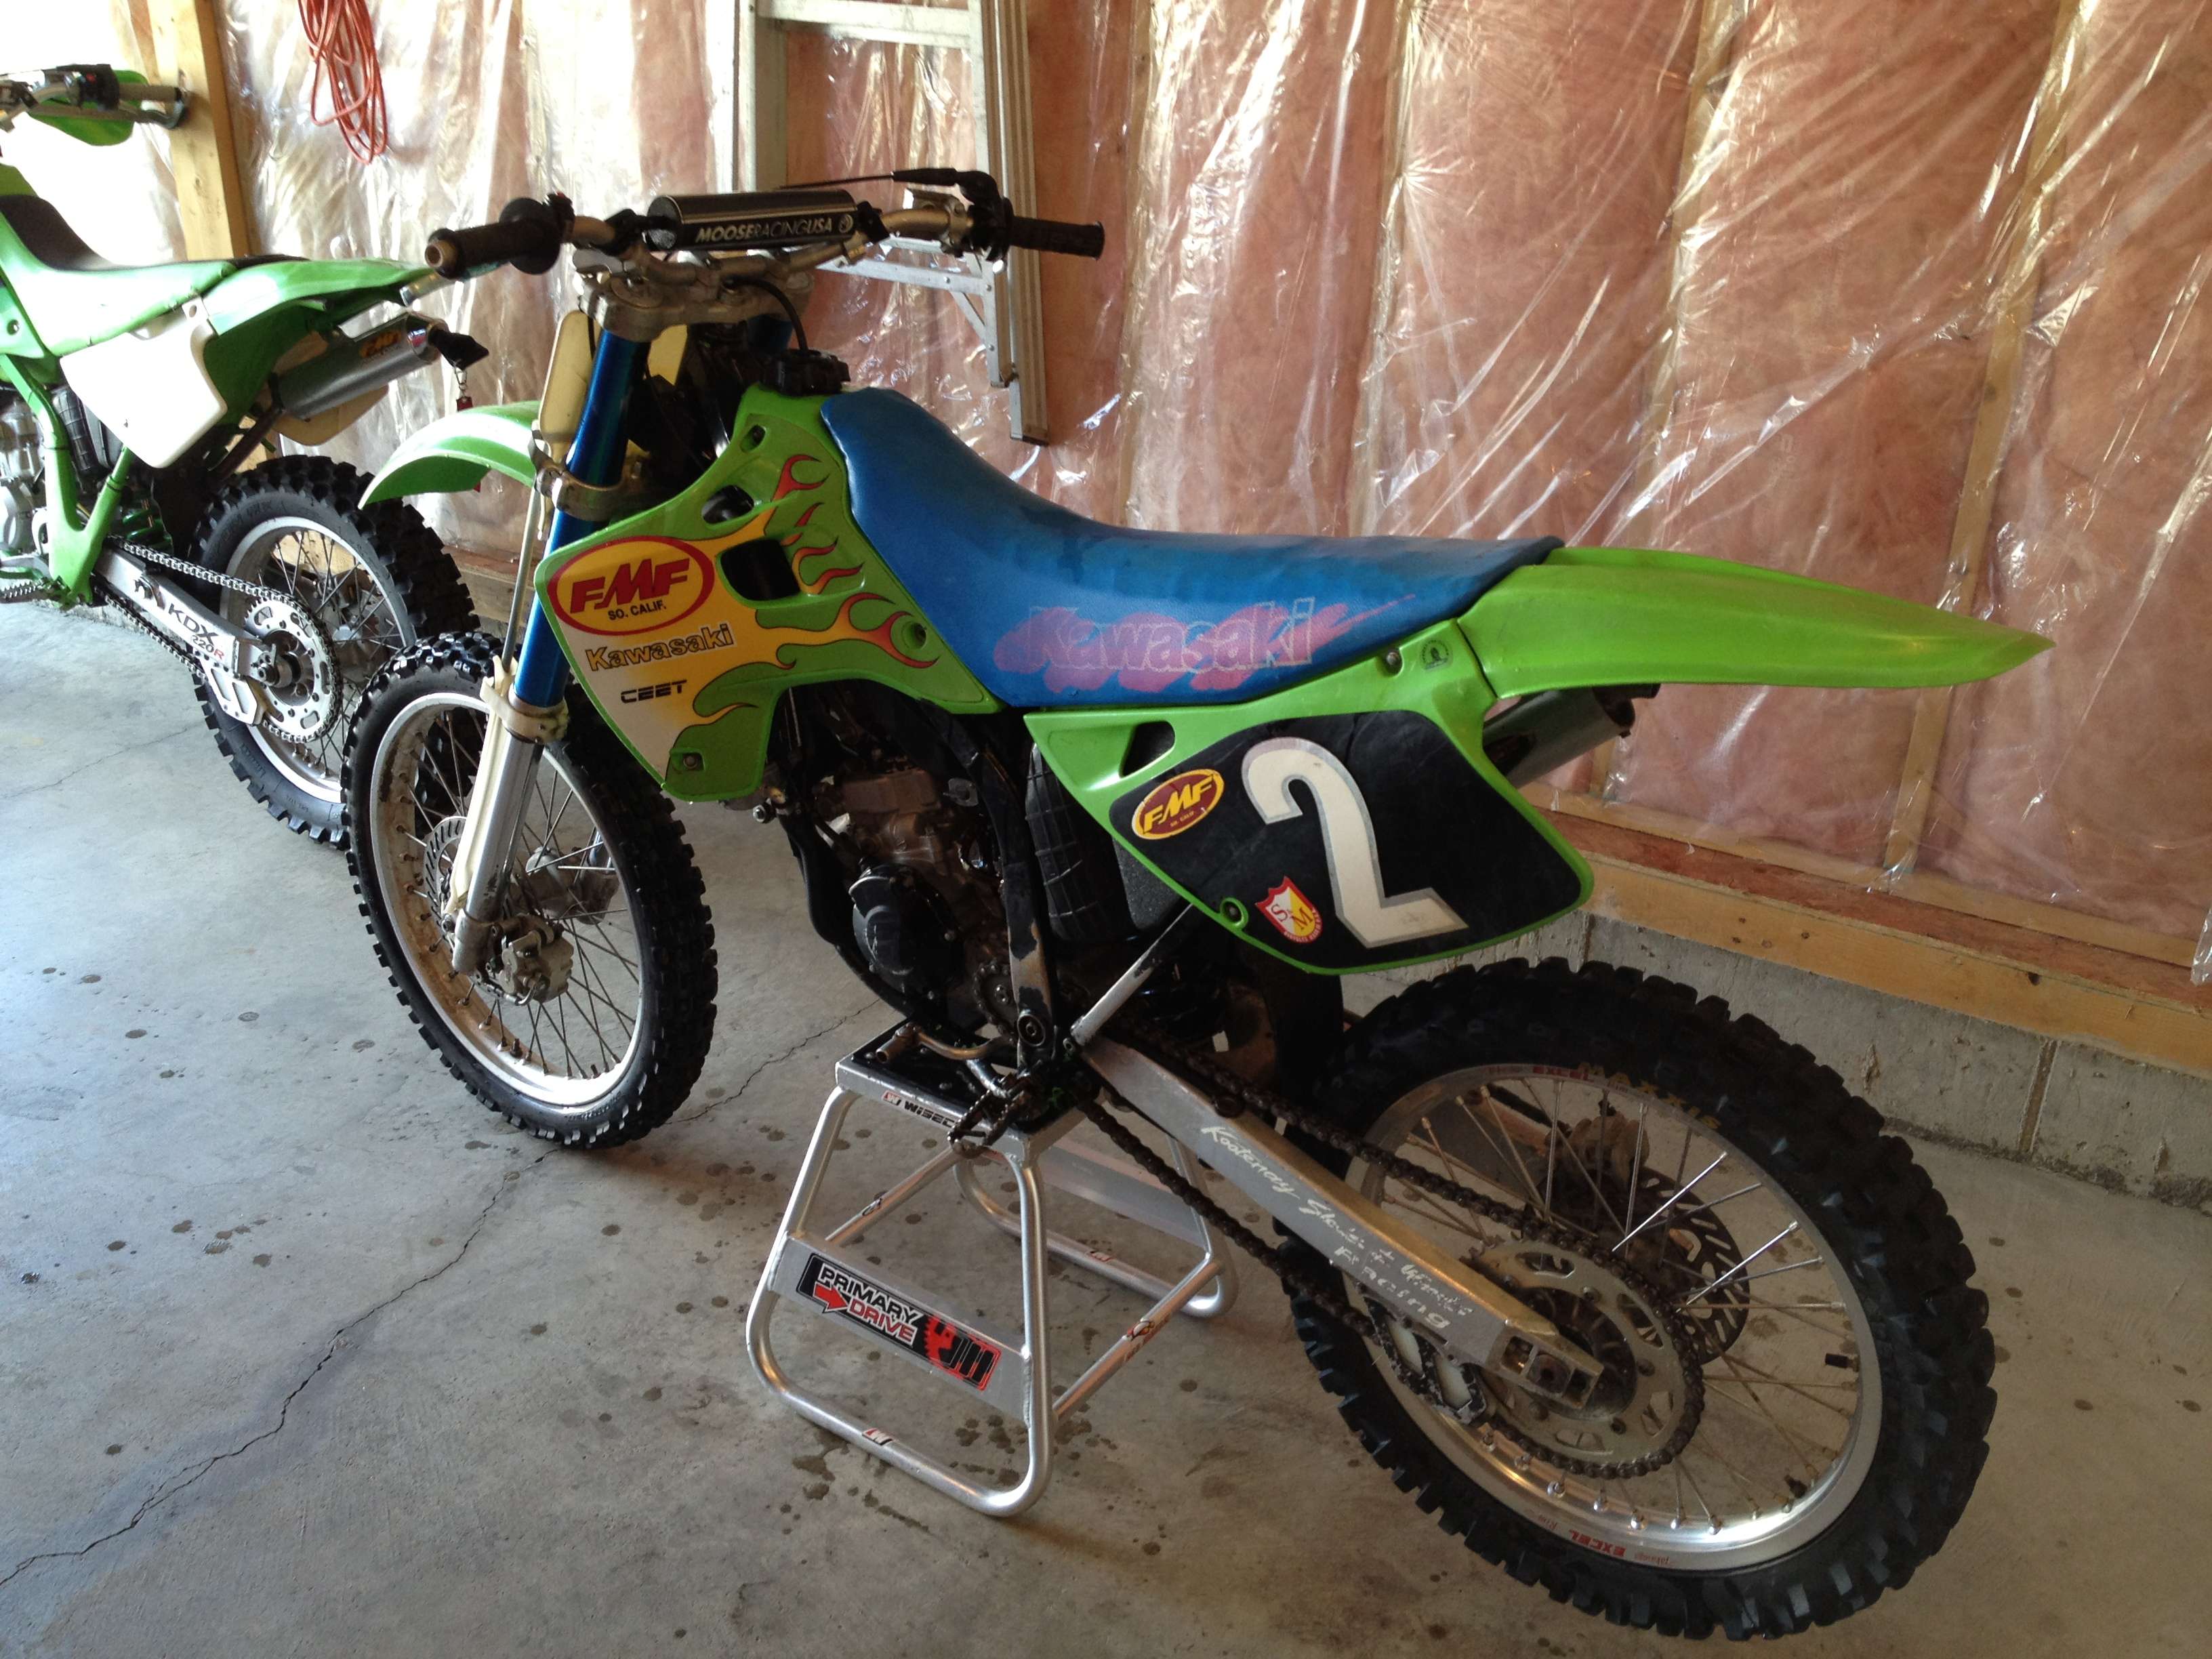
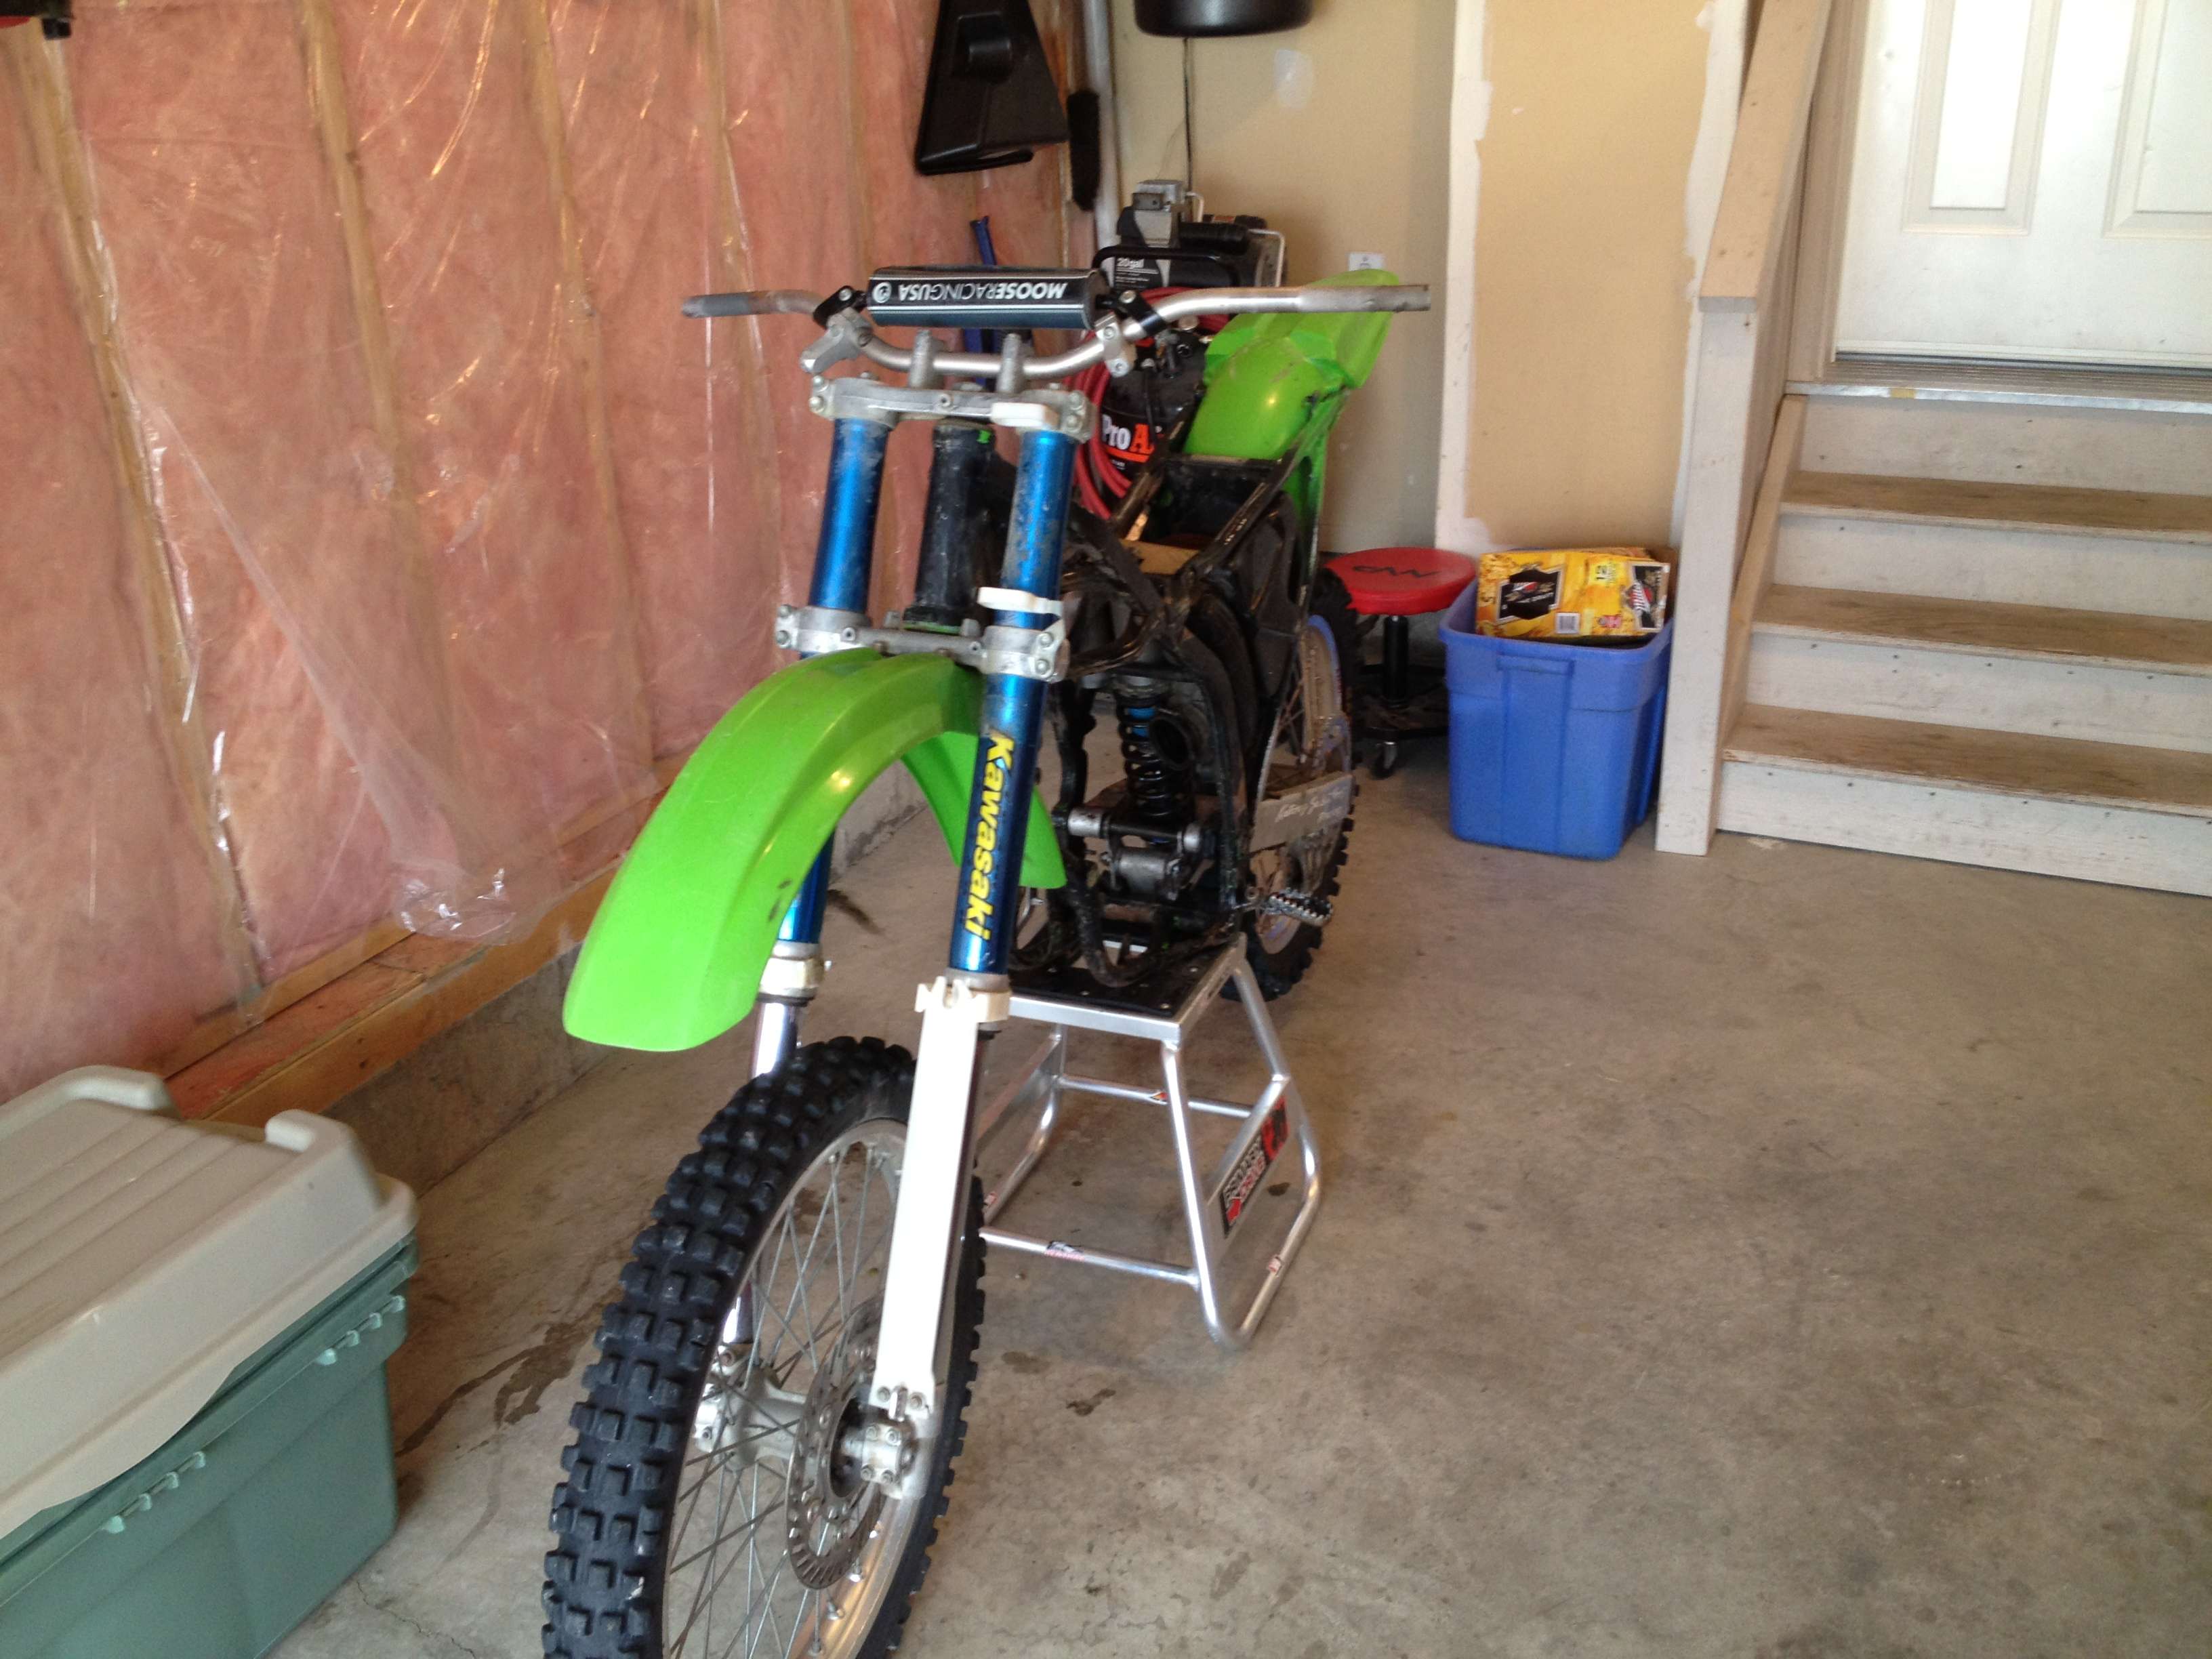
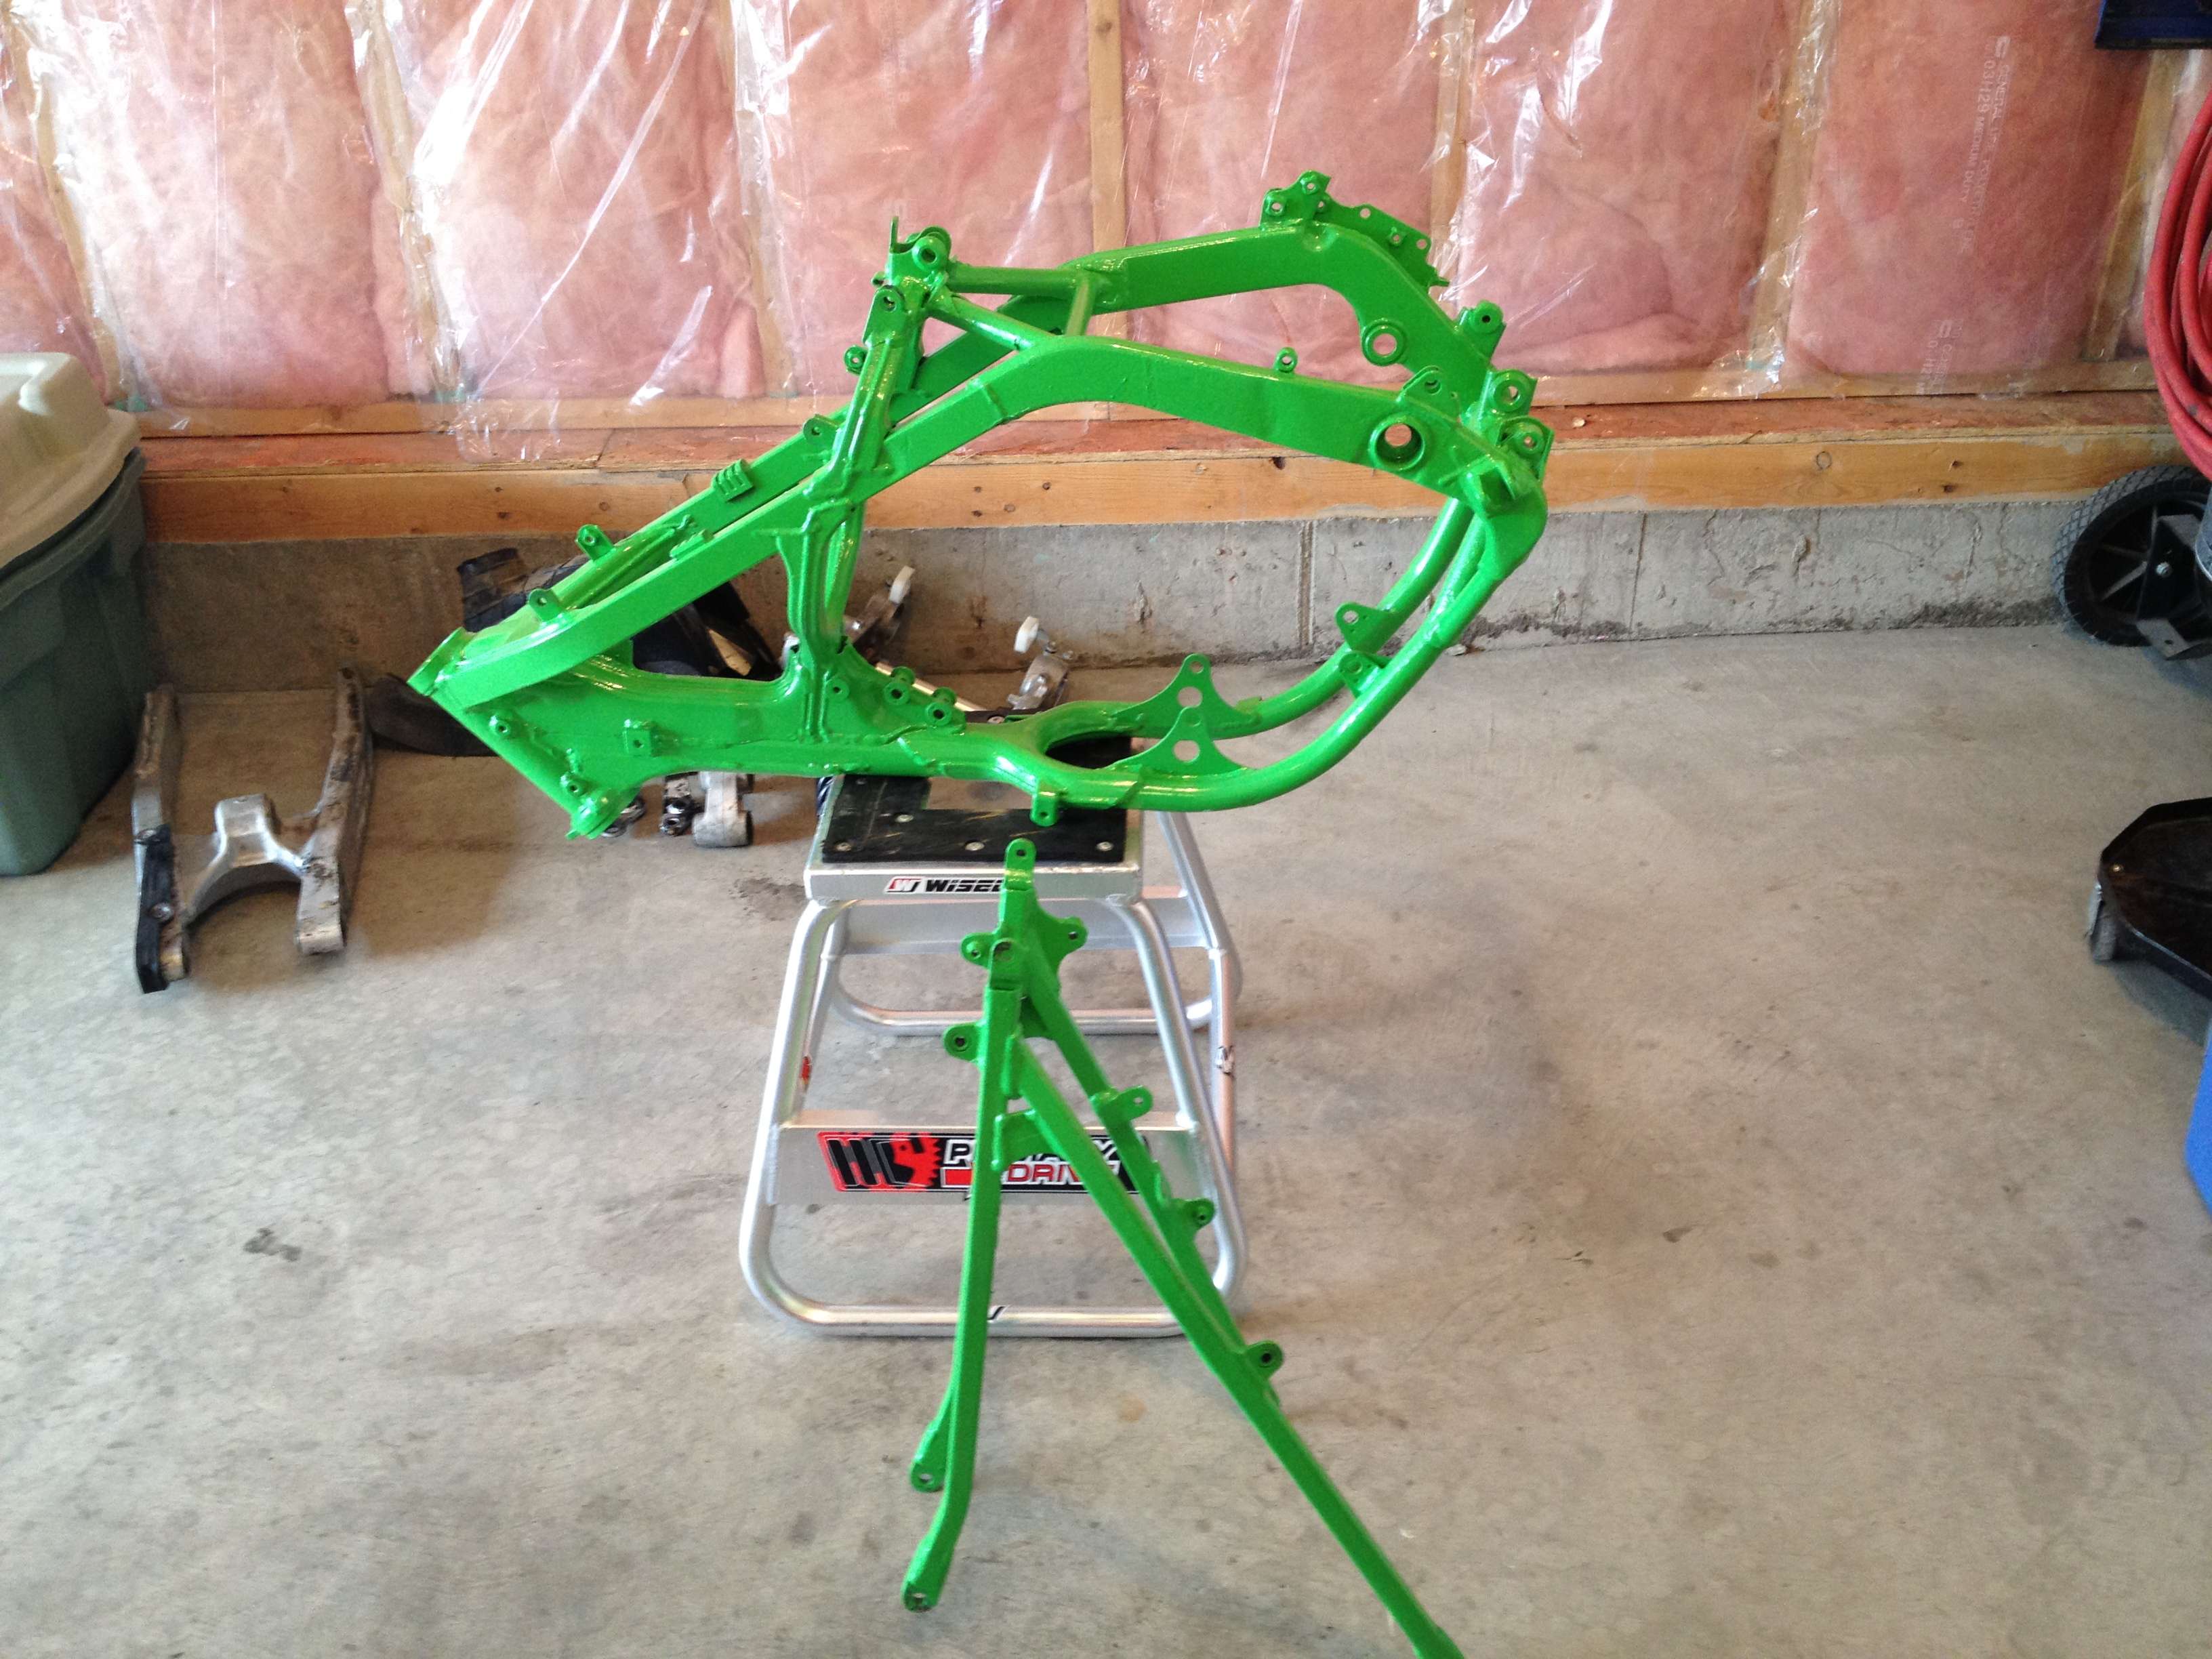
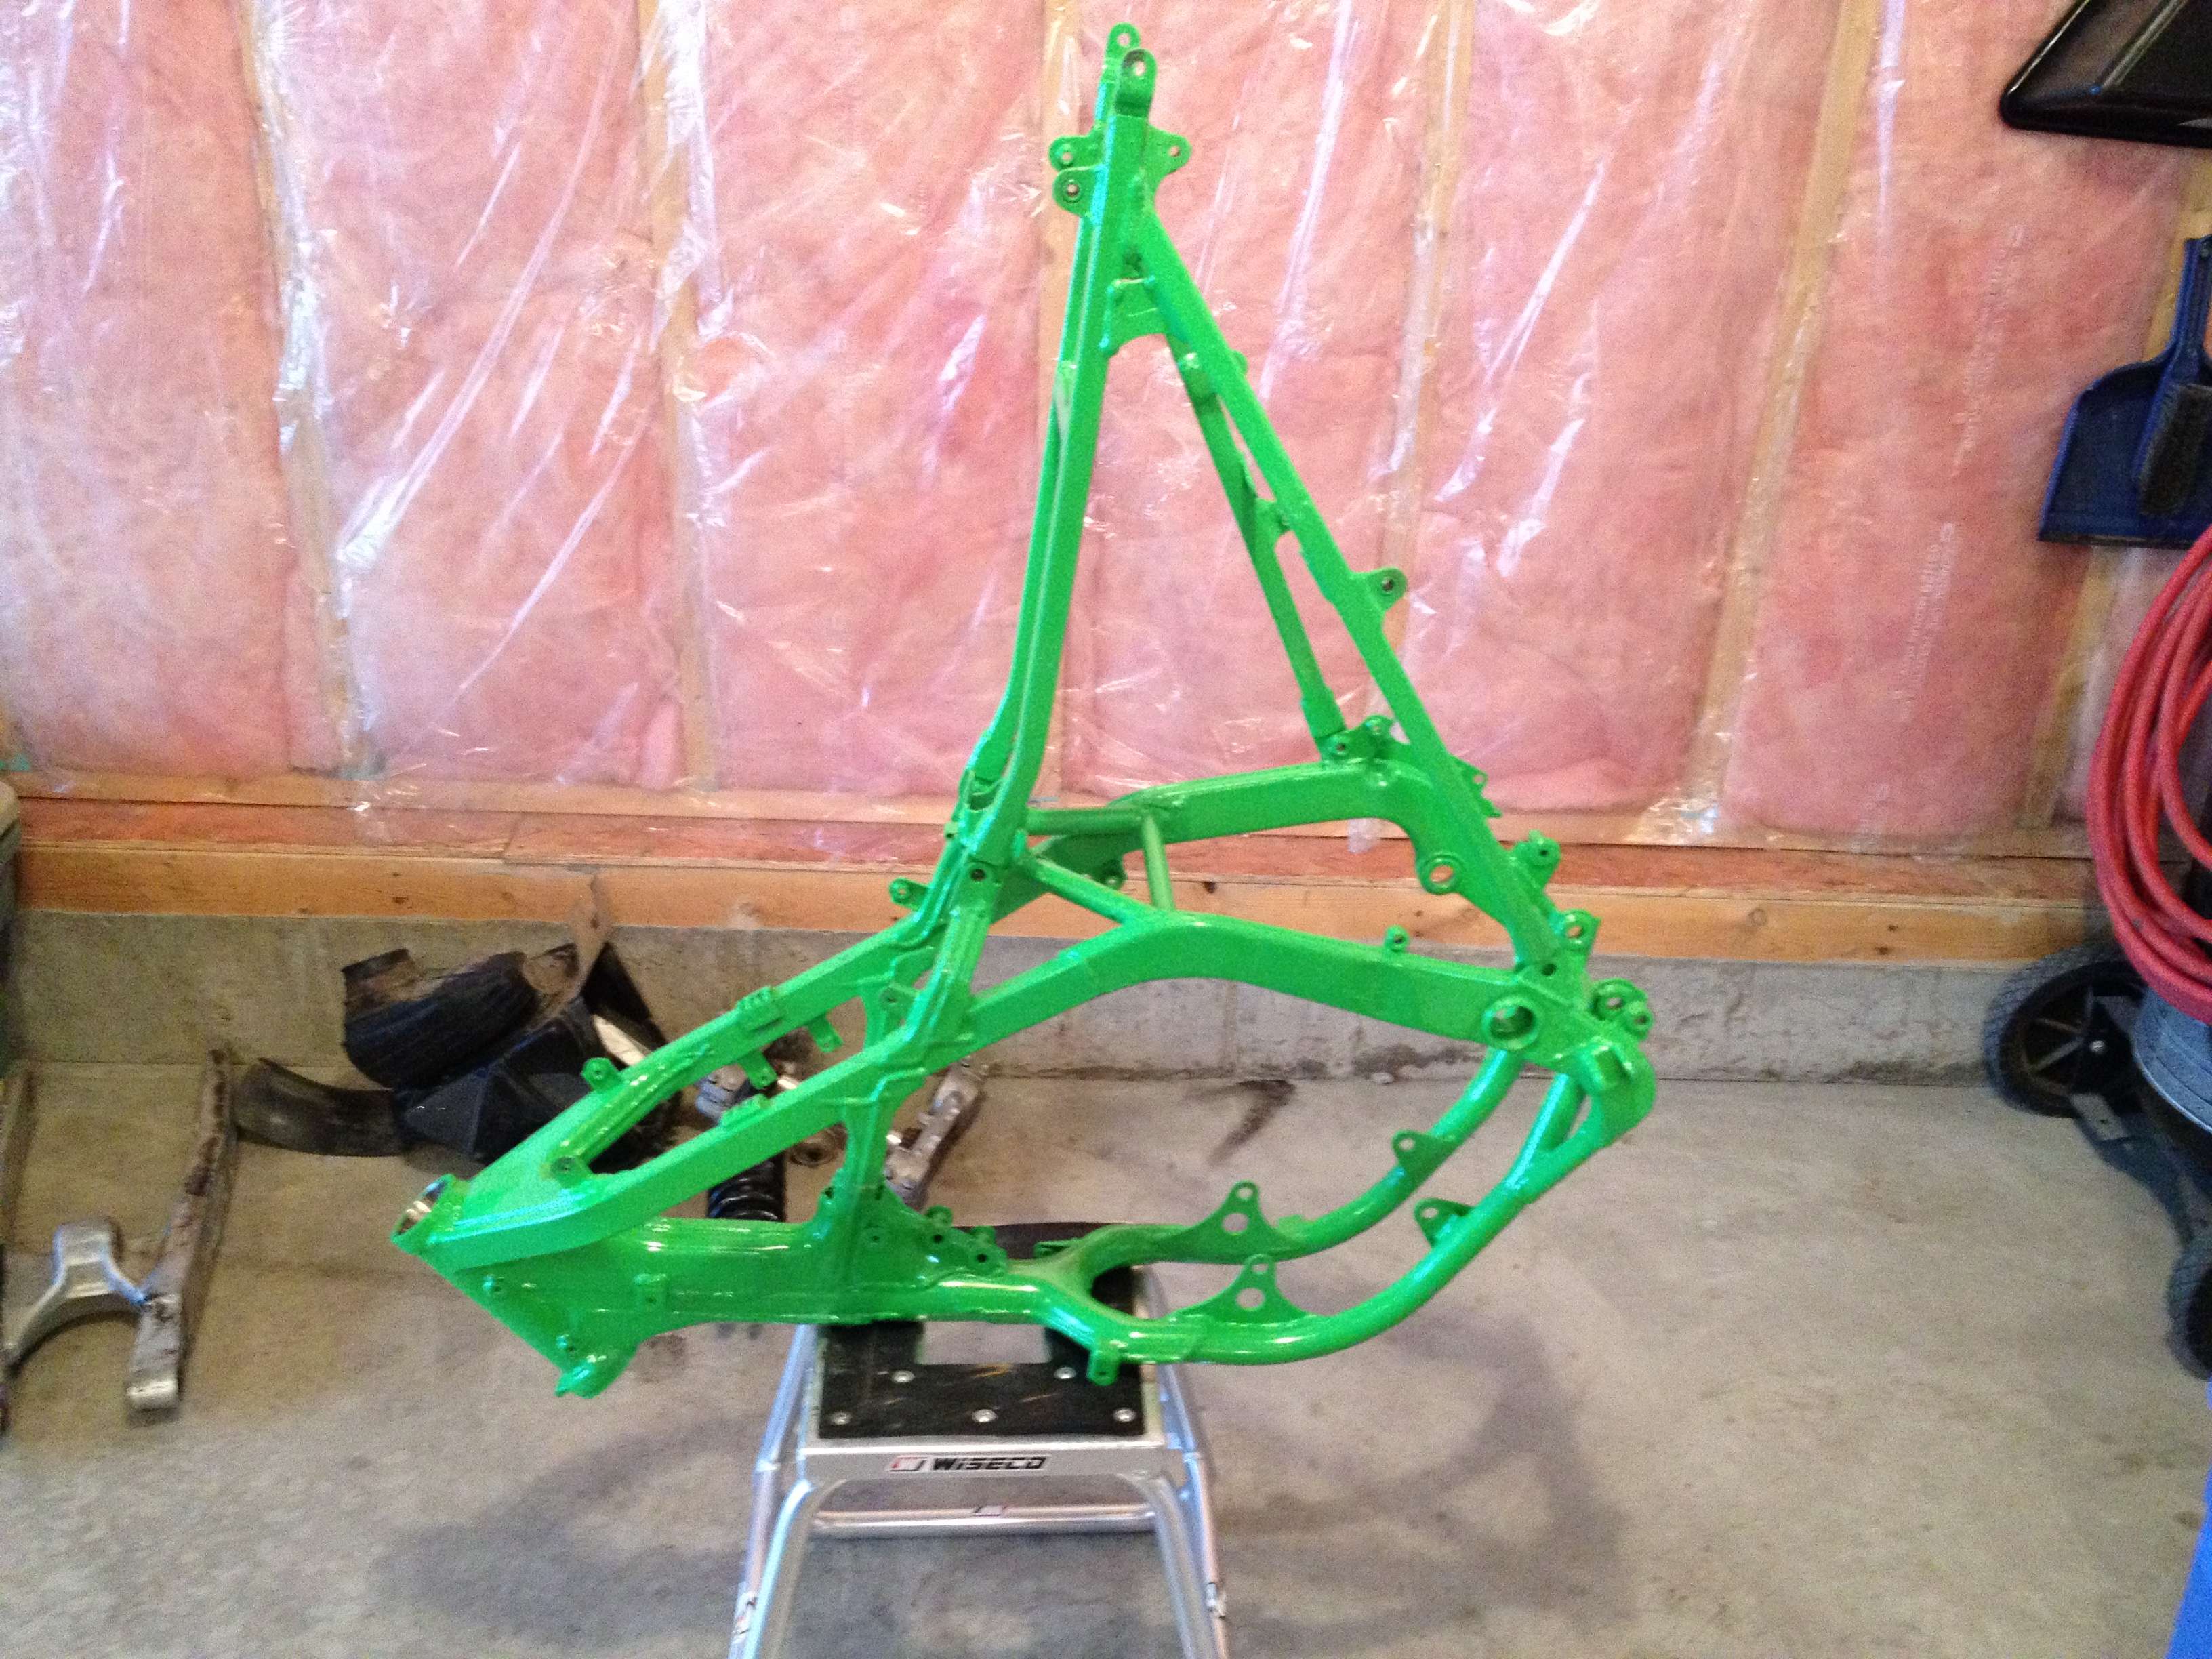
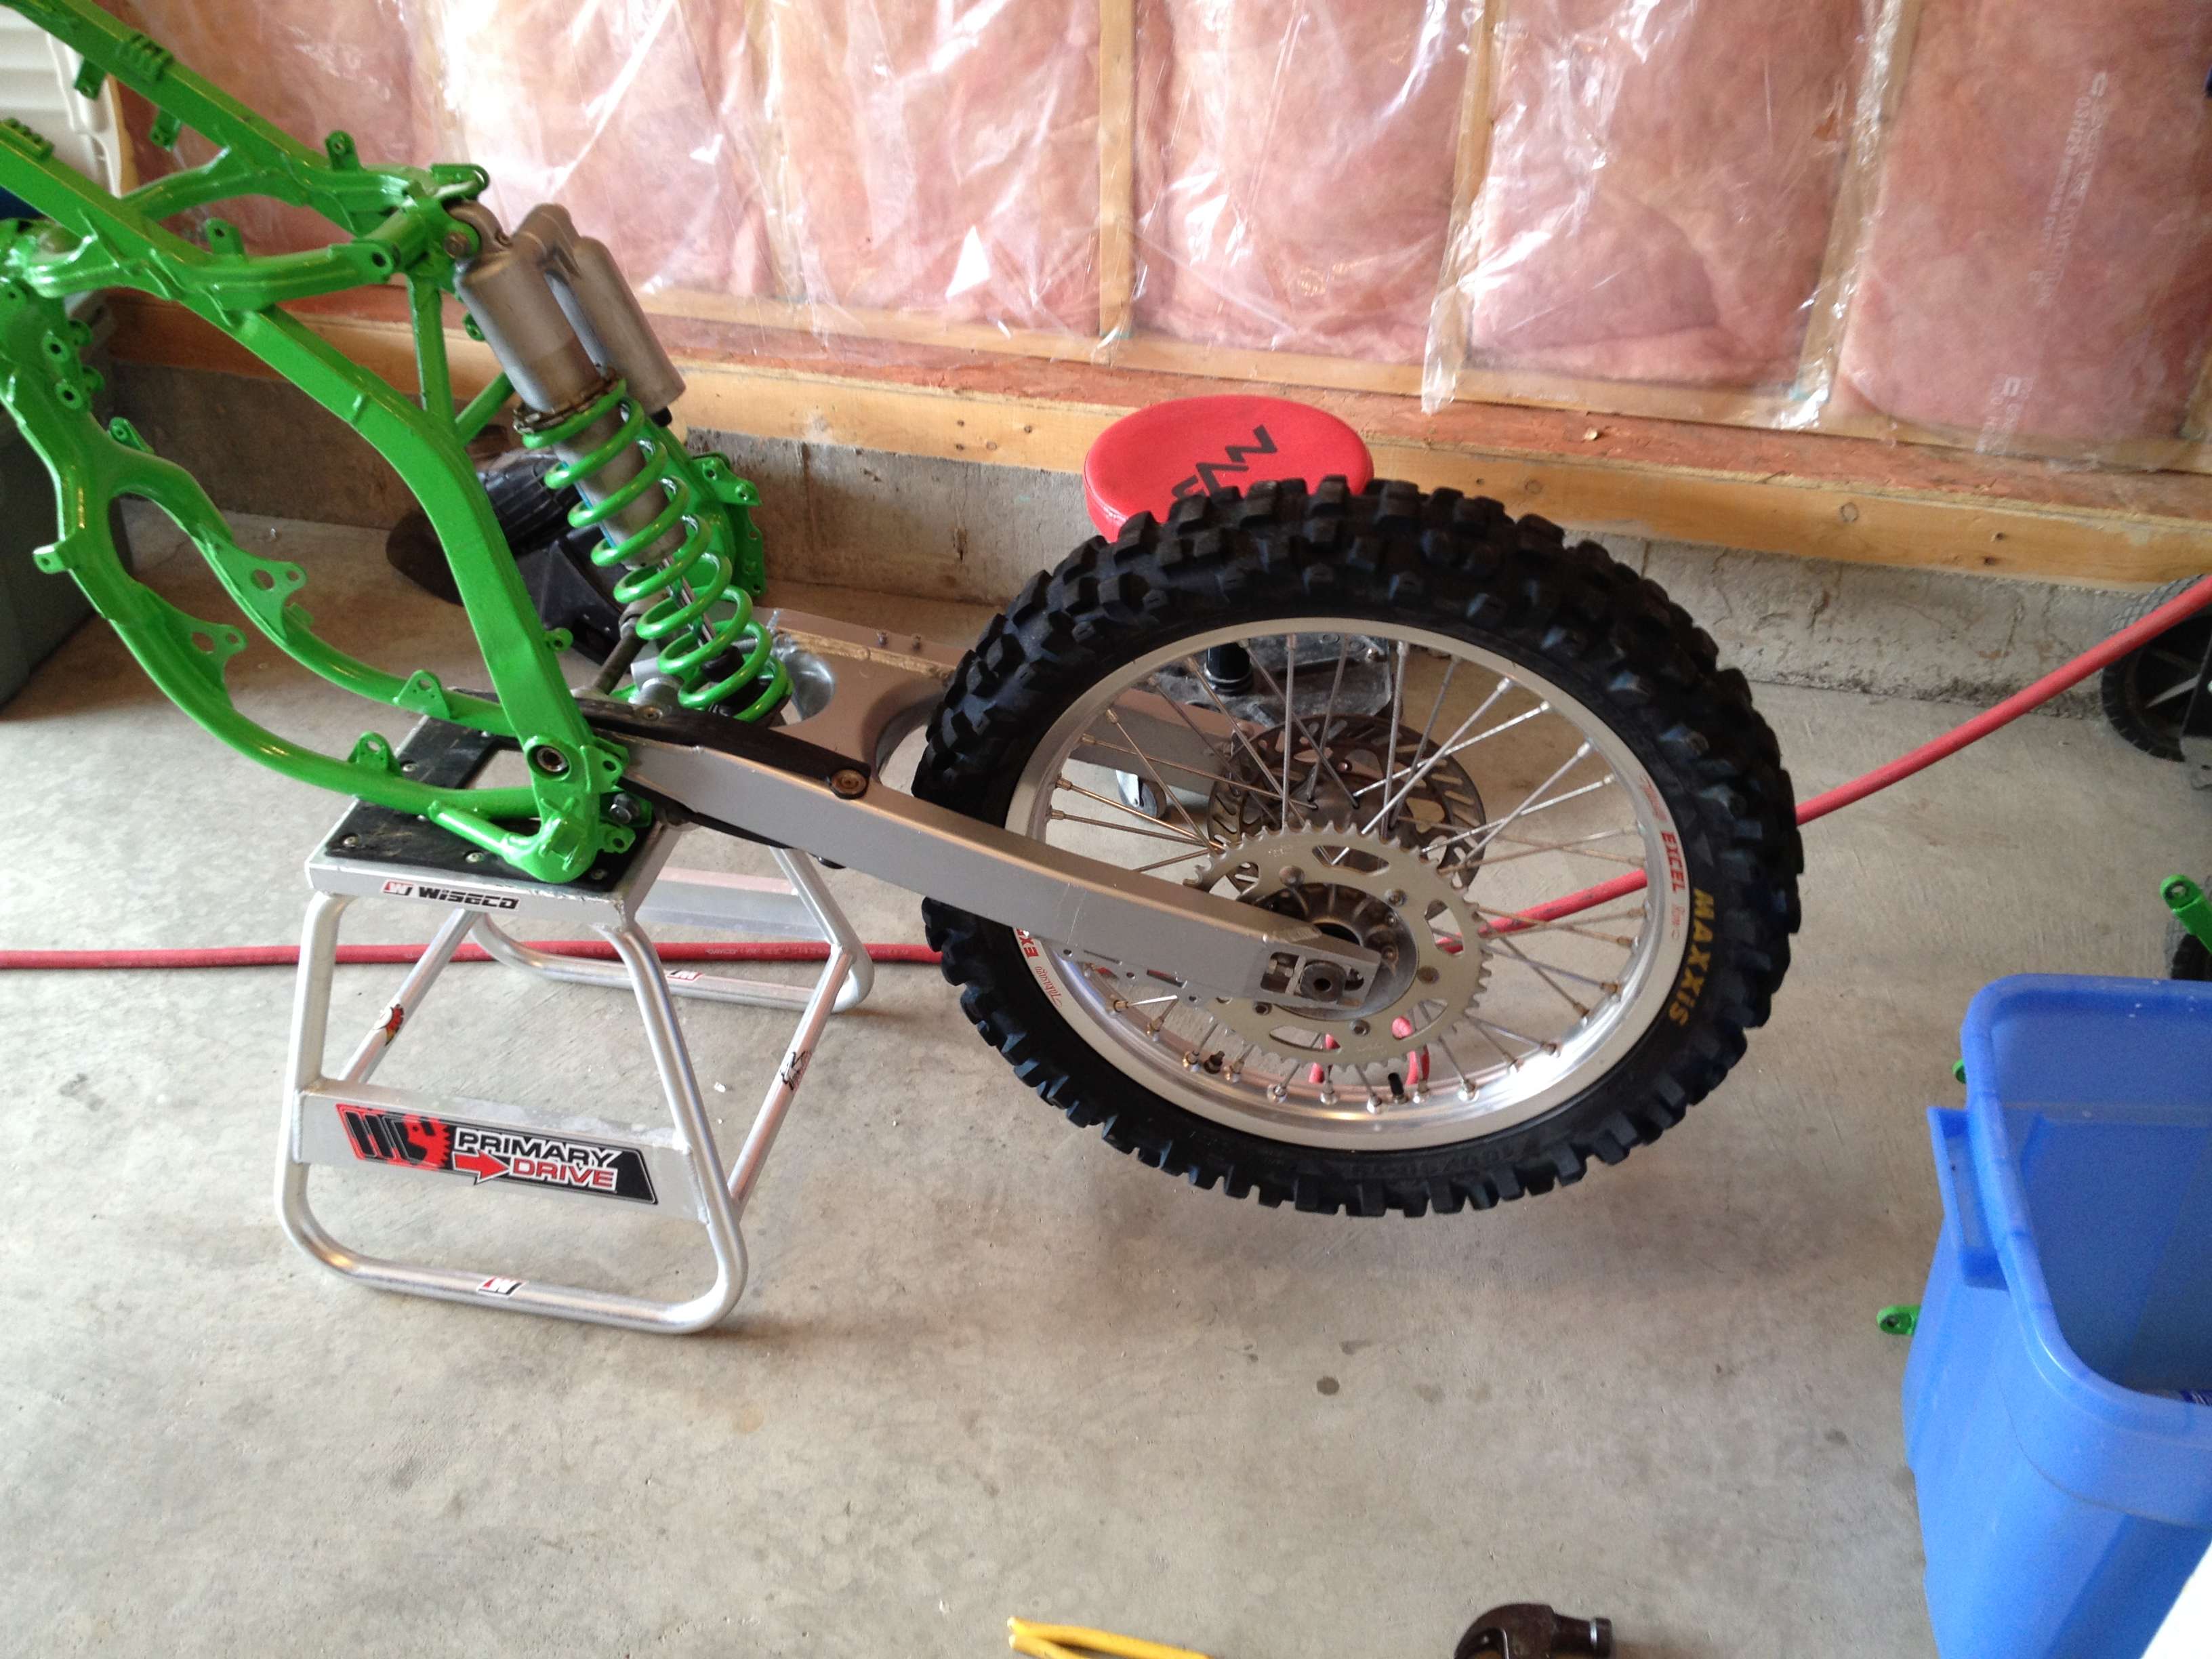
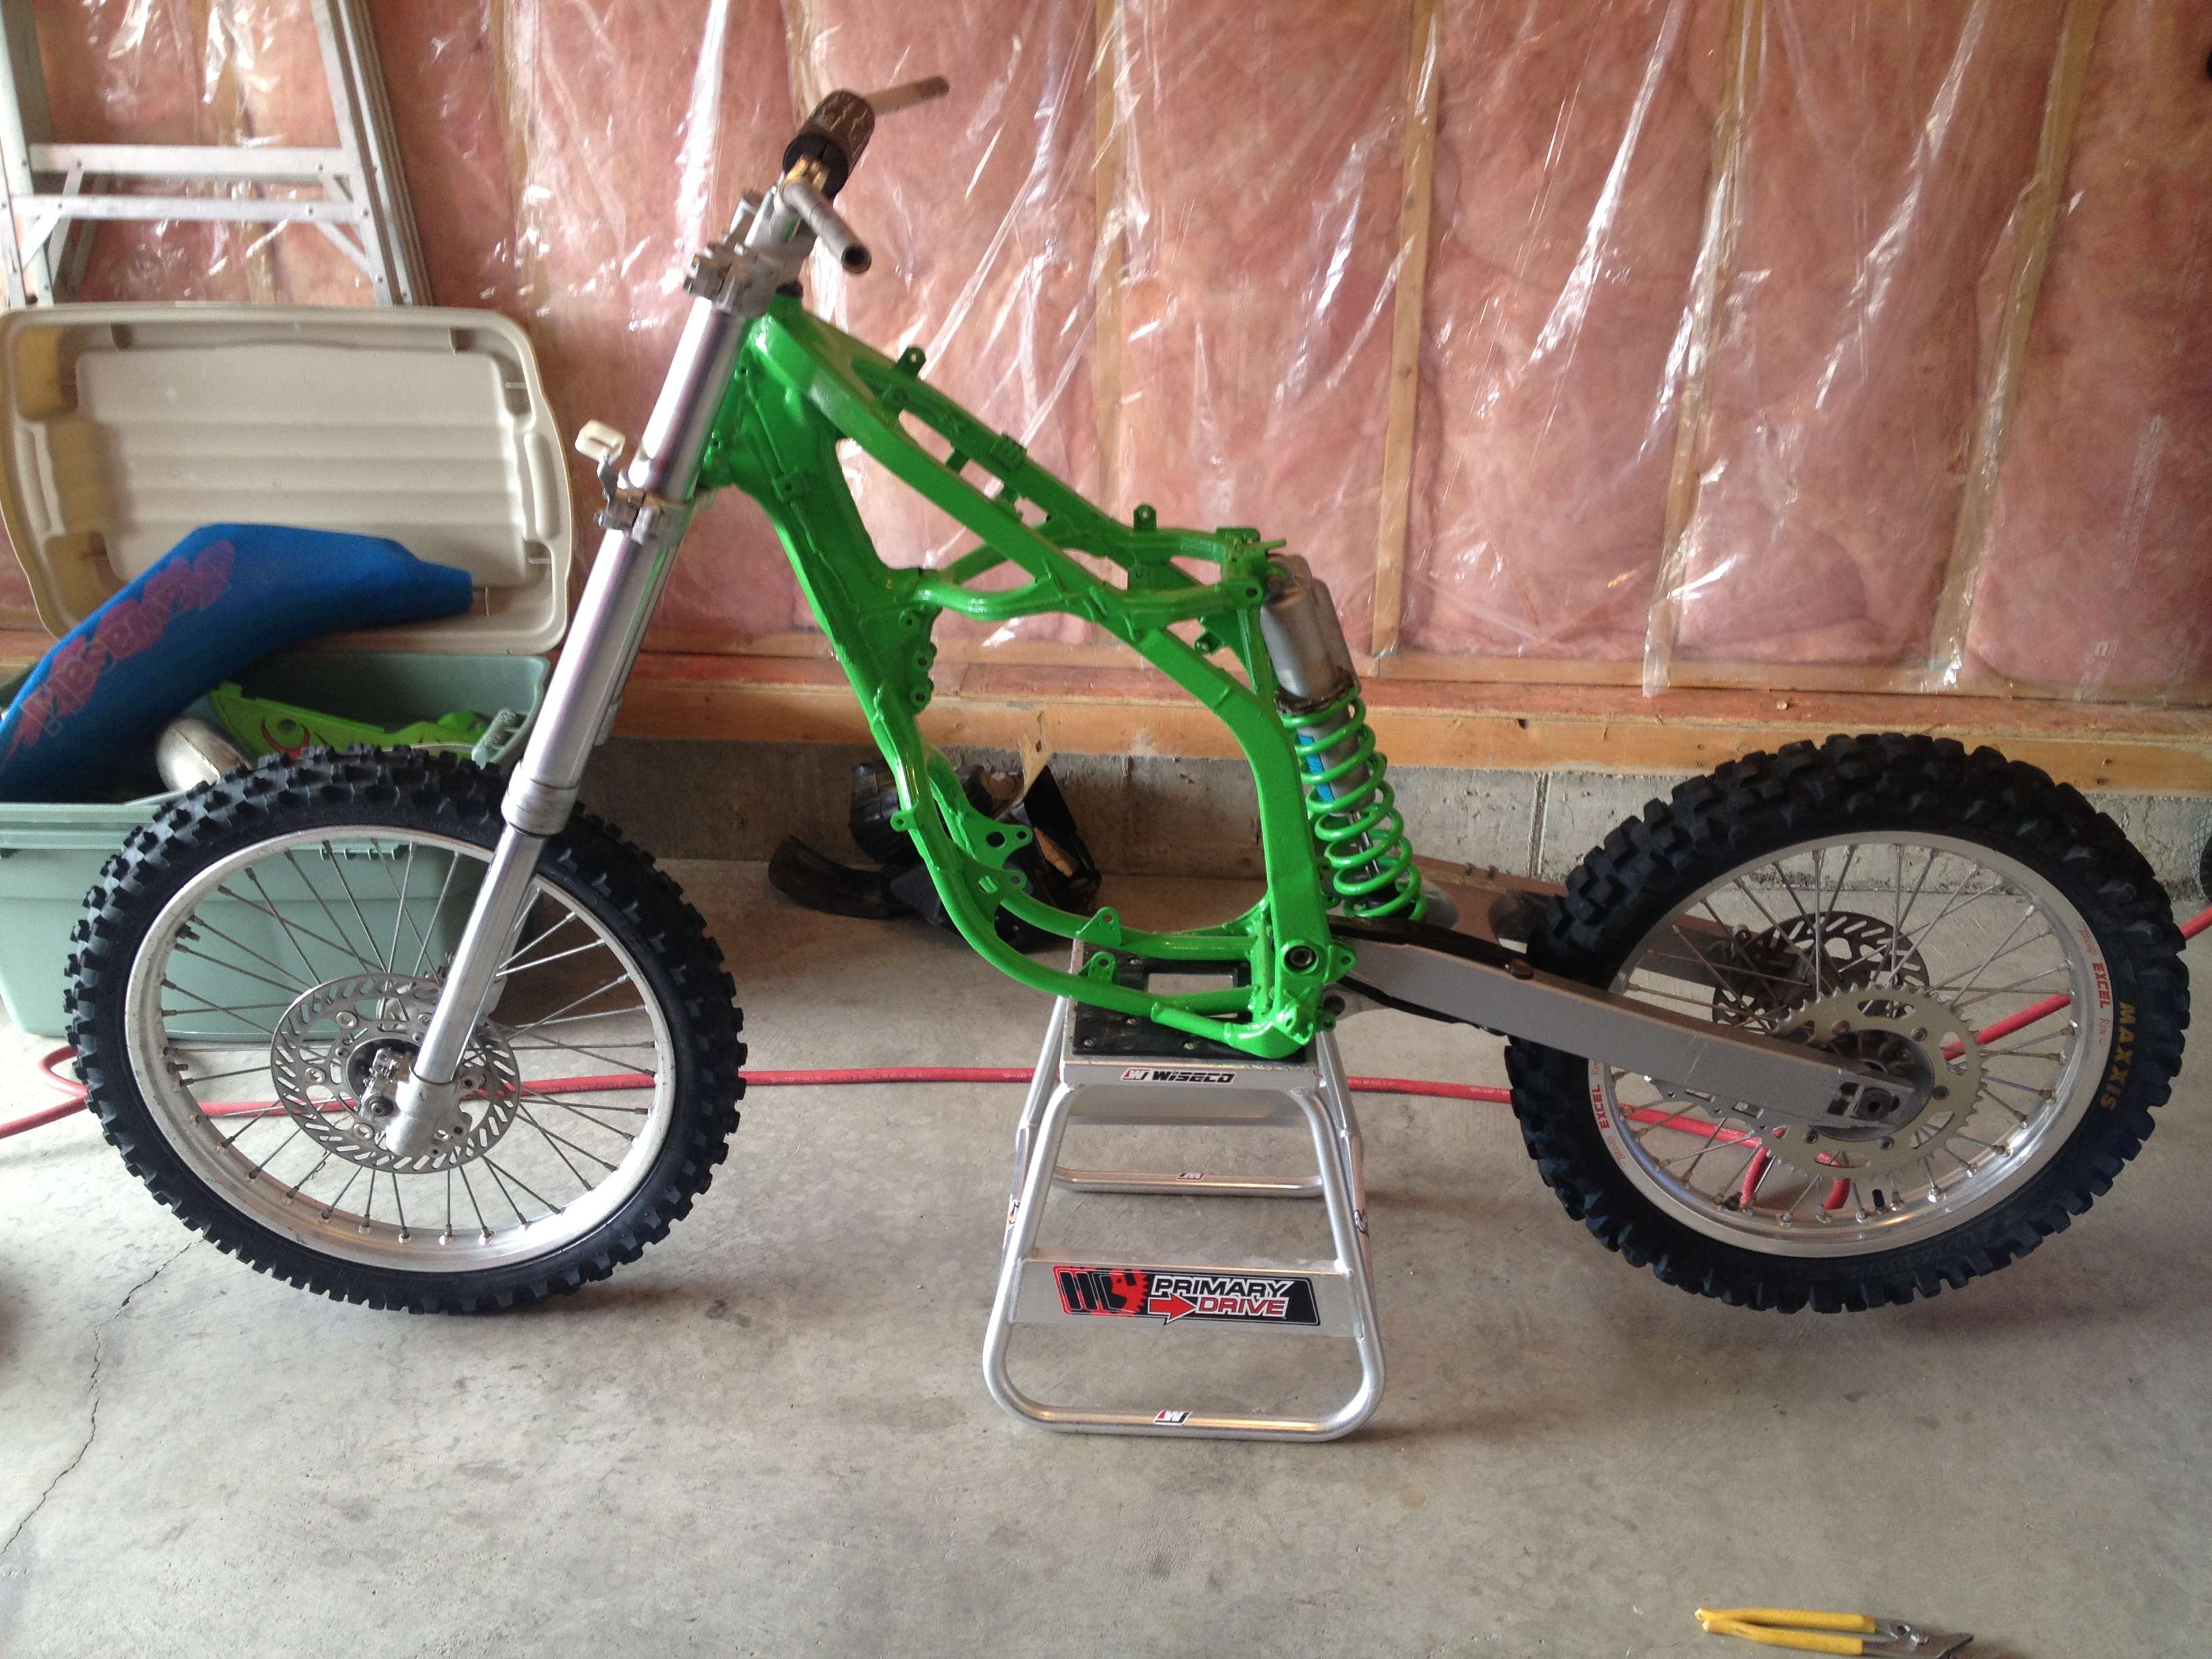
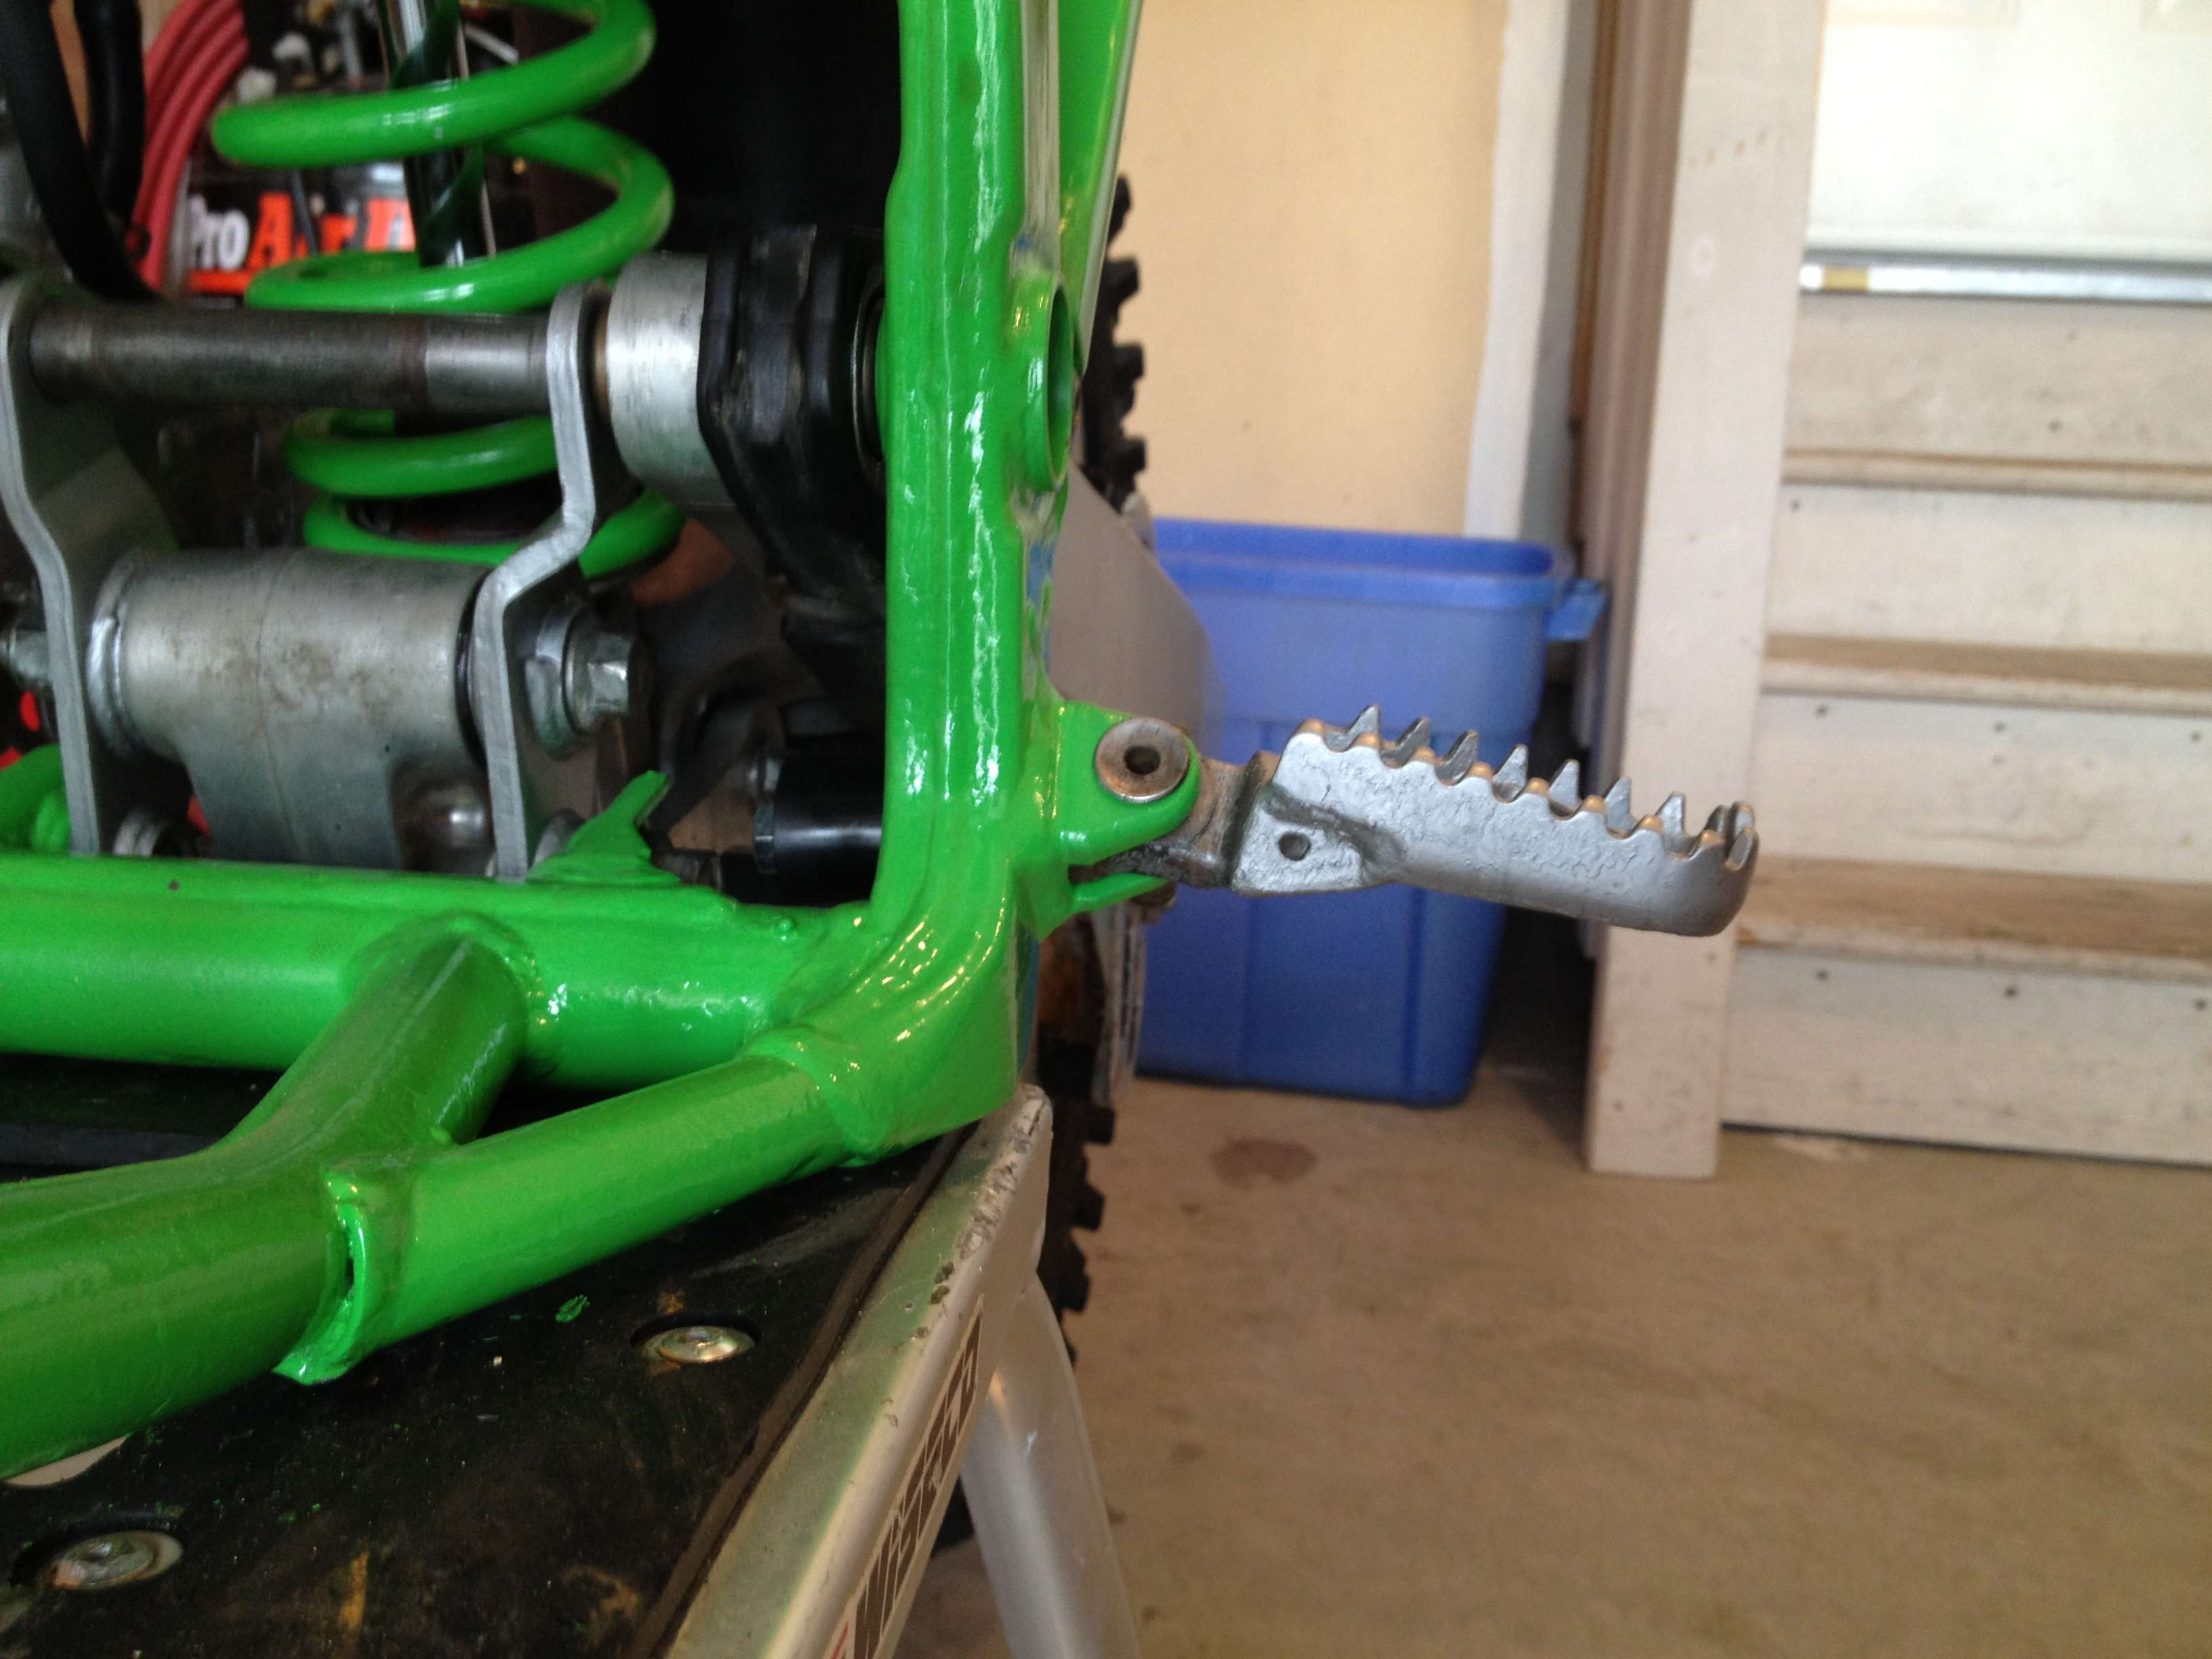
I have to say, I was surprised what a good wash could do. This bike looks 10x better already after 60 minutes with a 3200psi gas washer!
Before:

After: