I found a easier way to cut the swingarm. In my first build I used a number of different pieces of wood to prop and secure the swingarm in place so it wouldn't move on the table saw.
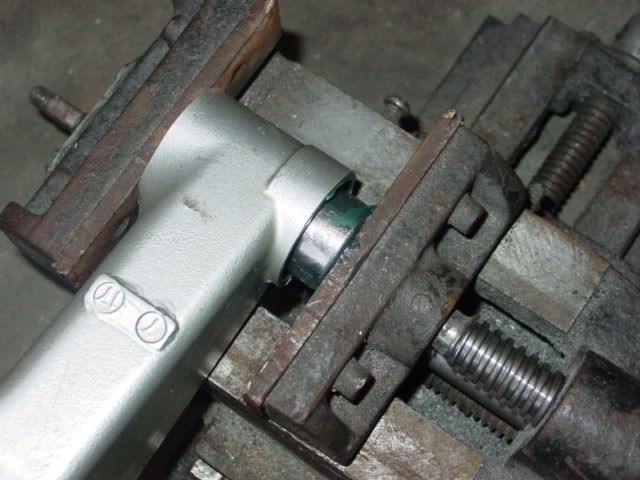
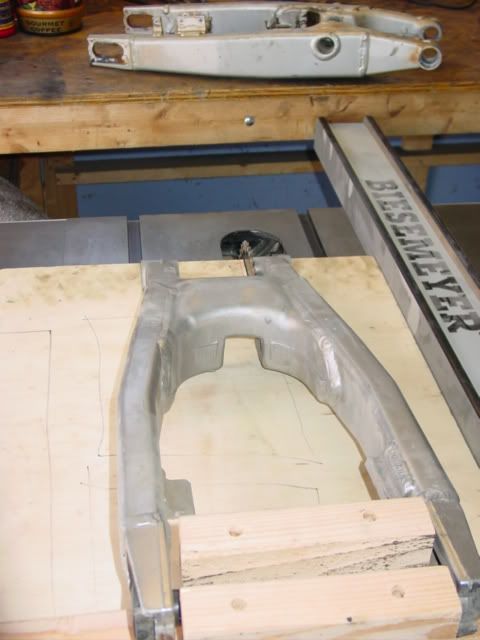
The easier approach is to build a sled that holds the rear wheel bolt and keeps the swingarm in place. This is the completed sled.
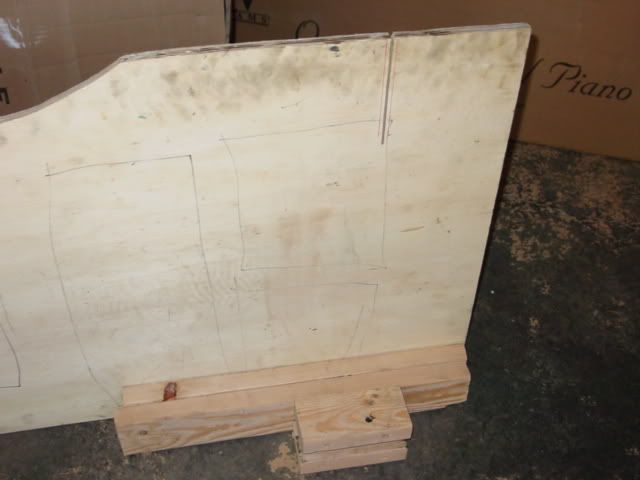
Next is the swingarm and bolt mounted in the sled.
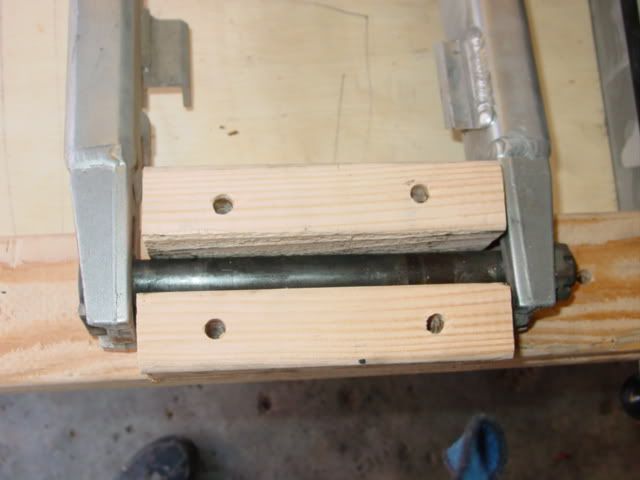
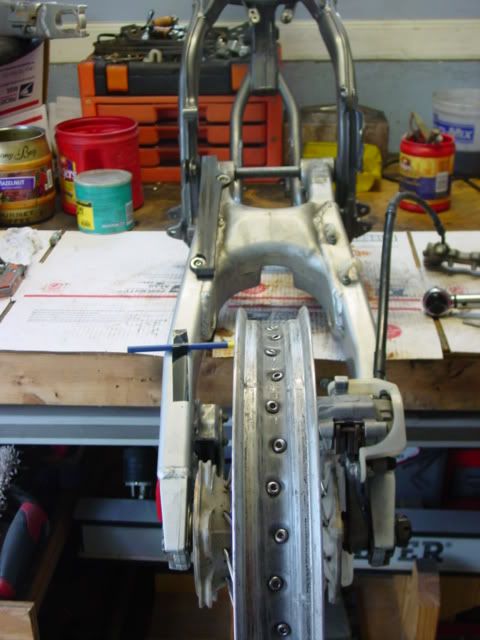
And here it all is on the table saw. I initially leave the bolt loose. Once it is on the sled, I adjusted the swingarm for proper position. Then I tightened the rear wheel bolt to keep it in alignment.
I think it took me about 20 minutes to get the sled together and then each cut took a couple of minutes to position and make the cut.
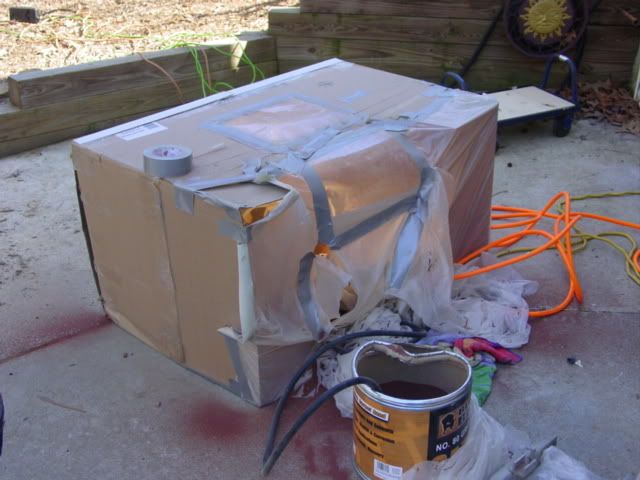
I put together this very high tech sandblasting cabinet. It did a really good job of keeping most of the media in the box. I wore a respirator to be on the safe side, but I didn't use eye protection and didn't get anything in my eyes. I bought the replaceable sandblasting cabinet 'windows' and duct taped them in place so I could see what I was doing.
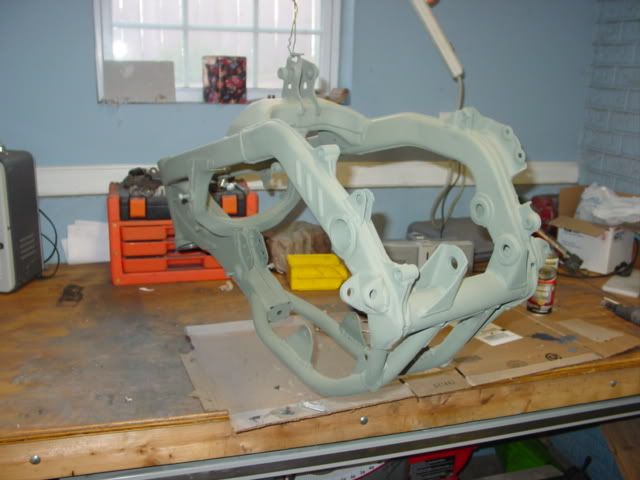
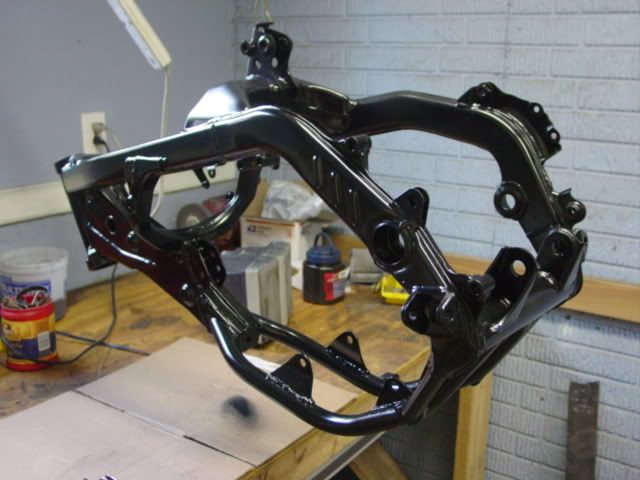
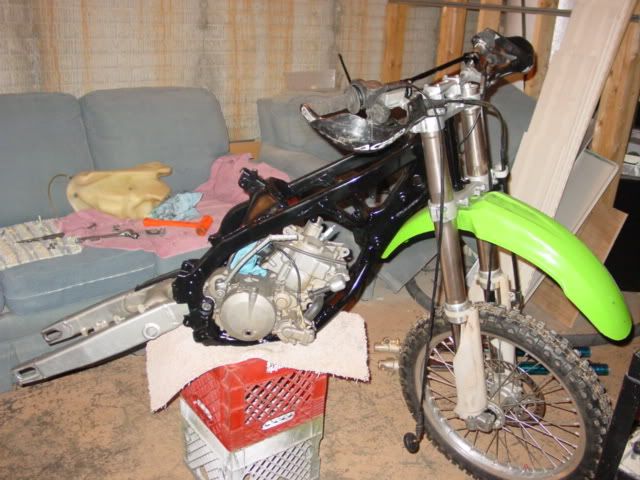
Here is the frame primed. I'm painting it now, I'll have some more pictures in a few days.